CMS: Setting Up Your Dynamic Pages
3 min
In this article
- Step 1 | Check the default elements
- Step 2 | Add additional elements
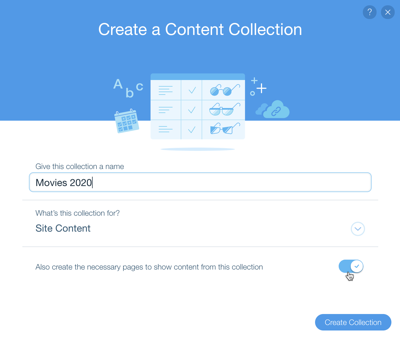
When you create a collection, you can choose to create dynamic pages to go with it. If you selected this option (it's enabled by default), you automatically get two dynamic pages - a dynamic item page (titled "{Collection Name} Item") and a dynamic list page (titled "{Collection Name" List). These pages come with default elements, already connected to the collection, but you can edit the page in any way you choose.

Note:
If you deselected this option, don't worry, you can add dynamic pages at any time.
- Click the CMS icon
 on the left of your editor.
 - Hover over the relevant collection and click the More Actions icon
 .
. - Click Add Dynamic Page.
Step 1 | Check the default elements
The default elements that come with your dynamic item page should be set up correctly, but you might want to make some changes. First check that they're showing the field you want them to show. If not, go ahead and change them.
To change the connection of an element:
- Go to the relevant dynamic page in your editor.
- Click the relevant element on the page.
- Click the Connect to CMS icon
 .
. - Connect your element to a field in your collection under Connection Options.
Once you're sure all your elements are connected to the correct fields in your collection, you can go ahead and move them around. Just click and drag to create the layout you want.
Step 2 | Add additional elements
This part is up to you. You can add additional elements to show more collection fields. Or simply add elements which are static and remain the same on every page.
To add additional elements:
- Go to the Add panel in your editor.
- Click the element you want to add.
- (Optional) If you want this element to be dynamic, connect it to the relevant field:
- Select the relevant element on the page and click the Connect to CMS icon
 .
. - Connect your element to a field in your collection under Connection Options.
- Select the relevant element on the page and click the Connect to CMS icon


