Changing Your Site's Regional Settings
3 min
In this article
- Changing your site's language
- Setting your regional format
- Changing your currency
- Adjusting your time zone
- FAQs
Changing your site's regional settings allows you to customize your website to better suit your business's location. By adjusting language, region, currency, and time, you ensure that your site meets the expectations of your local audience. For example, if you have a shop based in France, you can display prices in euros and set the language to French, providing a seamless experience for your customers.
Changing your site's language
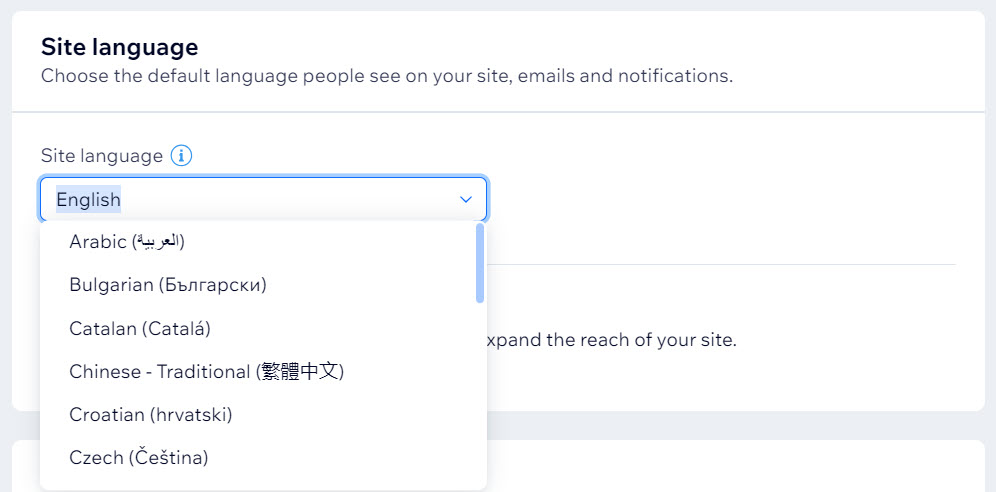
Adjusting your site's language ensures that your audience can navigate and understand your content easily.
To change your site's language:
- Go to Language & Region in your site's dashboard.
- Under Site Language, click the drop-down to select the default language people see on your site, emails and notifications.
Note: If you have a multilingual site, click Go to Wix Multilingual to manage site languages.

Setting your regional format
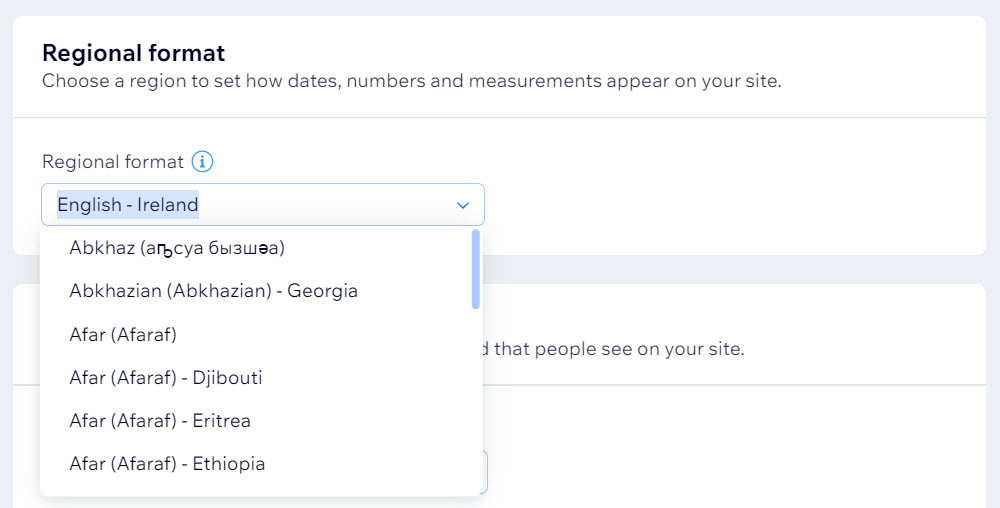
Setting the regional format changes how dates, numbers, and measurements appear on your site.
To change your regional format:
- Go to Language & Region in your site's dashboard.
- Under Regional Format, click the drop-down to select your preferred region.
Note: If you have a multilingual site, click Go to Wix Multilingual to manage regional formats.

Changing your currency
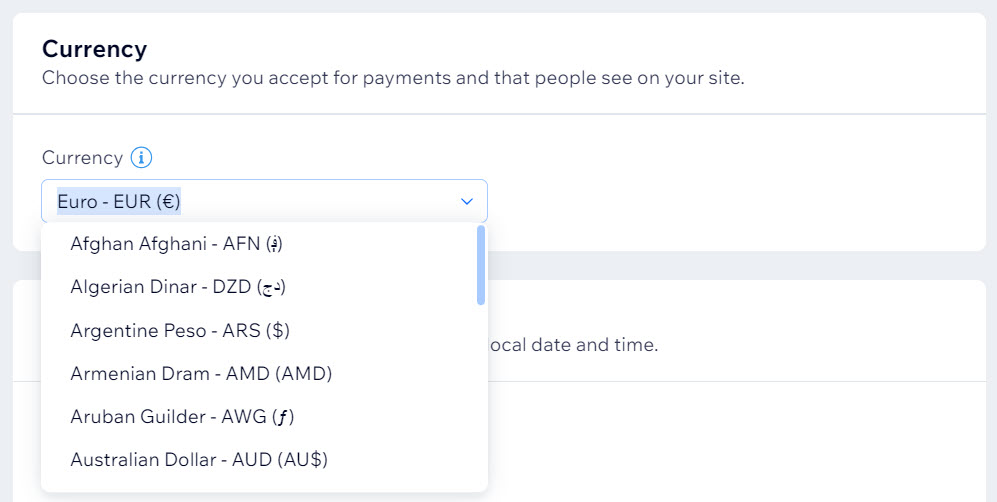
Choosing the right currency for your site is crucial for businesses that sell products or services. Changing your currency may impact any region where your service provider calculates real-time shipping rates. You can review them in the Shipping & Fulfillment settings.
To change your currency:
- Go to Language & Region in your site's dashboard.
- Under Currency, click the drop-down to select your preferred currency.

Adjusting your time zone
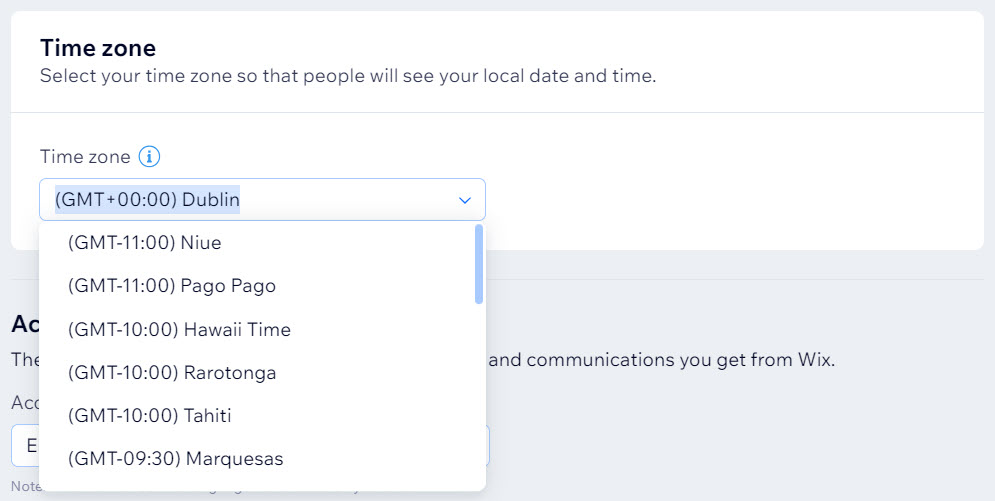
Setting the correct time zone ensures that time-sensitive information, such as booking times or event schedules, is accurate.
To change your time zone:
- Go to Language & Region in your site's dashboard.
- Under Time Zone, click the drop-down to select your site's default time zone.
Note: To change the time zone of the other business locations, go to Business Info in your site's dashboard.

FAQs
Click a question below to learn more about changing your site's regional settings.
Can I set different regional settings for different sites in my account?
What if I have a multilingual site?
How do I change the language for emails and notifications?


