Wix Forum: Limiting Specific Categories to Paying Subscribers
2 min
Wix Forum enables creators to monetize their content by restricting certain categories to paying subscribers. Adding a Pricing Plan as a paywall is a great way to generate income from your forum content. This can increase engagement and help boost your monetization efforts.
Tip:
Click here to learn more about Pricing Plans.

To set up a category subscription in your forum:
- Go to your forum in your dashboard.
- Click the Categories tab.
- Do one of the following:
- Create a new category
- Select an existing category
- Scroll down to Access and click Selected Members.
- Click Add next to Subscriptions.
- Click Create New Plan.
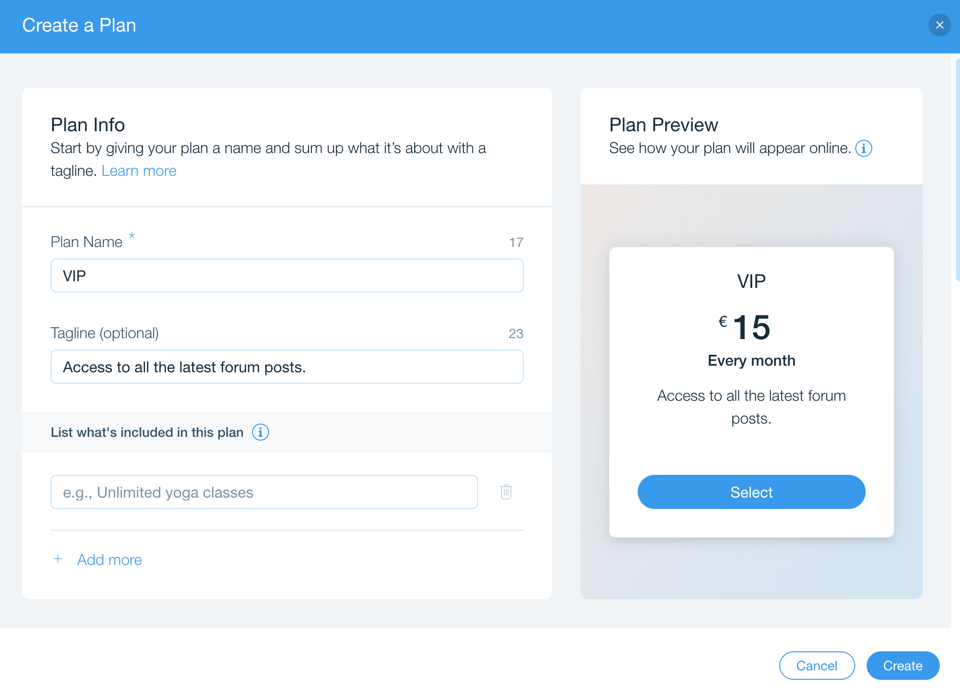
- Enter the Plan Info.
- List the benefits included in the plan.
- Click +Add More to add more benefit options.
- Choose which categories are included in the plan.
- Click Add Category.
- Select the category from the drop-down.
- Scroll down and choose the Pricing and Duration of the plan.
- Select a pricing and duration of the plan.
- Enter the payment details.
- Click the Enable free trial toggle to enable or disable a free trial:
- Enabled: Customers can try out the plan before paying. Click the drop-down to select the length of the free trial.
- Disabled: Customers must pay before they can access your forum category.
- Click the Single purchase only toggle to enable or disable it:
- Enabled: Customers can only purchase one plan.
- Disabled: Customers can purchase multiple plans.
- Click the Allow plan cancellation toggle to enable or disable it:
- Enabled: Customers can cancel their plan at any time.
- Disabled: Customers cannot cancel their plan.
- Click the Custom start date toggle to enable or disable it:
- Enabled: Customers can select a specific date for their plan to start on.
- Disabled: Customers start their plan from the date of purchase.
- (Optional) Add Plan Policies.
- Click Create.


