

Wix Editor: Adding and Setting Up Tabs
3 min
In this article
- Step 1 | Add tabs to your site
- Step 2 | Give a name to each tab
- Step 3 | Add elements to your tab items
Add tabs to organize your content and display it the way you want. By splitting content into tabs, you can streamline important information for your visitors and make it easy for them to find everything they need.
Step 1 | Add tabs to your site
Get started by adding the tabs element to your page. There are a variety of pre-designed options available, so you have everything you need to begin.
To add tabs:
- Go to your editor.
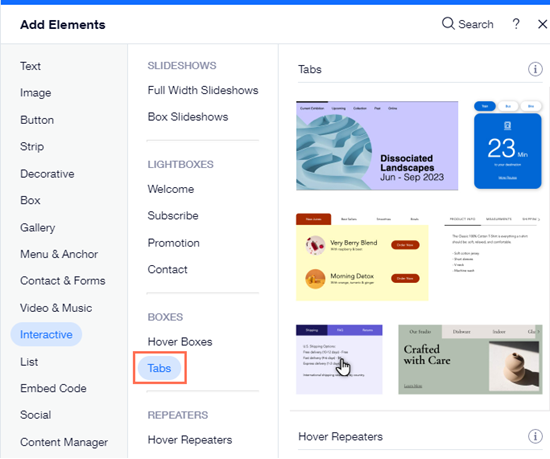
- Click Add Elements
 on the left side of the editor.
 - Click Interactive.
- Click Tabs under Boxes.
- Click and drag your chosen tab design to add it to your page.
Step 2 | Give a name to each tab
After adding the tabs element, rename the tabs to match your planned content. Since tab names appear in the menu, they make it easier for visitors to find information that's relevant to them.
To name your tabs:
- Click the tabs in your editor.
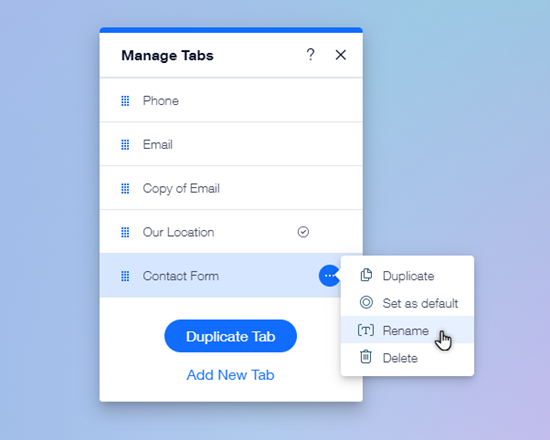
- Click Manage Tabs.
- Hover over the relevant item in the panel.
- Click the More Actions icon
.
- Click Rename.
- Enter the new name into the field.
- Click Done.
Step 3 | Add elements to your tab items
After naming each tab, start building its content by adding the elements you need. The elements are only displayed in that particular tab, so you can add as much or as little content as you need.
To add elements to a tab item:
- Click the tabs in your editor.
- Open the relevant tab item from the drop-down menu.
- Click Add Elements on the left side of the editor.
- Click and drag your chosen element over the tab.
- Drop the element when you see the Attach to Tab message.

What's next?
Manage and customize your tab items to change their design, layout, and more.
