Wix Editor: Working with Elements
5 min
In this article
- Moving your elements
- Copying and pasting elements
- Resizing your elements
- Rotating elements
- Copying an element's design
- FAQs
After you add elements to a page, adjust and manage them to create balanced content across your site. You can choose the size, position, and angle, and copy elements or their design to work more efficiently.
Moving your elements
Change the position of your elements to align with the rest of your page content. You can use drag and drop to move a single element freely, or the drag handles to move multiple aligned elements vertically.
Tip:
If you are unable to select or find an element in the editor, it is possible that it has been placed behind another element.
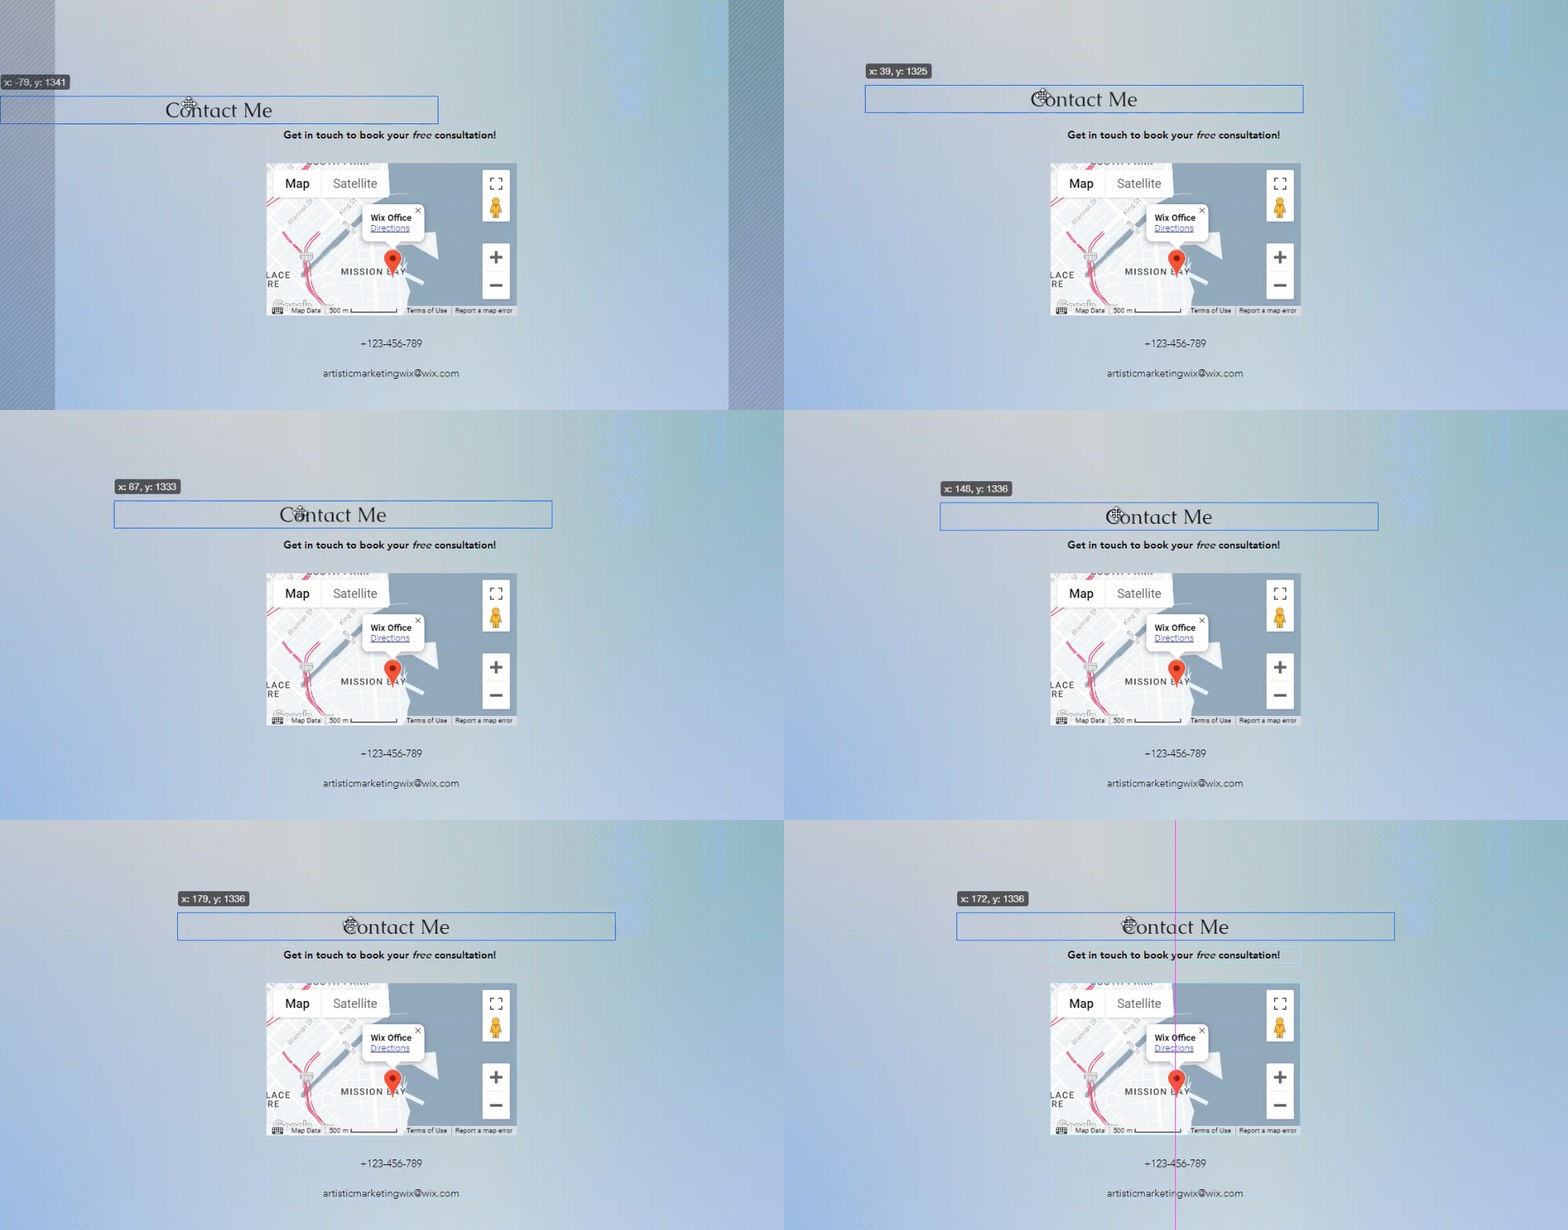
To move a single element in the editor:
- Click the relevant element in your editor.
- Click and drag the element.
- Drop the element when it's in the desired position.
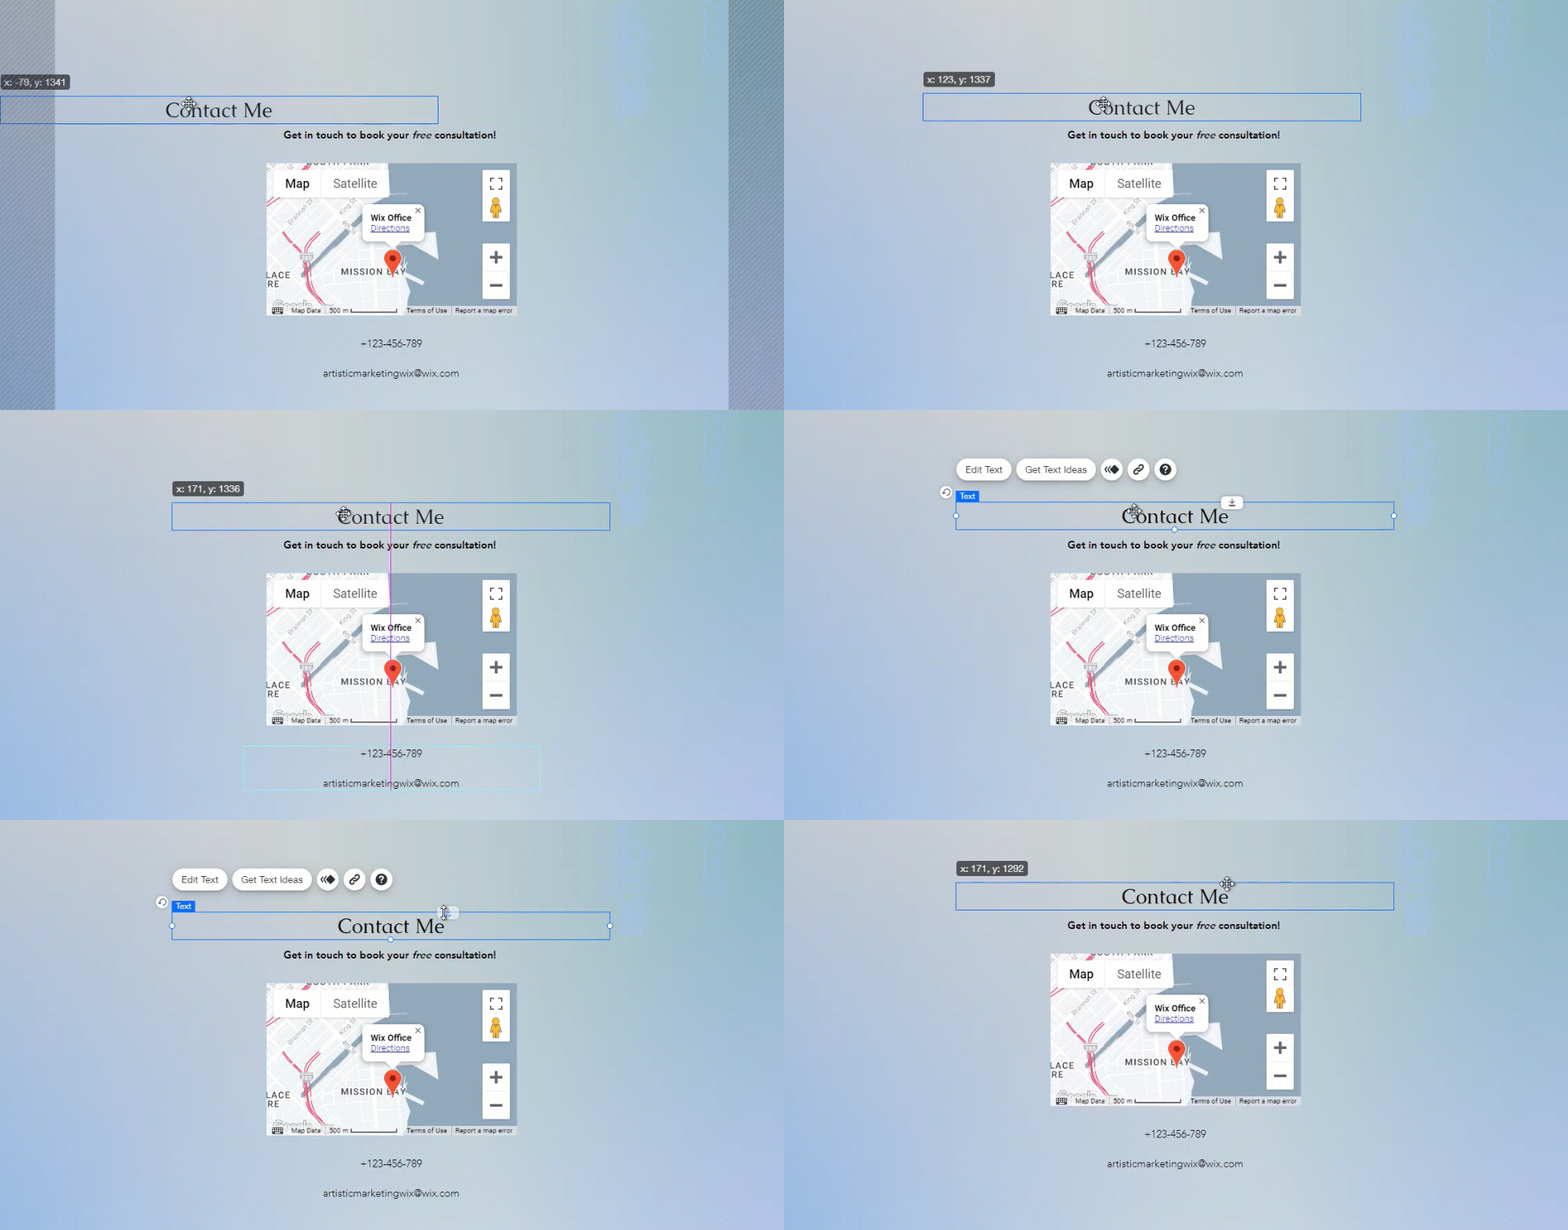
To move multiple elements:
- Align all of the relevant elements.
- Click the element that's at the top of these elements.
- Click and drag the drag handle
 .
. - Move the element group to the desired position.
Did you know?
You can use the editor toolbar to position your elements more accurately. Learn how to reposition elements with the editor toolbar
Copying and pasting elements
Copy and paste single or multiple elements to quickly build your content. You can copy elements from one page / section, and paste them on another to keep your site's design consistent.
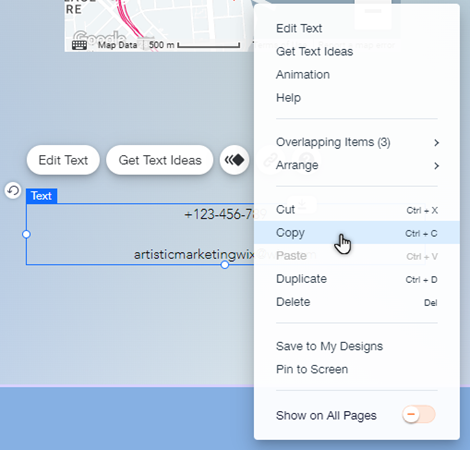
To copy and paste a single element:
- Right-click on the relevant element in your editor.
- Click Copy.
- Navigate to the new page or section in your site.
- Right-click in the desired location.
- Click Paste.
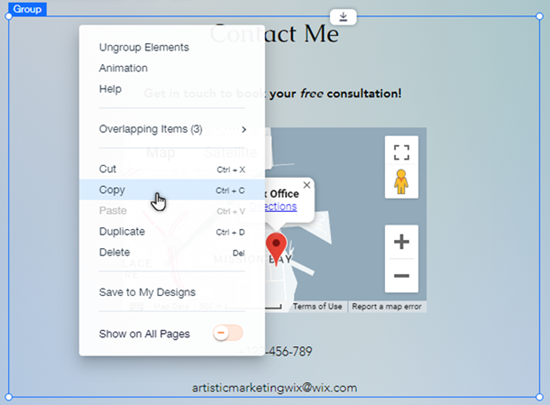
To copy and paste multiple elements:
- Click and drag your mouse over the relevant elements in the editor.
- Click Group Elements.
- Right-click on the group and click Copy.
- Navigate to the new page or section in your site.
- Right-click in the desired location.
- Click Paste.
You should know:
- You can also use the keyboard shortcuts Ctrl+C to copy an element, and Ctrl+V to paste an element (Cmd+C and Cmd+V on a Mac).
- You can copy and paste elements onto a different site in your account.
- If you have trouble selecting all elements, begin by clicking one element, then proceed to click the mouse and drag it.
Resizing your elements
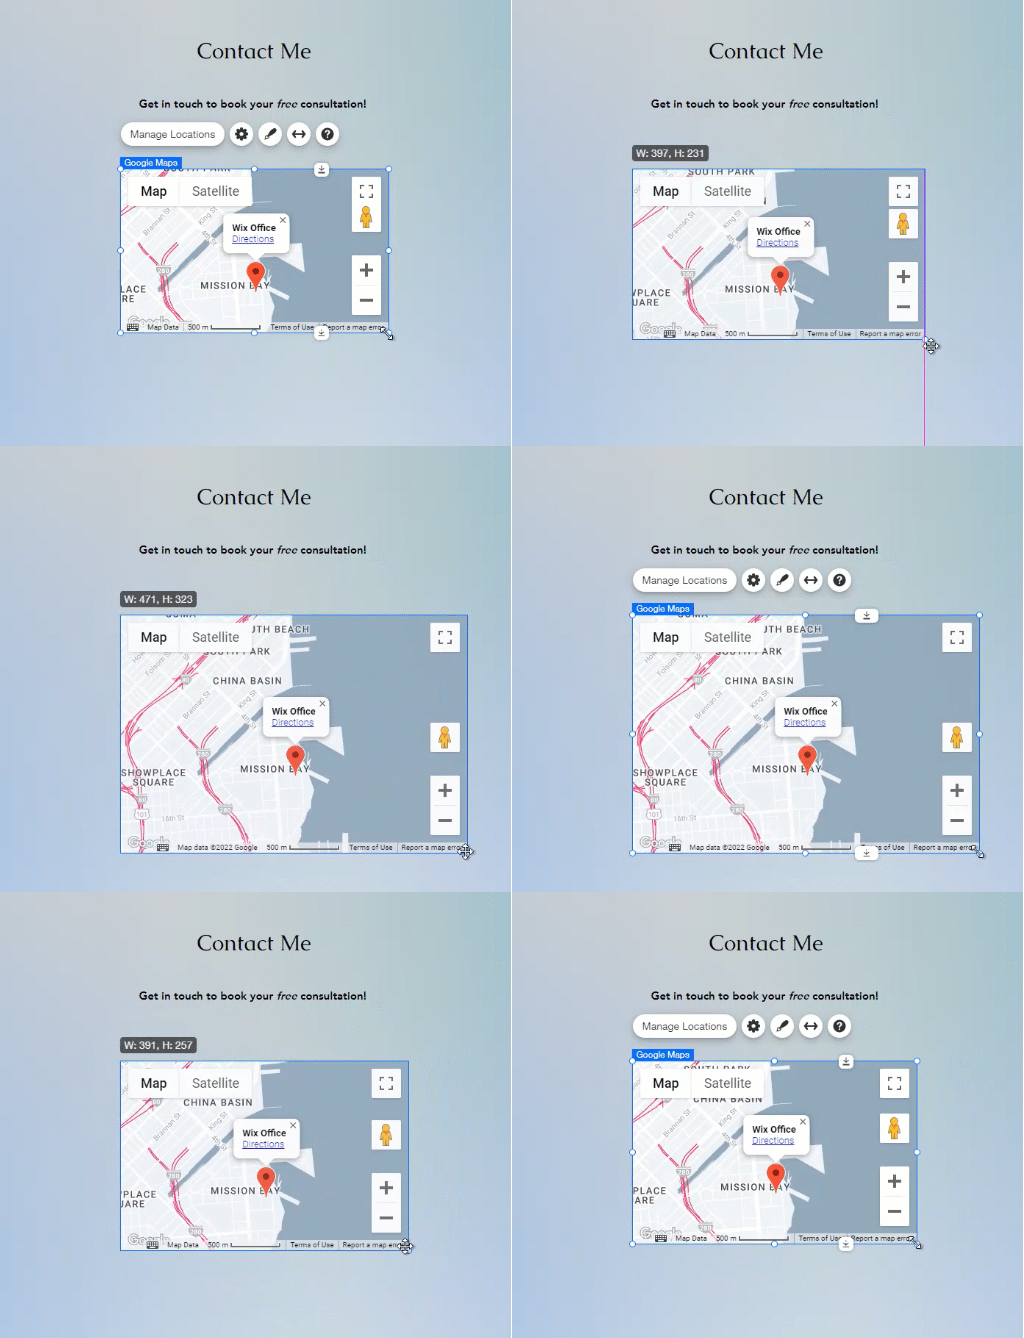
Use the element stretch handles to make your elements as big or as small as you want. When you resize elements, the size of the page or section may automatically adjust to fit the element.
To resize an element:
- Click the relevant element in your editor.
- Drag the stretch handles on the edge of the element.
- Drop the handles when the element is the size you want.
Did you know?
You can use the Editor toolbar to resize your elements more accurately. Learn how to resize elements with the Editor toolbar
Notes:
- Some elements are adjusted proportionally by default, including images, buttons, shapes, and image galleries. Hold down Shift on your keyboard to freely adjust the size of these elements.
- Other elements, such as menus, boxes, slideshows and apps are adjusted freely by default. Hold down Shift on your keyboard to adjust the size of these elements in a proportional manner.
Rotating elements
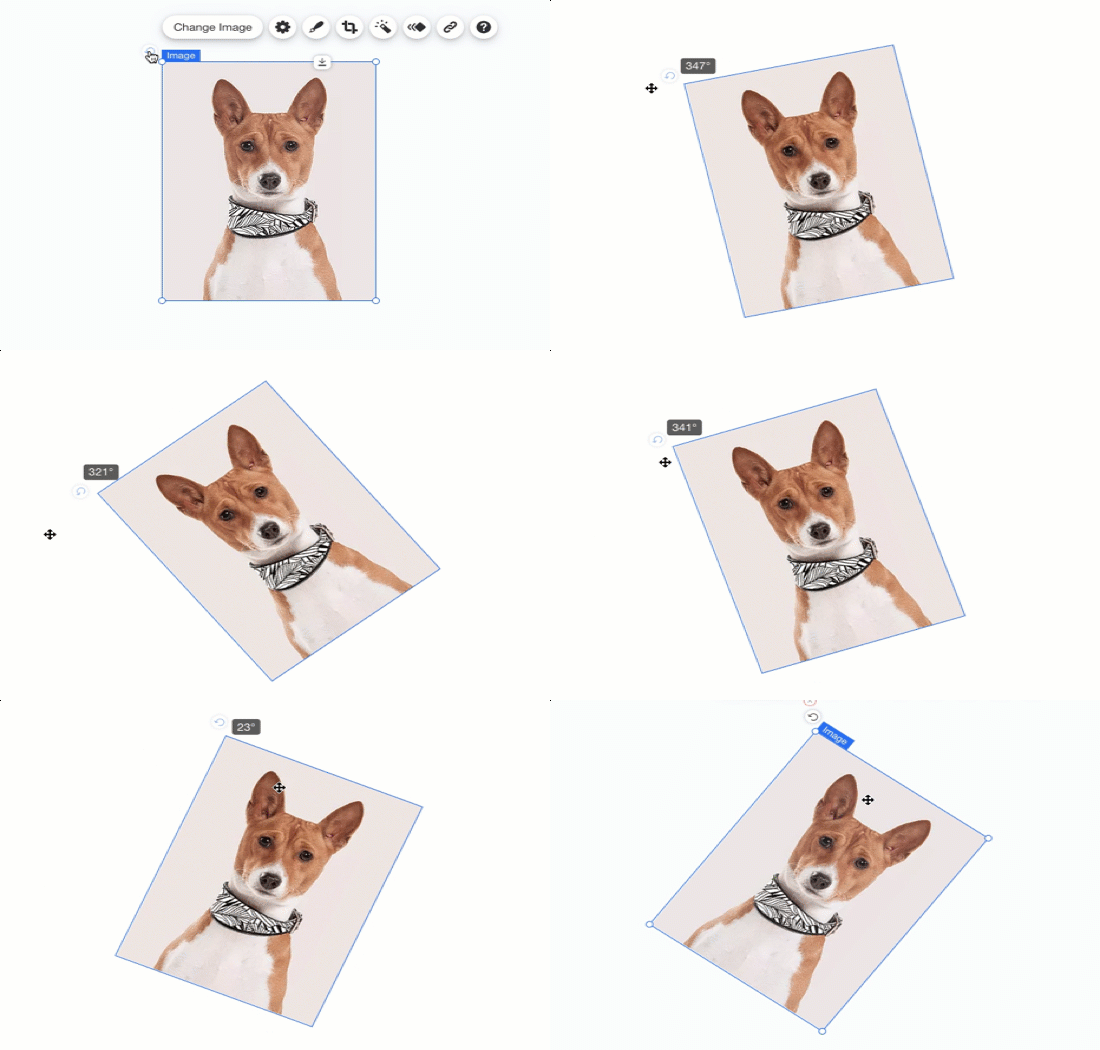
Rotating your elements is a fun, creative way to add a unique touch to your site. You can freely rotate your elements using the icon, which allows you to experiment and find the angle you like best.
To rotate an element:
- Click the relevant element in your editor.
- Click and drag the Rotate icon
 at the top-left of the element.
Tip:
You can also set the rotation angle accurately with the Editor toolbar. Learn how to rotate elements with the Editor toolbar
Copying an element's design
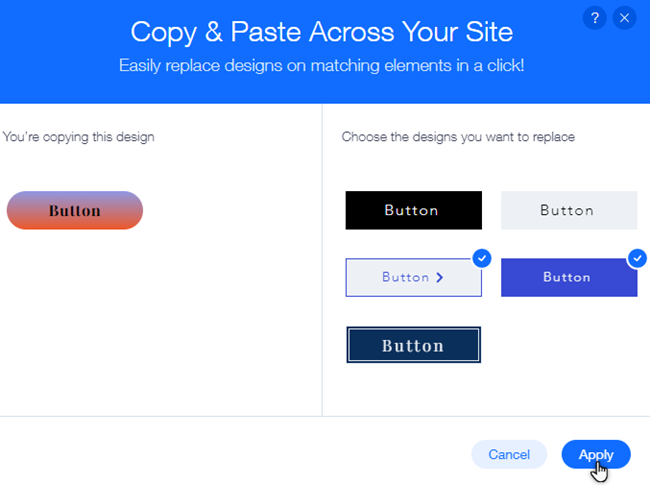
Copy the design of an element and use it on other similar elements on your site. For example, you can copy the design of a button, and apply it to other buttons to keep your site's aesthetic consistent throughout.
To copy the design of an element:
- Right-click the element you want to copy the design from in your editor.
- Click Copy Design.
- Select the designs on the right side of the panel that you want to replace.
- Click Apply.
Note:
The copy design feature is available for pages and themed elements, such as buttons and containers.
FAQs
Click a question below to learn more.
How do I select multiple elements in the editor?
How can I resize, rotate, and position the elements on my site more accurately?
Why is there extra white space at the bottom of my page?


