Wix Editor: Using the Editor Toolbar to Adjust Elements
6 min
In this article
- Arranging elements using the Editor toolbar
- Aligning elements using the Editor toolbar
- Resizing elements using the Editor toolbar
- Positioning elements using the Editor toolbar
- Rotating elements with the Editor toolbar
The Editor toolbar gives you easy access to tools that help you adjust your site's layout and elements as easily as possible. Arrange, align, resize and position elements all from the one toolbar.
How do I show the Editor toolbar?

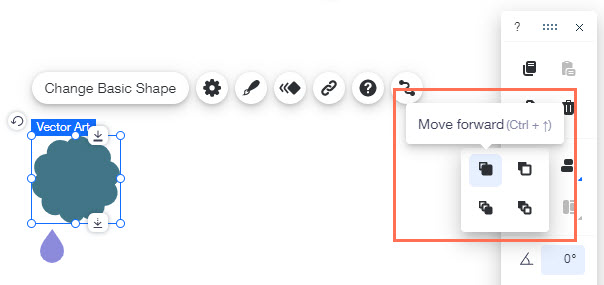
Arranging elements using the Editor toolbar
You can move elements forwards and backwards using the Editor toolbar. The Editor is made up of layers which may be placed behind or in front of another element, causing them to not work properly. You can change the element's placement by moving it forward or backward.
To arrange elements:
- Click the element.
- Click the Arrange icon
 on the toolbar.
 - Select an option:
 Move forward: Moves the element forward one layer.
 Move backward: Moves the element backward one layer.
 Bring to front: Moves the element to the top layer.
 Send to back: Moves the element to the bottom layer.
Note:
You can also arrange elements using the right-click menu. Click here to learn more.
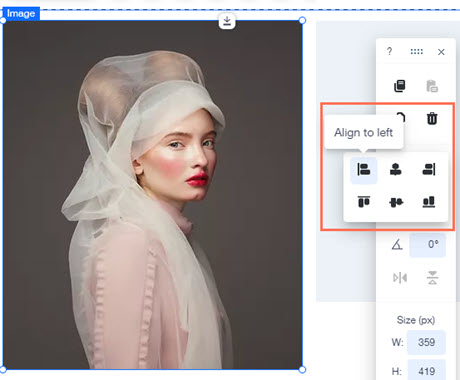
Aligning elements using the Editor toolbar
You can align elements accurately on your site using the Editor toolbar in just a couple of clicks. Depending on the alignment you select, Wix will automatically align all elements to that direction.
To align elements:
- Multi-select the elements you want to align by dragging your cursor over them.
- Click the Align icon
 on the editor toolbar.
 - Click an align option:
 Align to right
 Align to center
 Align to left
 Align to bottom
 Align to middle
 Align to top
Note:
You can also align just one element using the Editor toolbar align feature. The element is aligned inside the container it is positioned in (e.g. page, header, box).
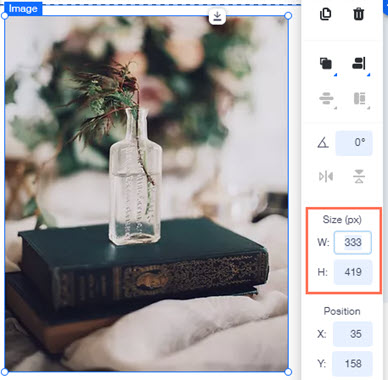
Resizing elements using the Editor toolbar
You can resize elements accurately using the Editor toolbar by changing the width and height values.
To resize elements:
- Click the element.
- Enter a number in the W field to change the width.
- Enter a number in the H field to change the height.
Tip:
To check the exact height and width of an element, click the element and view the size in the Editor toolbar.
Note:
You can also resize elements using the stretch handles, but this method is not as precise.
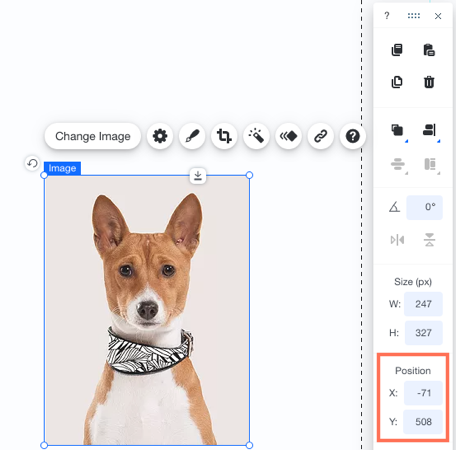
Positioning elements using the Editor toolbar
Accurately position elements on your page by changing the X and Y values on the Editor toolbar. Y is the vertical positioning of the element in the Editor, while X is its horizontal positioning.
To position elements:
- Click the element.
- Type the new values next to X and Y in the Editor Toolbar, pressing Enter after each value.
Tip:
To align more than one element on the horizontal or vertical axis, simply make sure that all of their x or y values are the same. Alternatively, drag an element until the Wix Smart Guide (purple line) indicates the elements are aligned.
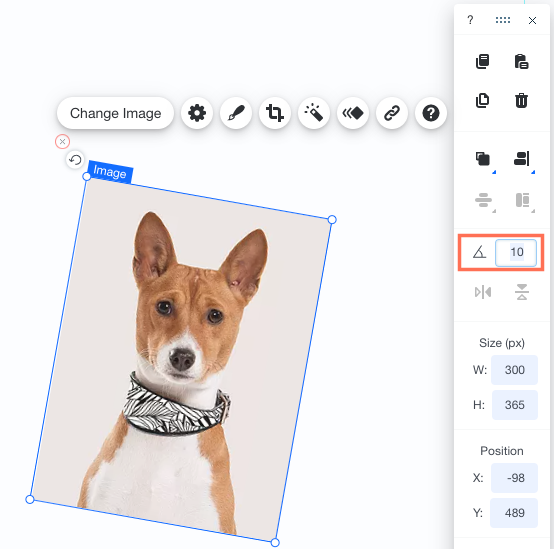
Rotating elements with the Editor toolbar
The Editor toolbar allows you to rotate elements accurately by entering the rotation degree. This is an easy way to precisely rotate elements on your page to the angle you want.
To rotate an element using the Editor toolbar:
- Click the relevant element in your Editor.
- Enter the rotation degree on the toolbar next to the Rotation icon
.
- Press the Enter key on your keyboard.