Workflows: Working with Steps (Columns)
4 min read
Every workflow is divided into columns that represent steps in your project, process or flow (e.g., Lead Created, Paid & Completed, etc). Whether you're working with a template or creating a new workflow from scratch, you can customize the steps to your needs. Then, add cards under each column for the contacts you're working with.
Learn how to:
Add a New Step
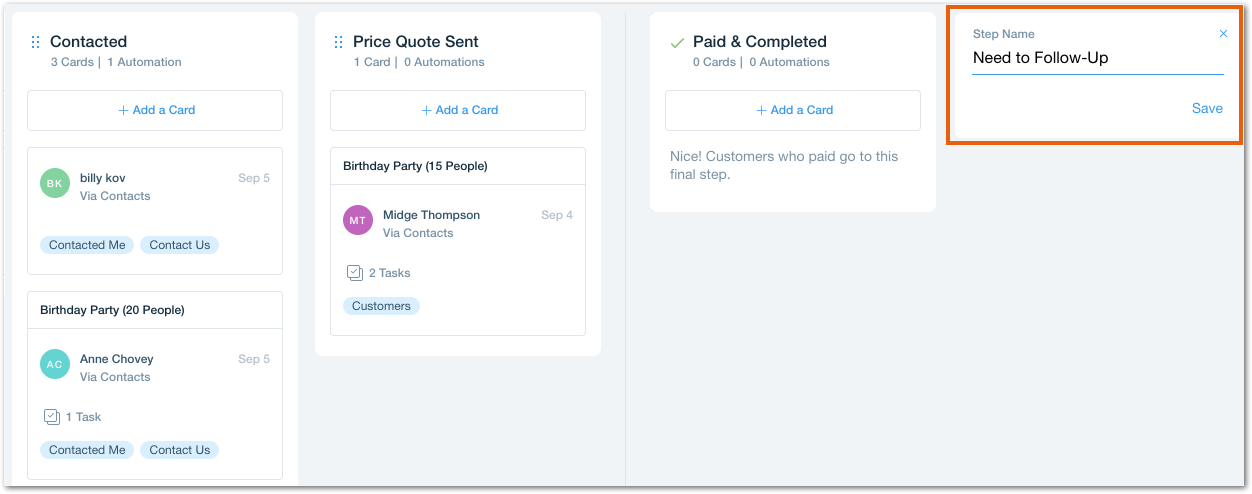
You can easily add as many steps as you need to your workflow. Go to the relevant workflow and click + Add Step on the right. Then, give your step a name and move it to the right place in your flow.
Show me how
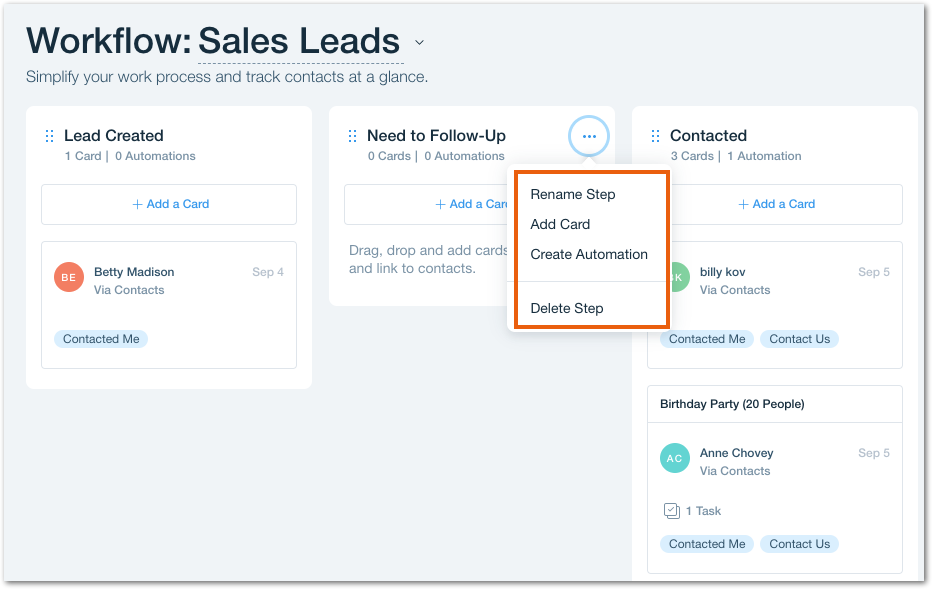
Manage Your Steps
Manage any step by hovering over it and clicking the Show More icon  . Rename your step, add contact cards under it or create an automation that streamlines the process. You can also remove unnecessary steps at any time.
. Rename your step, add contact cards under it or create an automation that streamlines the process. You can also remove unnecessary steps at any time. Note:
Every workflow has a "final step" column (e.g. "Paid & Completed") and archive column. These appear to the right of a dividing line. You can't add steps to the right of the line or delete these steps. Click the More Actions icon to rename your "final step" or hide your archive step.
to rename your "final step" or hide your archive step.Show me how
Reorder Your Steps
Change the order of your workflow steps at any time. Simply click the Reorder icon  next to the relevant step and drag it to the right location.
next to the relevant step and drag it to the right location. 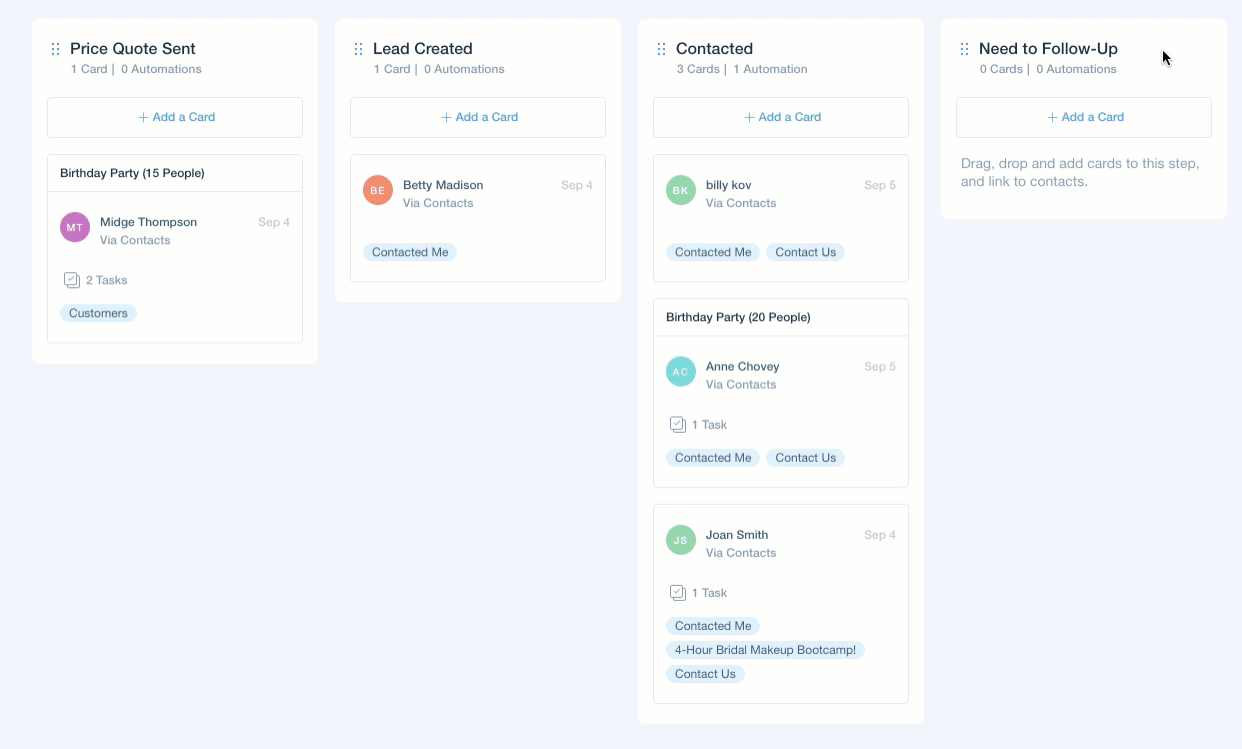
Did this help?
|