


Wix Studio: Creating and Managing Your Agency's Scheduling Links
- Creating a new scheduling link
- Managing your scheduling links
- Managing your scheduled meetings
- FAQs
Creating a new scheduling link
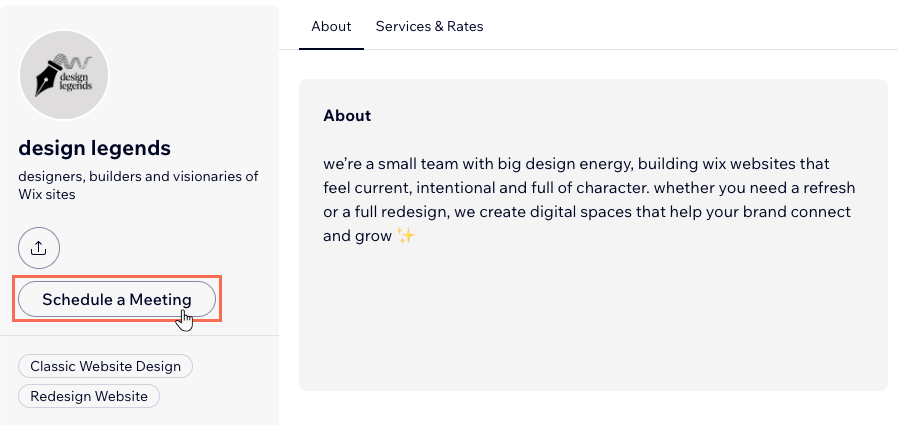
Create scheduling links for the different meetings your agency offers, then choose whether to share them directly or feature 1 of them on your agency profile. This is useful if you want separate links for discovery calls, paid consultations, or follow-up meetings.
To create a new scheduling link:
Go to Agency Profile in your Wix Studio workspace.
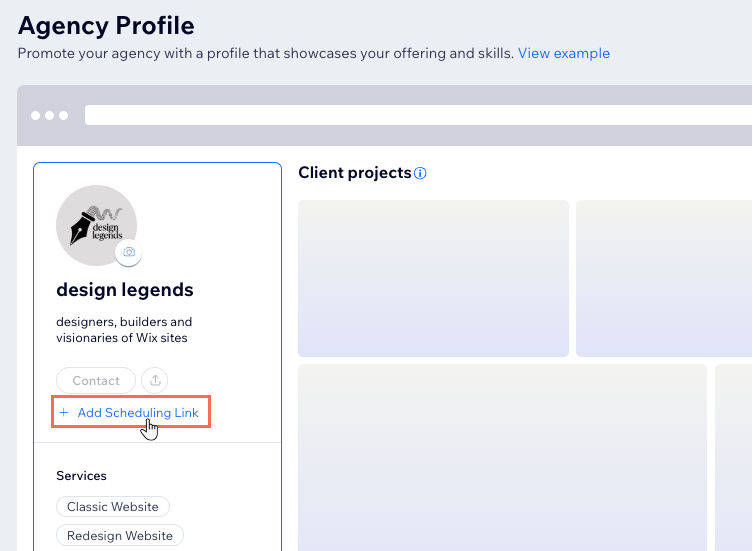
Click + Add Scheduling Link under your agency logo.
(In the popup) Click Go to Meetings.
Create your meeting link:
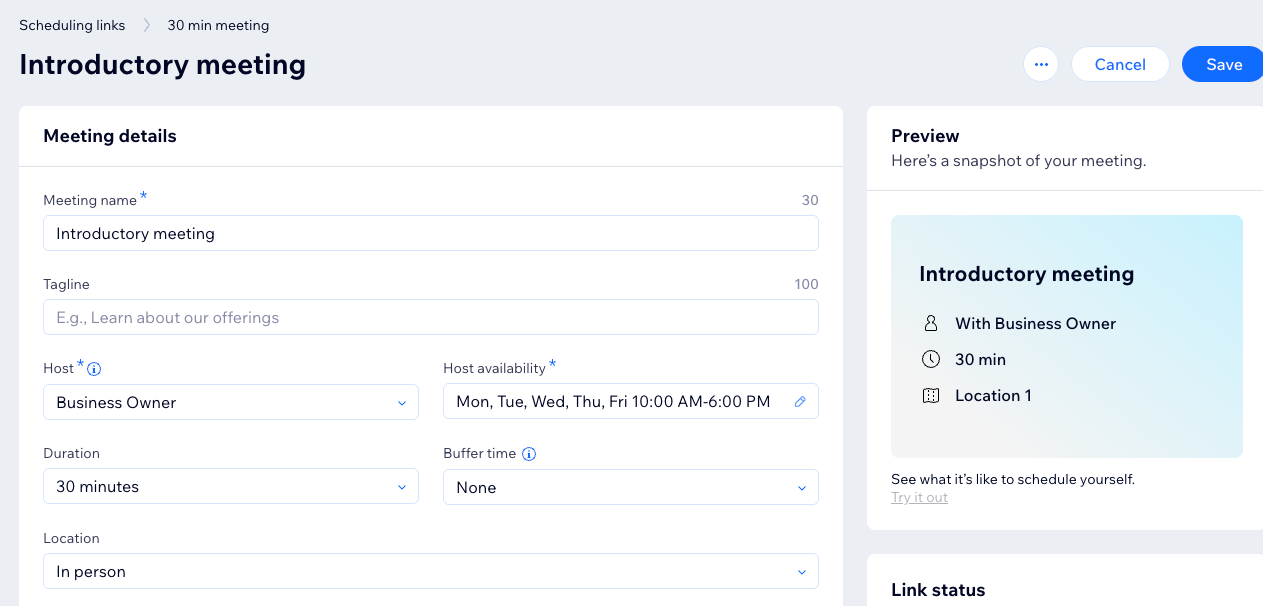
Meeting details: Add the meeting details, including a title, an informative tagline, host, availability, price, location and more.
Meeting settings:
Guest form: Click Edit to customize the form that collects details from your potential client. By default, the form collects the person's full name, email and phone, but you can add many more fields.
Policy: Click Edit to choose the scheduling rules, such as when and how clients can cancel meetings and whether meetings are approved automatically or manually.
Link status: Decide whether or not the link should be active once you save it. If you're not ready to take meetings yet, you can disable it now and enable it later.
Scheduling assistant: Choose what your clients see when they click the scheduling link - your calendar or a chat with the scheduling assistant.
Tip: Clients see both options either way, but you decide which one they see first.
Click Save at the top right.
(Optional) Copy the scheduling link to share with your clients, or test it out yourself.
- Add the link to your agency profile:
- Go to Agency Profile in your Wix Studio workspace.
- Click + Add Scheduling Link under your agency logo.
- (In the popup) Select the relevant meeting link and click Add to Profile.
Managing your scheduling links
To manage your scheduling links:
- Go to Meetings in your Wix Studio workspace.
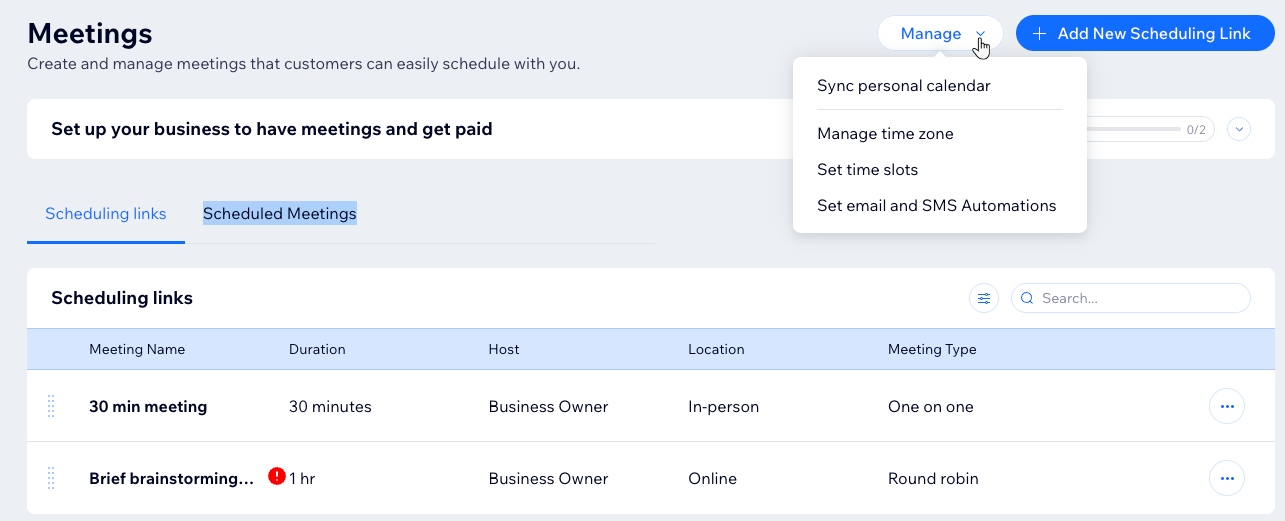
- Click the Scheduling links tab.
- Choose what to do next:
- Add more scheduling links: Click + Add New Scheduling Link at the top right and set it up.
- Share a scheduling link: Hover over the relevant link and click Share to get a link you can send to your clients.
- Manage an existing scheduling link: Click the More Actions icon
 next to a link to edit its details, see it live, deactivate it or remove it completely.
 - Manage your calendar: Click Manage at the top right to sync your personal calendar (Google, Apple, Outlook or Office 365), change the time zone and set time slots. You can also set email and SMS notifications to stay informed on the go.
Managing your scheduled meetings
To view and manage your scheduled meetings:
- Go to Meetings in your Wix Studio workspace.
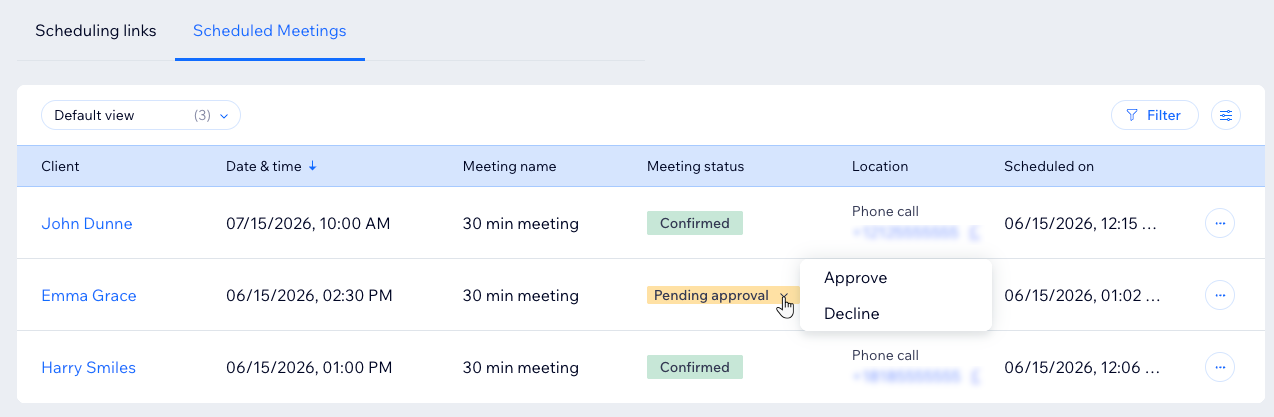
- Click the Scheduled Meetings tab.
- (Optional) Click Filter to filter the meeting list by date, status, name and more.
- Click the More Actions icon
 next to the relevant meeting.
 - Choose what to do next:
- Send message: Send an email to your client.
- View form submission: See what the client wrote in the form when they scheduled the meeting.
- Reschedule meeting: Change the meeting date or time, and choose how to notify your client.
- Cancel meeting: Remove the meeting from your calendar.
- Approve or decline a pending meeting: If the meeting's policy requires manual approval, click Pending approval in the Meeting status column to approve or decline the meeting.
FAQs
