

Wix Stores: Creating a Manual Order Using Wix Invoices
2 min
Using Wix Invoices, you can create an invoice and a new store order in one go.
This can come in handy when you want to add other charges to the invoice (e.g. charging billable hours) along with Wix Stores products.
Tips:
- Out of stock items can be added to the invoice.
- You can add store products to an invoice - without creating a store order - by following the instructions below, but select Invoice in step 3.
To create a manual order through Wix Invoices:
- Go to Invoices in your site's dashboard.
- Click New Invoice.
- Select Invoice & Order.
- (Optional) Edit the Issue Date for your invoice.
- (Optional) Edit the Due Date.
- Enter your customer's details:
Note: Details must include phone number, shipping and billing addresses.- Click Customer and select an option:
- Select an existing contact from the drop-down.
- Click + New Customer to add a new contact.
- Click Customer and select an option:
- Enter an invoice title.
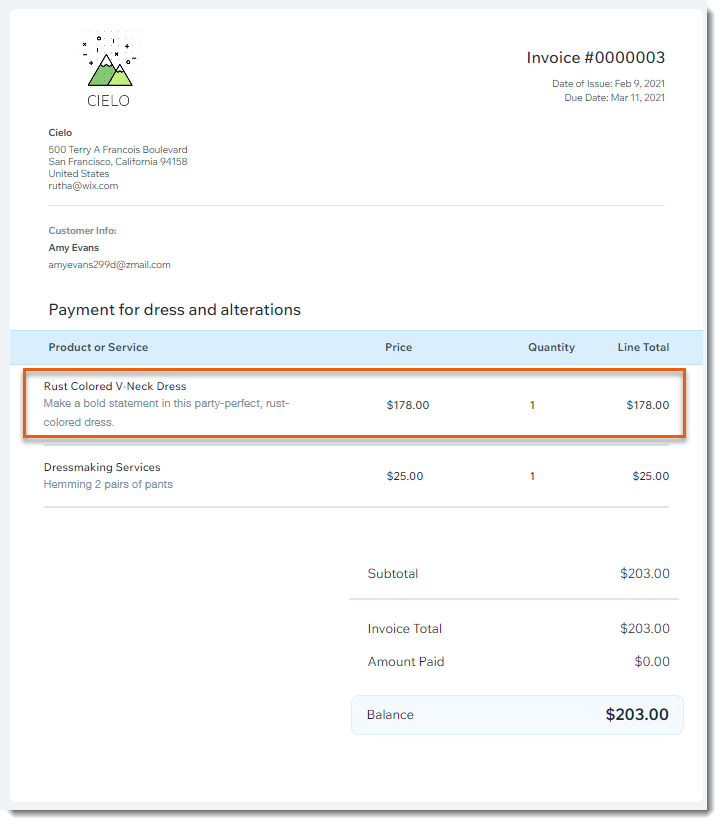
- Add a store product to your invoice:
- Click the Product or Service drop-down and select a store product.
- If relevant, select product variants and click Add to Invoice.
Note: The product price and description are added automatically and can be edited.

- (Optional) Select an existing tax from the drop-down menu or create a new one.
- (Optional) Add a line item to your invoice (e.g. billable hours):
Tip: You can select this line item next time you send an invoice.- Click the Product or Service drop-down.
- Select an option:
- Add a new invoice item:
- Click +Add New.
- Enter a name (e.g. Dressmaking Services).
- Enter a description (e.g. Alterations on blue jacked).
- Enter a price.
- Click Save & Add.
- Select an existing invoice item: Select the item from the drop-down.
- Add a new invoice item:
- (Optional) Select an existing tax rate from the drop-down menu or create a new one.
- (Optional) Click Add Discount and enter a discount.
- (Optional) Scroll down and enter or edit the text in the Notes and Legal Terms fields.
- Click Preview to view your invoice.
- Click Send Invoice.
What's next?
After your customer pays the invoice online, the order appears in the Orders tab.
