Wix Stores: Connecting and Setting Up a Wish Shop
10 min read
Important:
This feature is available for merchants based in the US with English language sites.
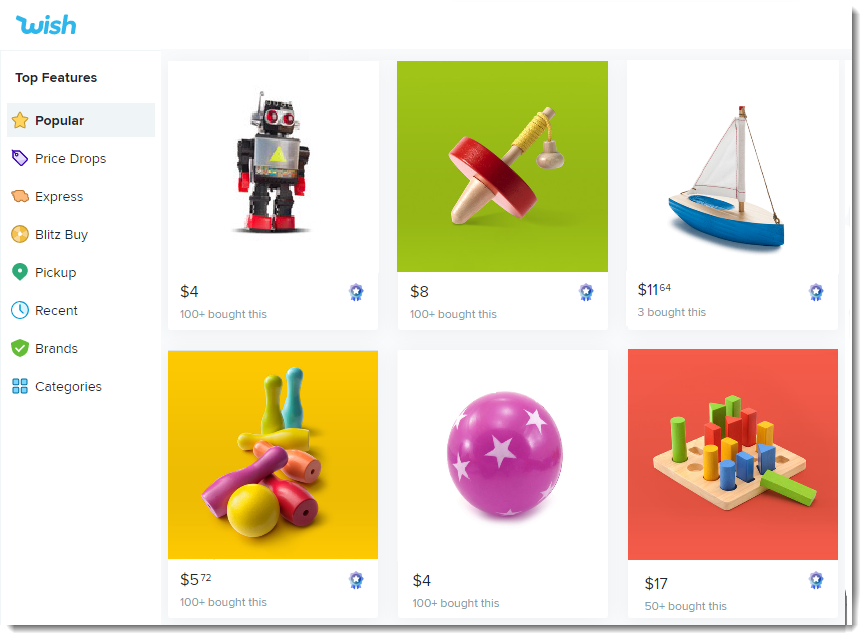
Increase your brand exposure by selling your products on Wish.
This article will walk you through how to connect your Wix store to Wish and list your products.
FAQs
Does Wish offer special benefits to Wix store owners?
I already have a Wish account. Can I connect it?
In which countries can I sell?
Are products and currencies adapted for international customers?
Do I need a Wix Premium plan to set up my Wish shop?
Which products can you sell on Wish?
What happens to products that I hide from my Wix store?
Step 1 | Create a Wish account
To set up your Wish shop, go to the Wish tab in your site's dashboard and click Get Started.
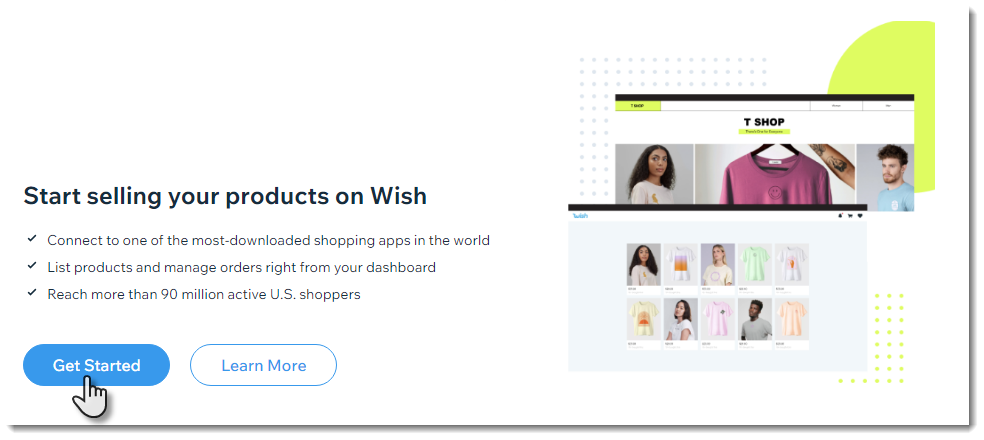
To create a Wish account:
- Go to the Wish tab in your site's dashboard.
- Click Get Started.
- Select what you want to do:
- Create a new account: Click Sign up and complete the form to create a new account.
- Log in to an existing account: Click Log in and enter your Wish username and password.
- Click Allow access.
Note: Your Wish account is now connected to your Wix site. - Click Continue.
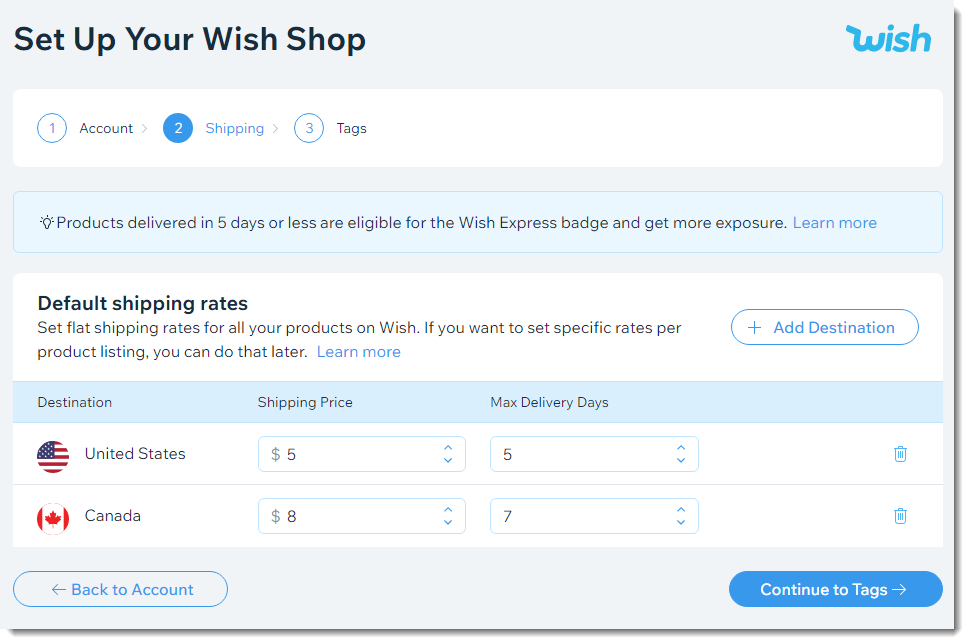
Step 2 | Select your default Wish shipping settings
Now that you have a Wish account, you can set up default shipping preferences. The defaults are automatically applied to each of your Wish products. Later, you can edit these settings for each product.
Notes:
- You need to set up default shipping for at least one region.
- The default shipping rates can be updated at any time. When you change them, the change is reflected only on new products, not retroactively.
To select default Wish shipping settings:
- If not already there, go to the Wish tab in your site's dashboard.
- Enter a shipping price for the first shipping area.
Note: If you don't want to set up shipping for this area, you can add an additional area and then disable the first one. - Enter the maximum number of delivery days.
Note: You are required to pack and send the package within 5 days of an order being placed. - (Optional) Set up default shipping rules for additional destinations:
- Click + Add Destination.
- Select the checkboxes next to one or more countries.
- Click Add.
- Enter a price and maximum delivery days.
- Click Continue to Tags.
Step 3 | Select your default Wish tags
Tags help customers find the products they're looking for.
Add up to 5 default tags. Choose tags that apply to as many of your products as possible. Make sure the tags describe the types of products you sell (e.g. "shirt" "electronics", not "elegant" or "sale"). Learn more from Wish
These tags are automatically applied to all new products. Later, you can edit tags per product. For example, if you entered "dress" as a tag because you sell many dresses, you can remove it from products where that tag isn't relevant (e.g. pants or shirts).
To select default Wish tag settings:
- Enter your first tag (e.g. Clothes) and press Enter on your keyboard.

- Repeat to add up to 5 tags in total.
Tip: When editing tags per product, you can add up to 10 tags. - Click Continue to Wish Shop.
Step 4 | Edit general info for products without product options
Now you should see a list of your Wix store products.
Note:
Digital and subscription products do not appear in the list since they cannot be sold on Wish.
The products have the Unlisted label because they are not yet listed on Wish.
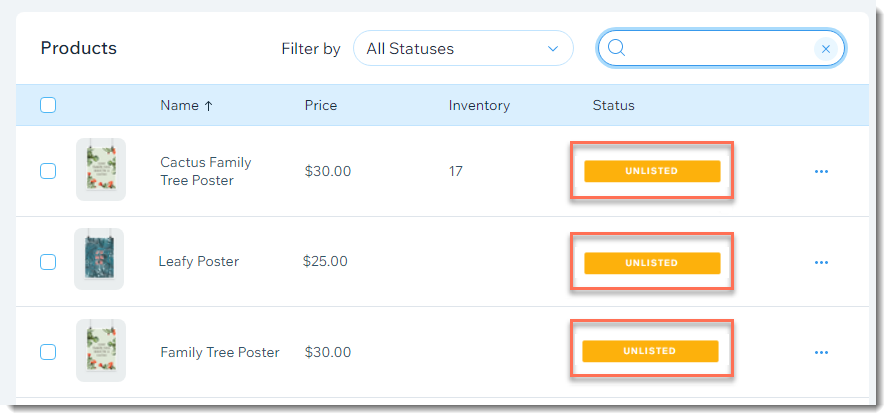
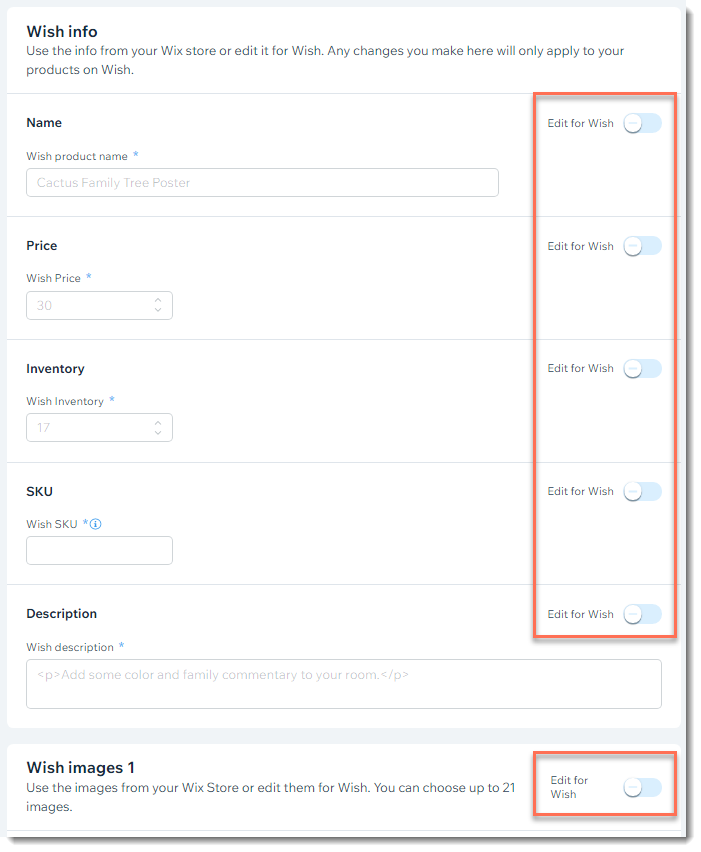
Each product has the default settings taken from your Wix store (e.g. product name, price, images). You can keep these settings, or update them for Wish.
Tip:
You can follow these instructions to edit products without product options. To learn how to edit products with options, skip to Step 5.
To edit products without product options:
- Click to select a product without product options.
- Enable the Edit for Wish toggle next to any of the fields to make changes to it in Wish.
Tip: Any values you don't edit are displayed in Wish as they are in your Wix store.
- Edit any of the product details:
- Name: Enter a product name.
- Price: Enter a product price.
- Inventory: Enter an inventory amount.
Tip: You may want to display a lower inventory amount to create a sense of urgency for your Wish customers. - SKU: Enter an SKU.
- Description: Enter a product description
- Wish images: Add up to 21 images.
Note: GIFs and videos are not currently supported.
- Enter the Wish product specifics:
- MSRP (Manufacturer's Suggested Retail Price): This is the price the product manufacturer suggests it should be sold at. It is not the price you are charging. The MSRP is visible on Wish.
- Product condition: By default, every product's condition is "New". You can select a different option.
- GTIN (Global Trade Item Number): This is a unique code used for tracking. It can be different for each product variant if you have product options. You can use this field to enter a UPC, EAN or ISBN, for example.
- Click Save and select Save as draft.
Step 5 | Edit general info for products with product options
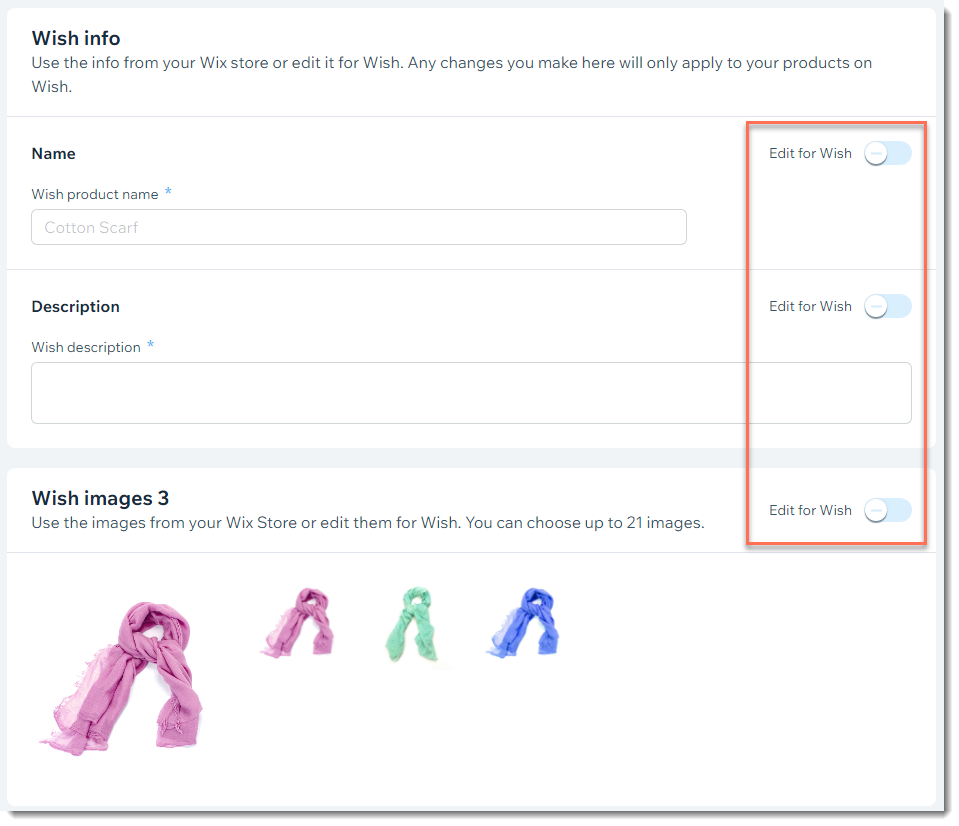
Now you can edit the default product name, price, images, and more for a product that has product options.
To edit products with product options:
- Click to select a product with product options.
- Enable the Edit for Wish toggle next to any of the fields to make changes to it in Wish. Tip: Any values you don't edit are displayed in Wish as they are in your Wix store.
- Edit any of the product details:
- Name: Enter a product name.
- Price: Enter a product price.
- Inventory: Enter an inventory amount.
Tip: You may want to display a lower inventory amount to create a sense of urgency for your Wish customers. - SKU: Enter an SKU.
- Description: Enter a product description
- Wish images: Add up to 21 images.
Note: GIFs and videos are not currently supported.
- Edit the variants:
- Select the fields you want to edit for Wish from the drop-down.

- Edit any of the settings (e.g. replace images, edit the price).
- (Optional) Click the Hide icon
 next to any variant to hide it from your Wish shop.
- Select the fields you want to edit for Wish from the drop-down.
- Enter the Wish product specifics:
- MSRP (Manufacturer's Suggested Retail Price): This is the price the product manufacturer suggests it should be sold at. It is not the price you are charging. The MSRP is visible on Wish.
- Product condition: By default, every product's condition is "New". You can select a different option.
- Click Save and select Save as draft.
Step 6 | Edit default tag settings
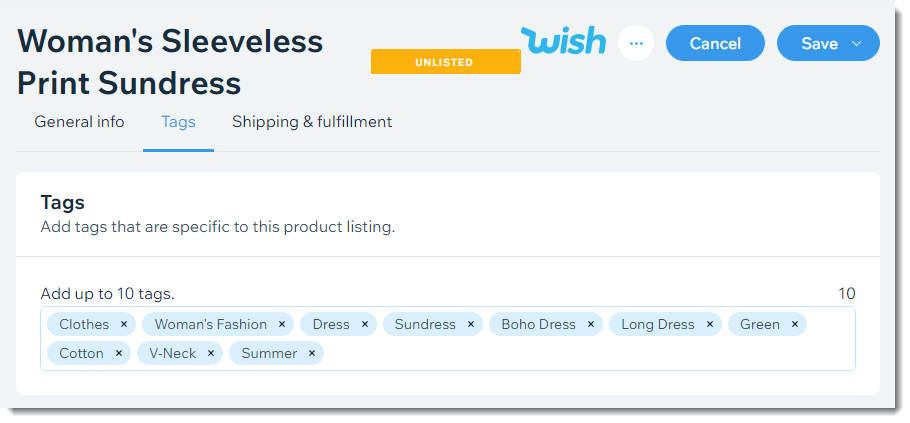
When you go to the Tags tab, you'll see the default tags you created for your Wish shop. If these are appropriate for this product, you can skip to the next step. Otherwise, you can add or remove tags to suit the product.
Note:
You can add up to 10 tags.
To edit the default tag settings for this product:
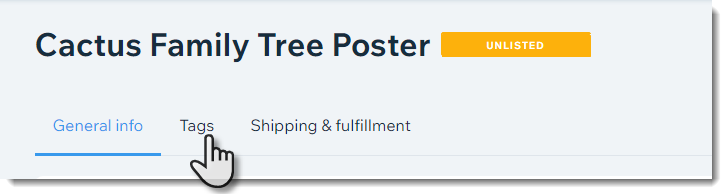
- Select the product again.
- Click the Tags tab.
- Add or remove tags. Make sure to press Enter on your keyboard after you add a tag.
Note: Enter tags that describe the type of product (e.g. "poster", not "sale"). Learn more from Wish - Click Save and select Save as draft.
Step 7 | Edit default shipping settings
Now you can edit the default shipping rules you set up, if you want to change them for this product. You can also add logistics information.
Edit the default shipping settings for this product:
- Select the product again.
- Click the Shipping & fulfillment tab.

- (Optional) Edit the default shipping settings.
- Edit the Shipping Price.
- Edit the Maximum Delivery Days.
- Click the toggle to disable shipping to this destination.
Note: Shipping must be enabled for at least one destination at all times. Before you can disable the last shipping destination you must add a new one.
- (Optional) Set up shipping for additional destinations:
- Click Add Destination.
- Select the checkboxes next to one or more countries.
- Click Add.
- Enter a price and maximum delivery days.

- (Optional) Enter logistics information for the product:
Note: The information you enter is used for international shipping to help ensure that products pass customs inspections.- Declared Name: Enter what the product actually is (e.g. a poster).
- Declared Local Name: Enter the name of the product used locally.
- Package Length: Enter the length in centimeters.
- Package Width: Enter the width in centimeters.
- Package Height: Enter the height in centimeters.
- Count of Pieces Included: Enter the number of items included in the product.
- Country of Origin: Enter the code for the country where the product was manufactured. The country code should follow ISO 3166 Alpha-2 code.
- Customs HS Code: Enter a customs Harmonization System (HS) code. This code is a standardized method to classify traded products used for customs declaration. Make sure to include this for all European-bound orders.
- Customs Declared Value: Enter the price or insured value, in US dollars, that will be declared at customs.
- Contains Powder: Select a response from the drop-down.
- Contains Liquid: Select a response from the drop-down.
- Contains Battery: Select a response from the drop-down.
- Contains Metal: Select a response from the drop-down.
- Click Save and select Save as draft.
Step 8 | List your first product
Now you are ready to list your first product on Wish.
Note:
As soon as your first product is approved, your Wish shop is live.
You can list products in a number of ways. Anytime you save changes to a product, you can select the Save & update option.
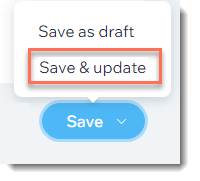
This not only saves your changes but lists your product on Wish. Additionally, you can list products from the product list.
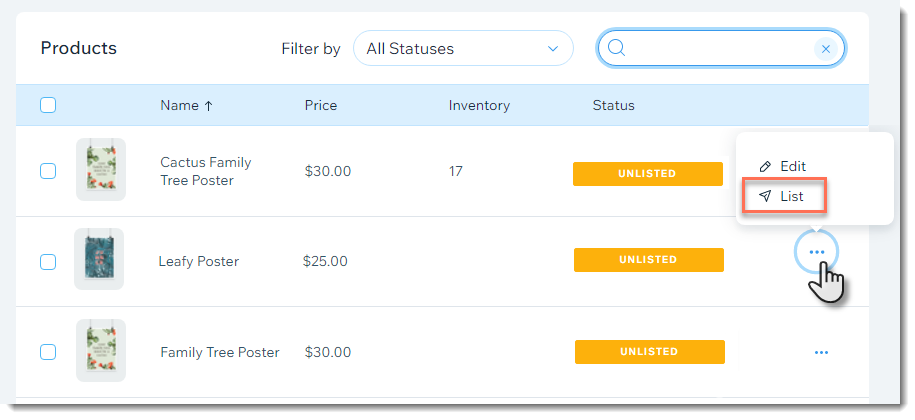
After you click List, the product is sent to Wish for approval. This can sometimes take up to 48 hours. While going through the review process, the product has an In Review label.

When the product is approved, it appears in your product list with a Listed label. You can see a summary of the status of all your products at the top of the page.
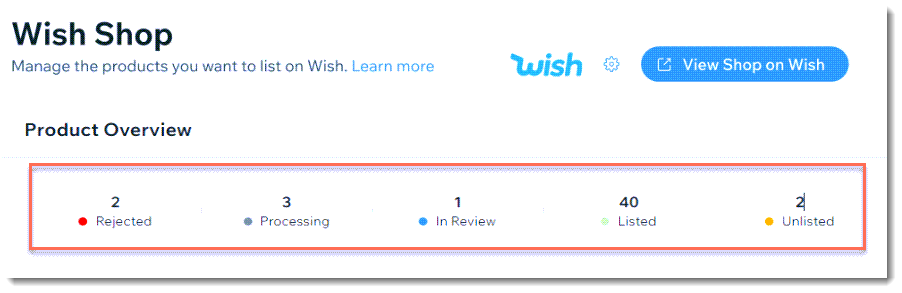
Click any of the options to view the relevant products.
Did this help?
|