

Wix Stores: Adding Product Modifiers
7 min
In this article
- Adding modifiers
- FAQs
Important:
We're in the process of releasing a brand-new product creation page. If the first field you see is 'Images and videos', you have the previous version where modifiers aren't available. You can, however, add product options.
Use modifiers to provide product customizations that don't require different pricing or separate inventory tracking for each one.
Modifiers allow you to offer free additional extras, such as gift wrapping, embellishments, or engraving. Customers can select the modifiers they prefer on the product page.

Understanding when to add product options and when to add modifiers
Adding modifiers
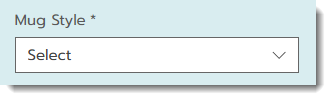
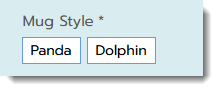
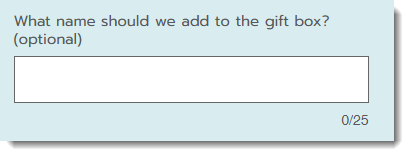
Modifiers can appear as text options, color swatches, or as text boxes that customers fill in. Text options and color swatches are always required fields, but text boxes can be optional.

To add modifiers:
- Go to Products in your site's dashboard.
- Click +New Product or select an existing product.
- Scroll down to the Modifier section.
- Click +Add Modifier.
- Choose the type of option you want to create:
Create a text choice modifier
Create a color swatch modifier


 .
. .
.Create a text box modifier
FAQs
Click a question below to learn more.
What do modifiers look like on my site?

How many modifiers can I create?
How can I connect an image or video to a modifier?
 next to a modifier.
 next to the first option.
Can I make changes to multiple modifiers at once?

Do customers see the modifier name I enter?
Are modifiers always required fields?
I use my modifier choices to display filters on my live site. How can I organize them?
