


Wix Stores: Adding Filters and Sorting to Product Galleries or the Category Page
5 min
In this article
- Displaying default filters
- Creating custom filters
- Displaying sorting options
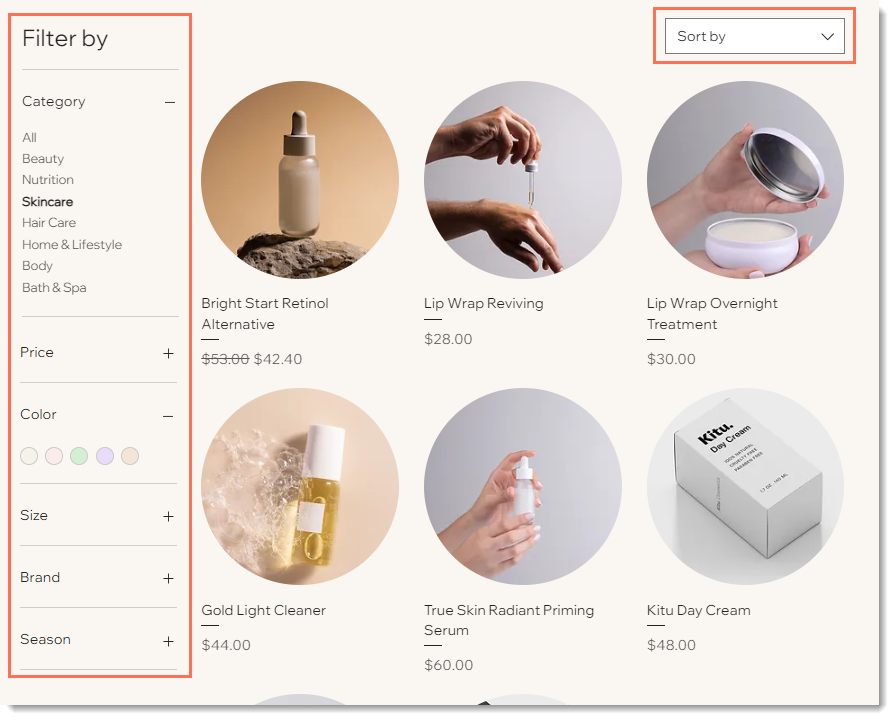
Make it easy for customers to find the perfect product by adding filters and sorting options to your site's Category page or to a grid gallery.
You can display the default filters already set up for you or create your own custom filters. You can also add a "Sort by" drop-down so that your customers can sort your products as they wish.
Note:
Filter and sorting options are not available in slider galleries.
Displaying default filters
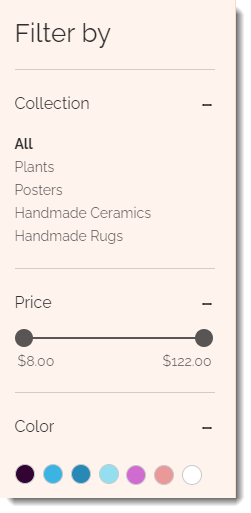
Wix Stores comes with 3 preset filters. You can let customers filter by:
- Category
- Price
- Product Options
To set up default filters:
- Click the Category page or relevant gallery in your editor.
- Click the Settings icon
 .
. - Click the Filters tab.
- Enable the Show filters toggle.
- Select the Show filters title checkbox to display or hide the title.
- Select the Show applied filters section checkbox to show customers which filters they've selected.
- (Optional) Edit the Filter Title.
- Choose which types of filters you want to set up:
Filter by category
 .
.
Filter by price

Filter by product options


Note:
Filtered products do not necessarily appear on your live site in the order in which they appear in categories.
Creating custom filters
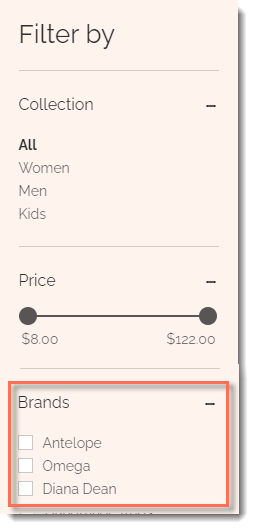
You can create your own filters using the custom filter option. For example, your site might have 3 categories displayed on 3 sites pages, "Men", "Women", and "Kids". You may want to add the option to filter by brand. To do so, you need to first create a category for each brand you carry in your store.
To create custom filters:
- Create the categories you need for the custom filter (e.g. brands).
- Click the Category page or relevant gallery in your editor.
- Click the Settings icon .
- Click the Filters tab.
- Enable the Show filters toggle.
- (Optional) Edit the Filter Title.
- Click +Create Custom Filter.
- Enter a name for your custom filter (e.g. brands).
- Deselect the checkboxes next to categories you don't want to include in the custom filter.
Displaying sorting options
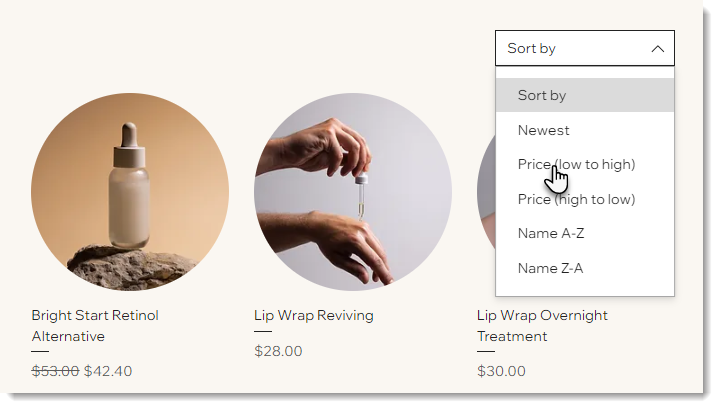
Allow customers to sort products by price, name, or to show the newest products first.
To add sorting options:
- Click the Category page or relevant gallery in your editor.
- Click the Settings icon .
- Click the Sorting tab.
- Enable the Show "Sort by" options toggle.
- (Optional) Edit the Sorting title.
- Deselect any sorting options you don't want to display.
