

Wix Pro Gallery: Customizing Your Gallery's Text Boxes
5 min
In this article
- Choosing a text box style
- Customizing your text box design
- FAQs
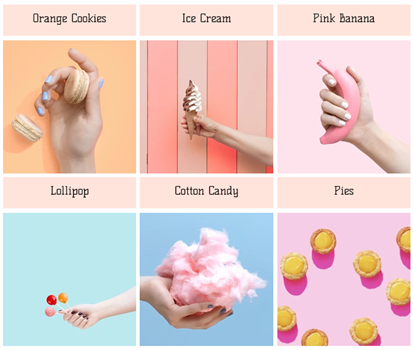
When you choose to display your gallery items' info (text and/or description) above or below the item itself, you can choose from different text box styles. You can customize the text box background color, height, space between the image and text, and more.
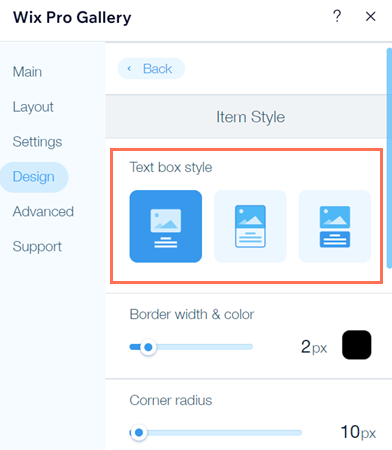
Choosing a text box style
Choose from three text box styles to showcase your gallery text in the Item Style tab of the Design settings panel.
Wix Editor
Studio Editor
- Go to your editor.
- Click the pro gallery element on your page.
- Click Settings.
- Click the Design tab.
- Click Item Style.
- Select a style from the three text box styles:
- No background: The text box has no background.
- Background attached: The text box has a colored background and is attached to the image. The text box is attached to the top of the image if you chose to display the info above, and is attached to the bottom of the image if you chose to display the info below.
- Background detached: The text box has a colored background but is not attached to the image. A small amount of space is present between the image and text box.
Customizing your text box design
Customize your text box's color, height, and more, as well as the text within, so that it rhymes in with the rest of your site. You can do this from the Texts tab in the Design settings panel.
Wix Editor
Studio Editor
- Go to your editor.
- Click the pro gallery element on your page.
- Click Settings.
- Click the Design tab.
- Click Texts.
- Customize your text and text box using the following options under the Text Design section:
- Title style and color: Select the font and color of the title text.
- Description font style and color: Select the font and color of the description text.
- Horizontal alignment: Choose to align the horizontal text either to the left, the center, or to the right.
- Fill color & opacity: Click the color box and select the background color of the text box. Drag the slider to adjust the background color's transparency.
Note: If you choose the No background text box style, this option isn't available. - Adjust text box height: The text box height depends on the font size of the title and description. Select the relevant checkbox to choose to adjust the text box automatically or manually.
- Automatically: The text box height is automatically determined based on the font size of the text.
- Manually: Drag the slider to adjust the text box height.
Tip: Make your font smaller or manually adjust the text box height if you use long descriptions for your images.
- Space between image and text: Drag the slider to change the amount of space between the image and the text box (from 0 to 100 pixels).
- Text vertical padding: Drag the slider to change the amount of space between the vertical text and the border.
- Text horizontal padding: Drag the slider to change the amount of space between the horizontal text and the border.
- Space between title & description: Drag the slider to change the amount of space between the title and description (from 0 to 50 pixels).

FAQs
Click a question below to learn more about customizing text boxes:
What layouts are text boxes available in?
Can I customize my text box further?

Can I add collapsible text to my gallery?
