

Wix Pro Gallery: Adding a Shadow to Your Gallery Items
4 min
In this article
- Enabling and customizing shadows
- Applicable layouts
Add depth to your gallery and make your images pop by applying and customizing shadows. The shadow is visible behind your gallery at all times.

Note:
You can only enable the shadow feature in certain layouts, and when specific gallery settings are applied. Read on to learn more about the applicable layouts and required settings.
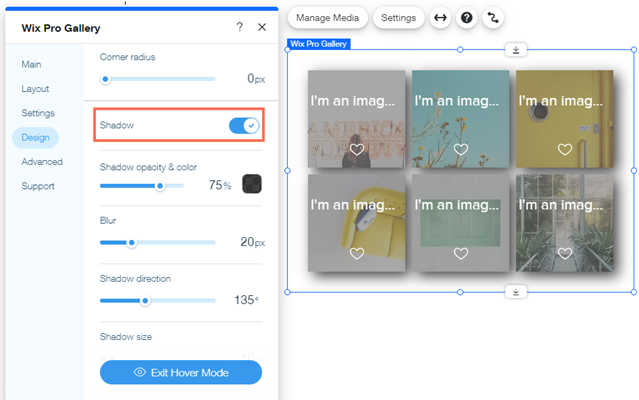
Enabling and customizing shadows
First, enable the shadow feature for your Pro Gallery. Then customize the shadow's color, direction, blurriness and size to make it your own.
Wix Editor
Studio Editor
- Go to your editor.
- Click the pro gallery element on your page.
- Click Settings.
- Click the Design tab.
- Click Item Style.
- Enable the Shadow toggle.
- Customize the shadow using the following options:
- Shadow opacity & color: Click the color box to change the shadow's color and drag the slider to adjust the color's intensity.
- Blur: Drag the slider to set the shadow's blurriness.
- Shadow direction: Drag the slider to position your shadow exactly as you want.
- Shadow size: Drag the slider to increase or decrease your shadow's size.
Applicable layouts
To apply shadows to a gallery with one of the following layouts, certain settings must already be in place. Click a layout below to learn more:
Collage
Masonry

Grid

Strip

Bricks, Mix and Alternate
Note:
The shadow feature is not available in the Thumbnails, Slider, Slide show, and Column layouts.
