

Wix POS Go: Setting Up Receipt Printing
3 min
In this article
- Step 1 | Purchase a printer
- Step 2 | Pair the printer with your POS Go
- Step 3 | Print a receipt
- FAQs
Important
- This article is about setting up a printer when using the Wix POS Go as a standalone solution.
- The Wix POS Go card reader is currently available only in the US, Canada, and UK.
Provide your customer with a physical receipt of their purchase when making sales with your POS Go. Purchase a compatible printer and pair it with your device to start providing clear, branded receipts on the spot.
Step 1 | Purchase a printer
To get started, purchase your Epson M30-III thermal receipt printer from our shop.

Step 2 | Pair the printer with your POS Go
Once your printer is unboxed and plugged in, you need to pair it with your Wix POS Go via WiFi.
- Tap More
 at the bottom right of your Wix POS Go.
 - Tap Settings.
- Tap Receipt Printer under Hardware.
- Tap Get Started.
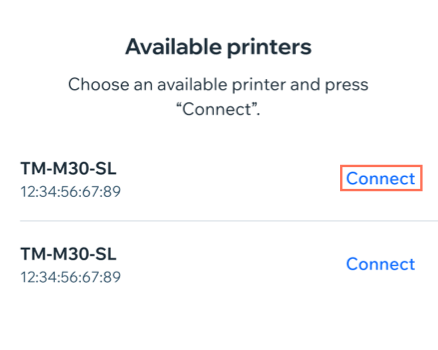
- Tap Connect next to the printer you want to pair with your device.
- (Optional) Tap Print Test Receipt to test the connection to the printer.
- Tap Done.
Note:
Make sure to connect your Epson printer to the same WiFi network as your Wix POS Go device.
Step 3 | Print a receipt
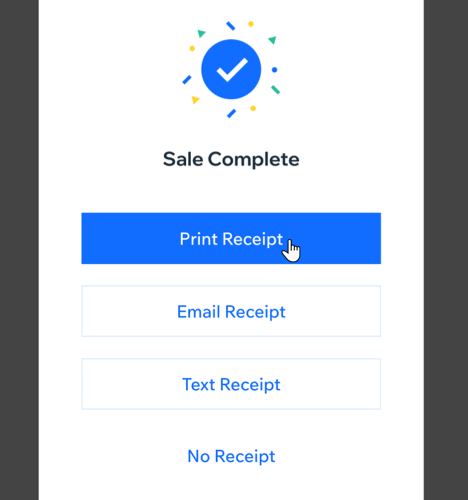
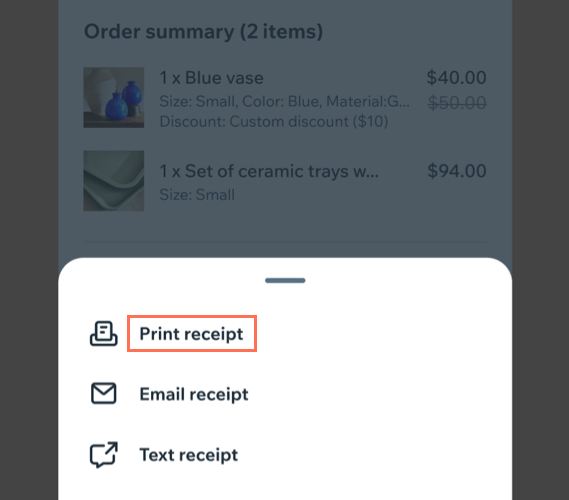
After your printer is connected, you can print receipts when making a sale, or print a receipt for a previous order.
Print when making a sale
Print for a previous order
FAQs
Click a question below to learn more about connecting a receipt printer to your POS Go.
How do I test if my printer is working properly?
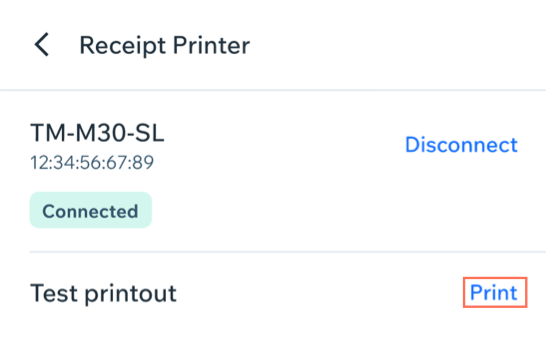
How do I disconnect a receipt printer from my POS Go?

