

Wix Logo: Creating a Logo with the Wix Logo Maker
5 min
In this article
- Step 1 | Tell us about your business and brand
- Step 2 | Select your logo
- Step 3 | Customize your logo
- Step 4 | Choose your logo plan and purchase your logo
- FAQs
Creating a logo and defining your brand identity has never been easier. The Wix Logo Maker has tons of designs to offer, based on your line of business and the look and feel you want to achieve. Tell us a bit about yourself, then choose a design you like and customize it to your needs.
Following the steps in this article, you'll learn how to create a logo that truly reflects your brand and business.
Step 1 | Tell us about your business and brand
Your logo is a visual signifier of your business, the industry you're in and your branding. The very first step of creating a logo is filling in your information – tell us about your business, but also about the way you'd want it to be perceived, as a brand.
Once you do, we can provide dozens of options that could suit your needs.
To get started and fill in your info:
- Go to Logo and Brand.
- Click Create a Logo.
- Enter your business type and click Next.
- Choose one or more desired styles and click Next.
- Enter your logo text and click Next.
Tip: Use the AI text generator for suggestions.
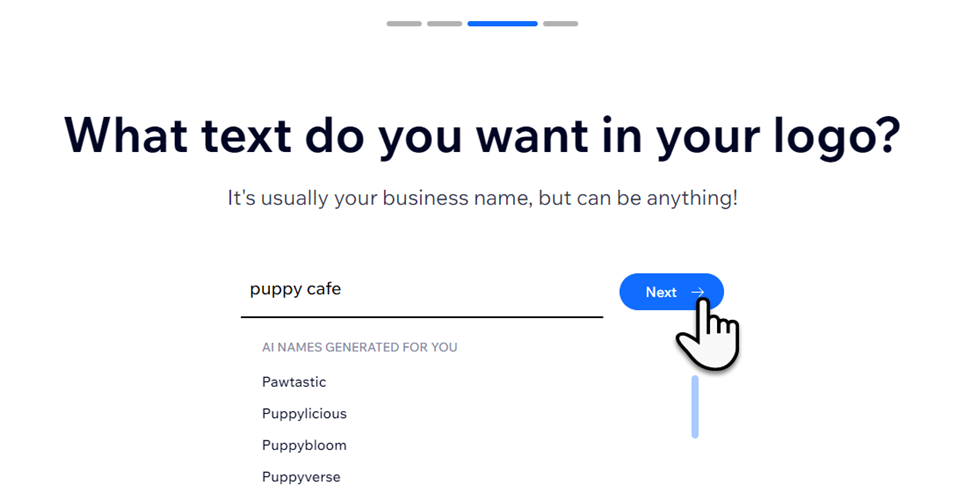
- (Optional) Enter a tagline and click Done.
Tip: The AI text generator can help you with a tagline.
Note:
The business name and tag line can only be up to 50 characters each.
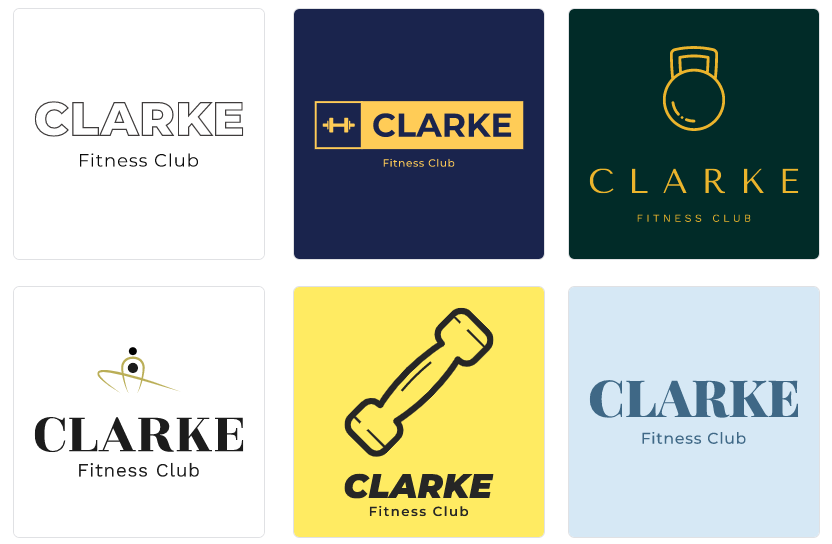
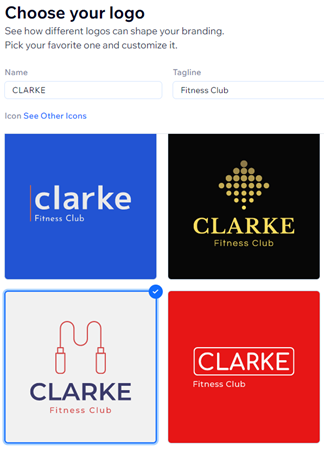
Step 2 | Select your logo
Once you've provided some business details and made your selections, choose from a wide range of logo options. Remember – the design you're choosing at this stage is a template that you'll customize to your exact needs in the next step.
To select your logo:
- Scroll through the available logo options.
- (Optional) Click See Other Icons if you would like to choose a different icon from the available list.
- Click on the logo you want to edit.
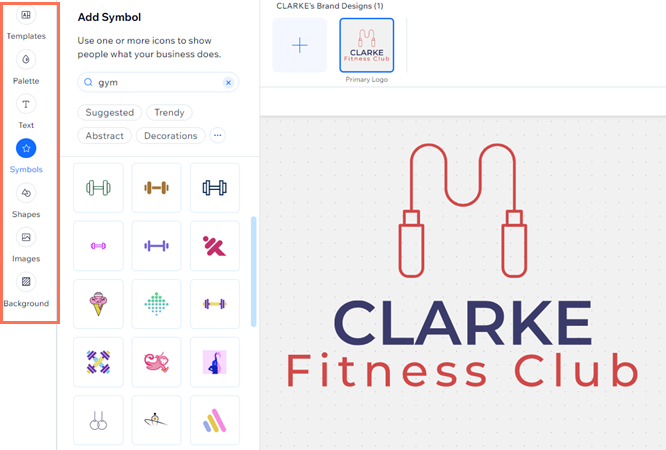
Step 3 | Customize your logo
After choosing a logo suggestion, you can the go to the Logo Maker Editor. This is where you can customize your logo and make it your own. Change the colors, fonts and positioning, add more symbols and even upload your own images.
Before you begin:
We recommend that you take time to review our Logo Maker best practices. This can really help avoid any potential design issues in the long run.
To customize your logo:
- Click Customize Your Logo at the top right.
- Click the tabs on the left (you can also click the element itself to open its tab):
- Templates: Choose a new template for your logo that suits your needs.
- Palette: Select a new color palette for your logo. Color palettes come in presets of 4 colors. You can change the individual colors in the other tabs.
- Text: Customize the business name and tagline. (There is a 50-character limit for each).
- Symbols: Click Add Symbol to add a symbol to your logo.
- Shapes: Click Add Shape to add a circle or a rectangle to your logo.
- Images: Click Upload Image to add your own image to your logo.
Note: Currently, you can only upload .JPEG and .PNG images with a maximum size of 500 MB. - Background: Your logo comes with a white background by default. Use the color picker to change the color.
Note: Currently, it is not possible to fill the entire logo's background with an uploaded image. If this is something you'd like to see in the future, vote for that feature.
Managing elements:
Click any element to align, move to the back / front, duplicate or delete it.
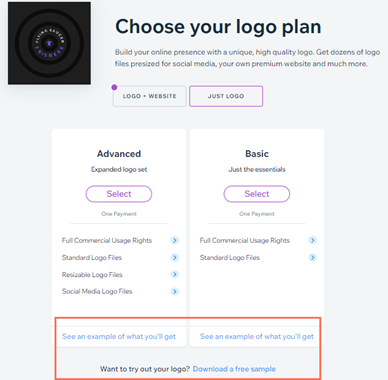
Step 4 | Choose your logo plan and purchase your logo
The final step to complete the process is to choose your logo plan and complete the purchase of your logo. Learn more about our Wix Logo Maker plans.
Keep in mind that if you want to create secondary logos, you will need to purchase an Unlimited or a Business Logo Maker plan. Learn more about secondary logos.
Tip:
If you have not purchased a logo, you can use the 200x200 free sample file to display on your site. If you want to display a larger logo or need a larger file version, you can purchase a logo plan.
FAQs
Click a question below to learn more about creating a logo with the Wix Logo Maker:
How can I save my logo design?
Can I see an example of what I'll get before purchasing a plan?
Does the dotted background of the Logo Maker Editor show in my purchased files?
Can I fill the entire background of my logo with an uploaded image?
How can I view all the elements of my logo?
Can I get feedback from others on my logo designs?
