

Wix Logo: Adding and Customizing Patterns in the Wix Logo Maker
5 min
Establish a truly unique and recognizable brand through the use of patterns. Patterns help to communicate your brand's personality and values. They also increase your business' memorability.
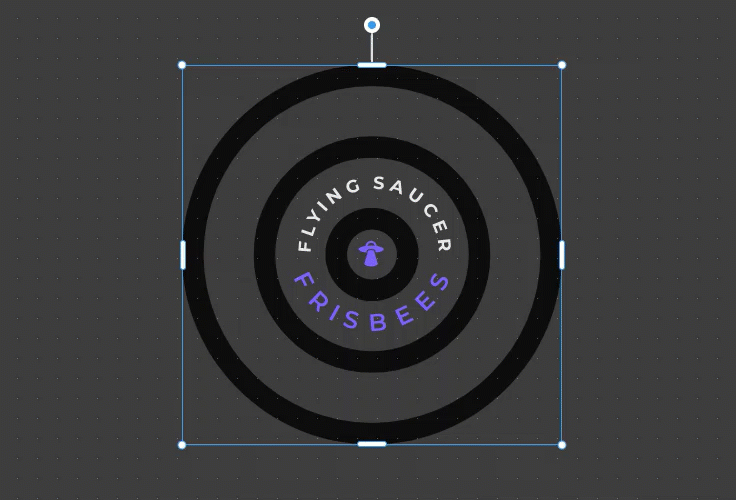
Create a pattern made up of icons, shapes, text or images and customize it to suit the intention of your branding. You can add a pattern to a shape or icon when creating a logo, social post or business card.
To add and customize a pattern:
- Go to the Brand Studio.
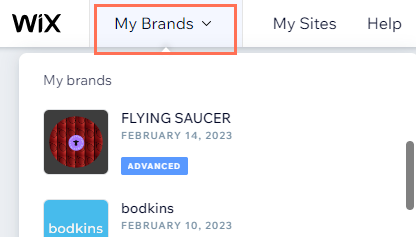
- Click the My Brands drop-down at the top.
- Select the relevant brand.
- Hover over the relevant brand design (Logo, Social Post or Business Card) and click the Edit icon
 .
. - Depending on what you want to add your pattern to, click Symbols
 or Shapes
  on the left.
 - Hover over the relevant symbol / shape and click Customize.
Note: If you haven't yet added a symbol / shape, click + Add Symbol / + Add Shape. - Click the Shape Fill / Icon Fill drop-down and select Pattern.
Note: This option is available when you enable the Fill Color toggle.
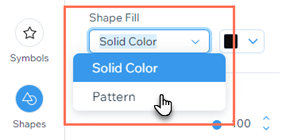
- Click Customize below the Shape Fill / Icon Fill drop-down.
- Click the Pattern Graphic drop-down and select your preferred graphic: Icon, Shape, Text or Image.
- Depending on the graphic you choose, customize your pattern using the following options:
Icon

Shape

Text

Image

