Wix Functions: Creating a Function
11 min
In this article
- Creating a function
- Function examples
- FAQs
Wix Functions lets you add custom logic to apps like Wix Stores, Wix Restaurants, and Wix Loyalty Program to better suit your business needs.
The Functions builder is a no-code interface where you create custom outcomes for various business scenarios using conditions, formulas, and dynamic values. The builder visually represents your logic, helping you understand how different criteria affect the function's output. You can start from scratch or customize a template designed for a specific Wix app.
How does it work?
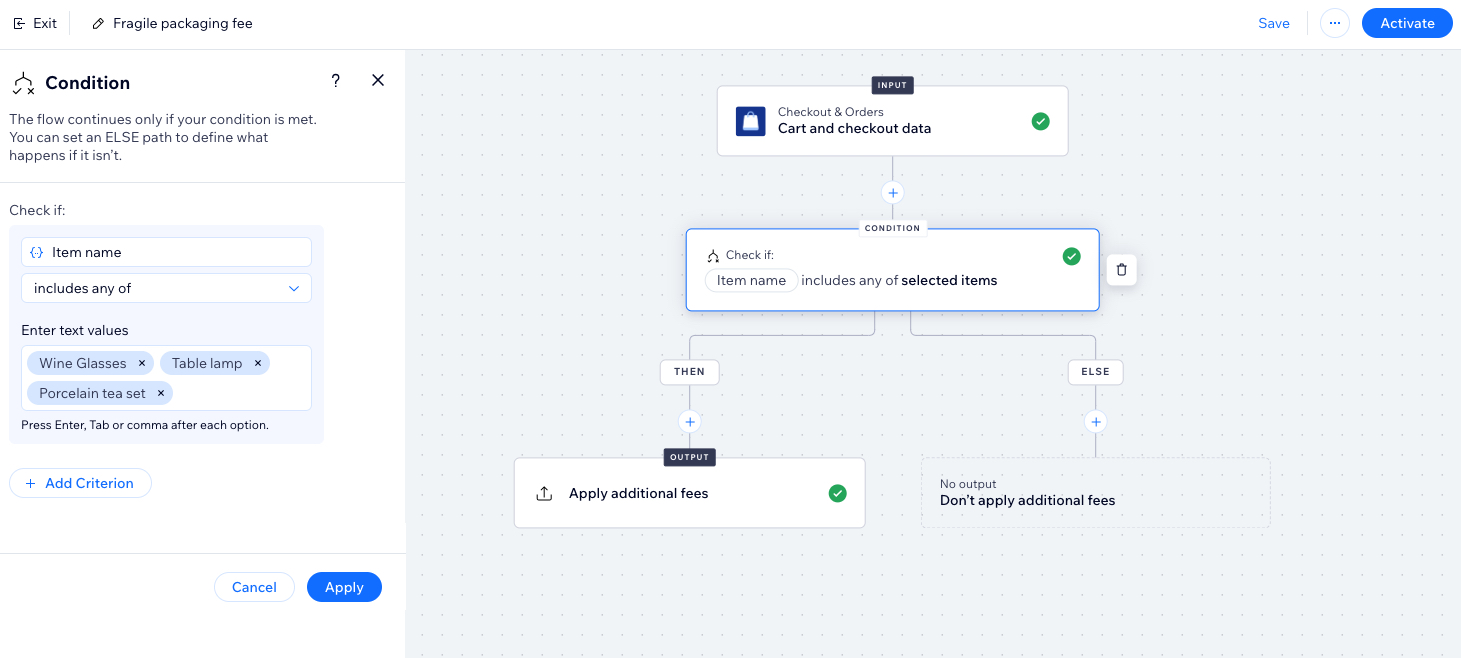
The function begins with read-only Input data from an app, such as Wix Stores cart and checkout data. In the function builder, you can set up a Condition by using 'if/else' logic (e.g., if product name is X, add additional fees; if the product name is Y, don't add fees). The condition determines the Output, or the result you want (e.g., the specific fee applied if the condition is met).

Creating a function
Choose a function type from the Function catalog to start. The function types include:
- Add event badges: Add badges to your event images. For example, show how many tickets are left, present a special offer or spotlight a headline event.
- Additional fees: Charge extra fees based on a customer's cart and checkout details. For example, charge an extra handling fee for fragile products.
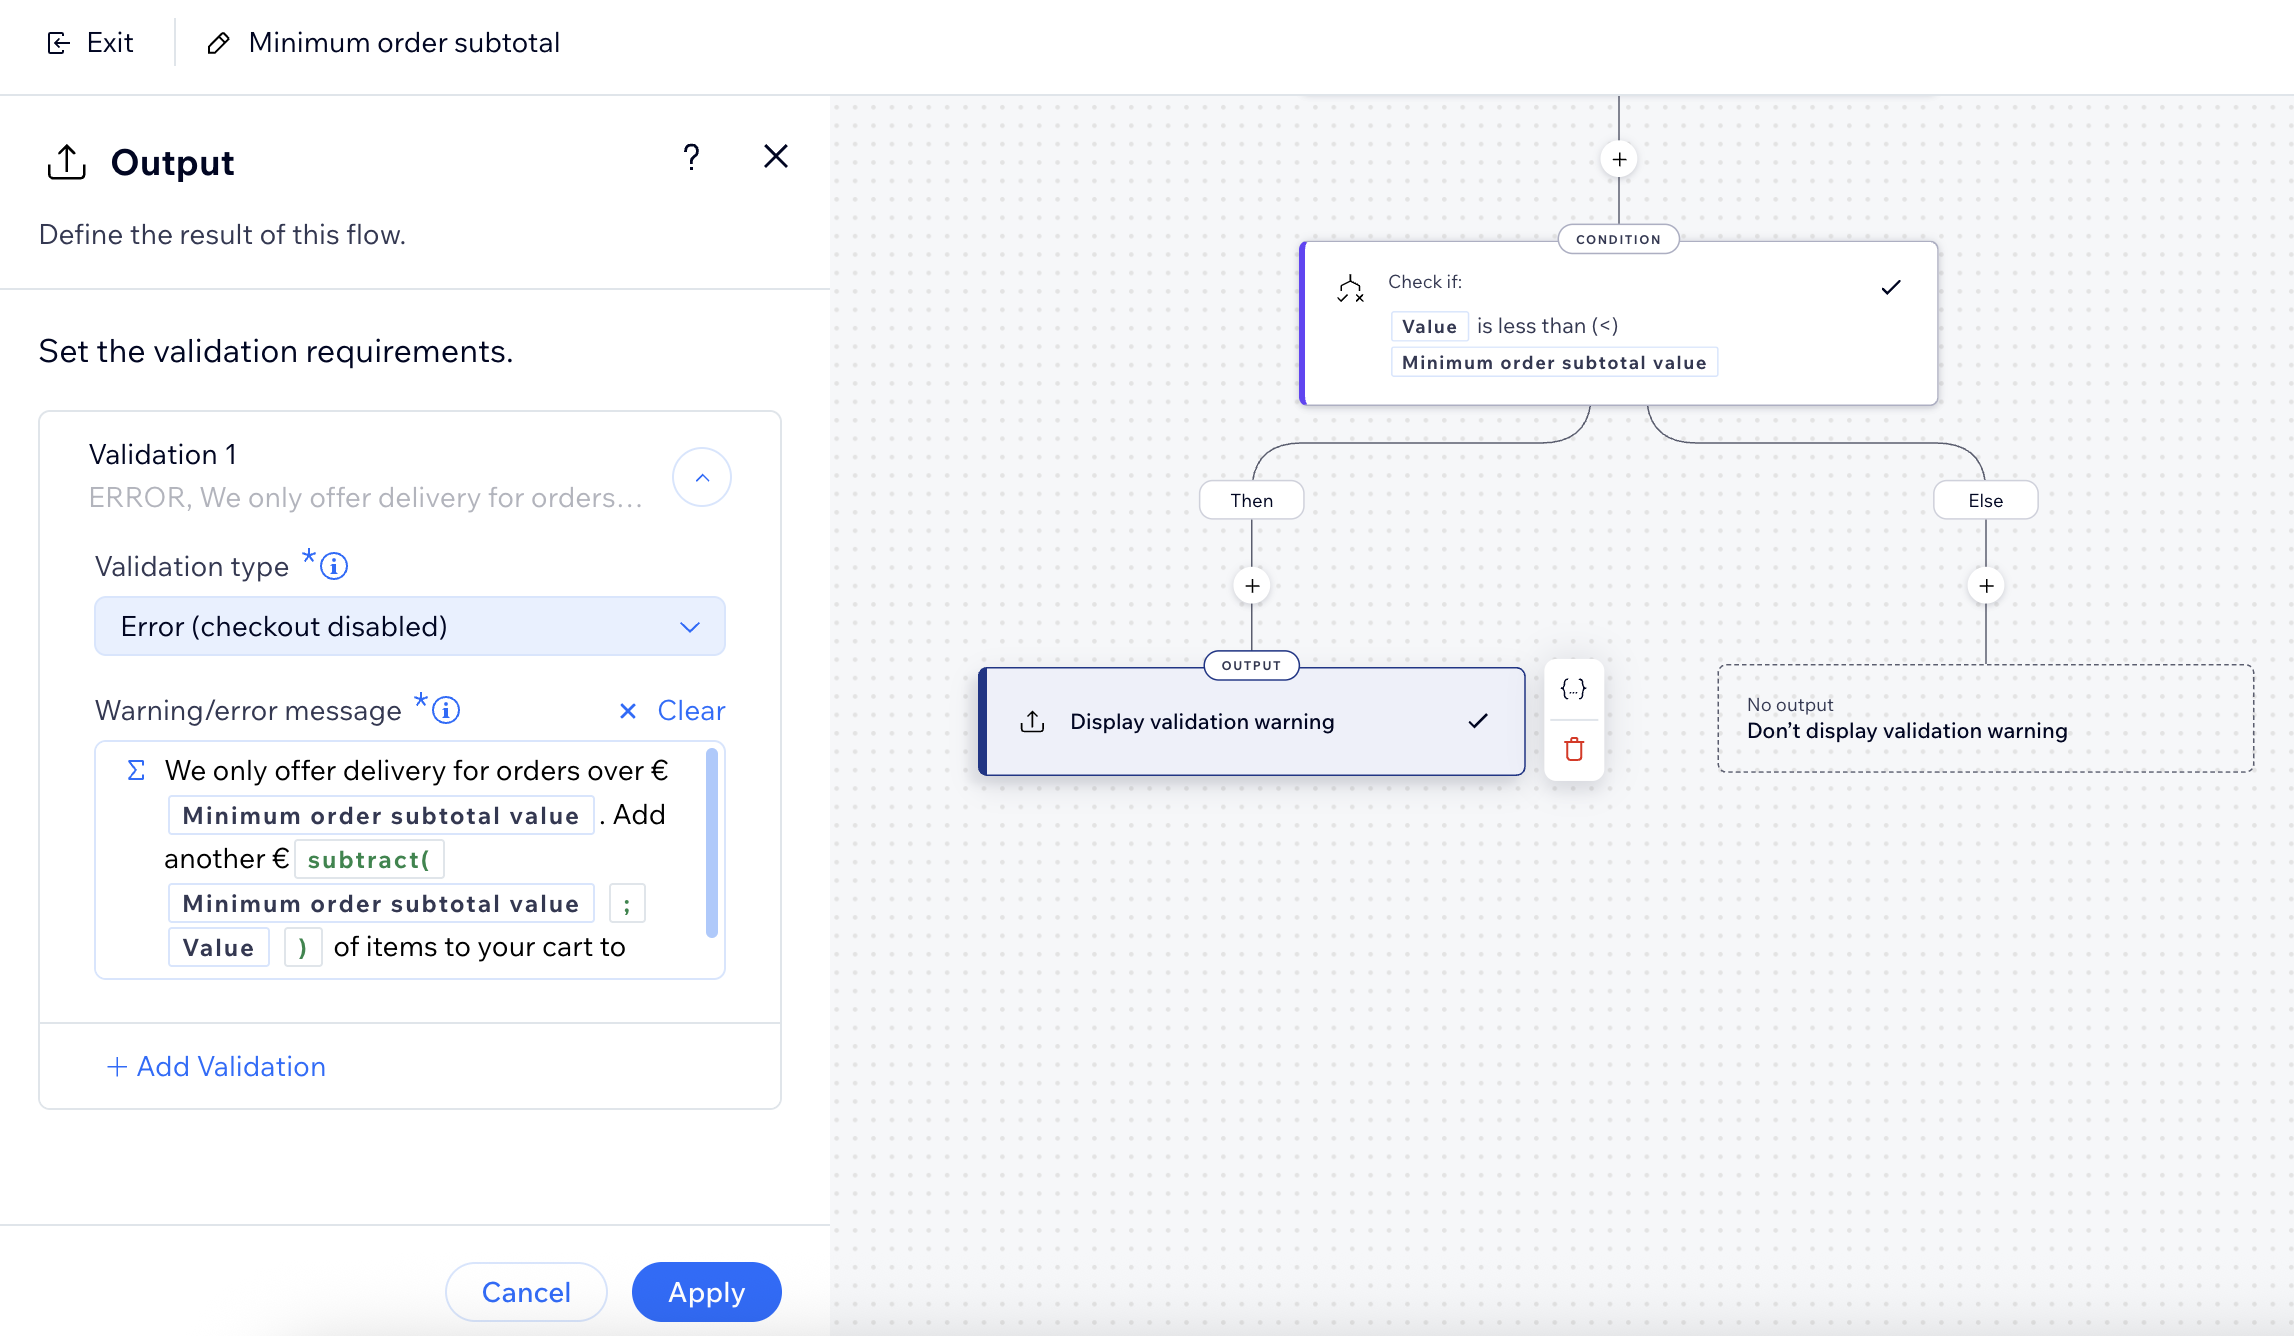
- Checkout validations: Set requirements that must be met before a customer completes checkout. For example, require a minimum order value or limit the number of items purchased.
- Form validations: Accept only form submissions that pass your custom form field validations.
- Loyalty rewards: Offer better loyalty points-to-discount conversion rates to customers who meet certain criteria, like placing 2 orders within 30 days.
- Moderate comments: Add specific Blog comments moderation rules. Choose who is allowed to comment, decide which comments to review before they appear, and flag comments that contain certain words.
To create a function:
- Go to Functions in your site's dashboard.
- In the Function catalog, click Create Function under a function type.
Tip: Click More info to learn more about a function type. - Choose how to create your function:
- Use a function template: Click Use Template next to a template.
- Create your own function: Click Start from Scratch at the bottom left to build your own.
- Create a function with AI: Click Create with AI at the bottom to build your function with AI.
- Start building your function. Each function has unique input data as well as an output that should be defined. You can also alter the function's condition and add more steps to the flow. Learn more about the function components in the FAQ section of this article.
- If using a template: Click the Condition and Output steps to view the predefined flow. You can adjust the steps to match your needs.
- If starting from scratch: Click the Output to set the result of the flow. You can also click the
 icon to add another step to the function.
 - If creating with AI: Chat with the AI assistant to build out the details of your function.
Note:
Fields with an alert icon  need your attention before you can activate the function.

 need your attention before you can activate the function.
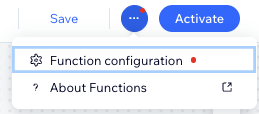
- (Optional) Some templates require you to add additional configuration information. Click the More Actions icon
 at the top right and select Function configuration to edit.

- Enter a name for your function at the top left. It's only visible to you and helps identify the function in the dashboard.
- Click Activate at the top right to enable your function.
What's next?
Once activated, the function runs whenever customers at checkout meet the criteria.
Function examples
Click an example below to view step-by-step instructions of how to set up some popular functions.
Adding a fragile packing fee to an order
Setting a minimum order subtotal
Creating a frequent buyer perk for loyalty program members
FAQs
Learn more about Wix Functions and how to create customized flows for your business.
How can I use functions for my business?
What are the different components that make up a function flow?
What is the difference between Wix Functions and Wix Automations?
What Wix apps can I build functions with?
How can I see what data is being used in my function?


 at the top right.
 . In a panel on the right, you'll see a full breakdown of all of the data being used in your Input and passed to the rest of your flow.