Wix Events: Customizing Your Event Schedule Page
5 min
In this article
- Customizing your event schedule
- FAQs
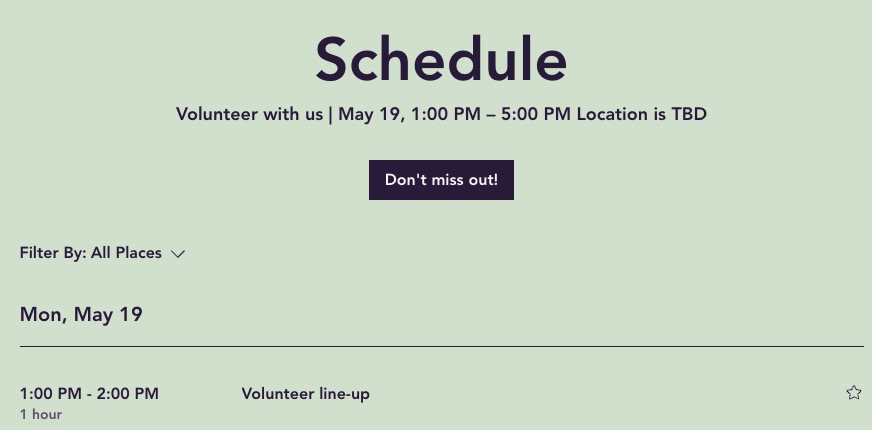
Your event schedule is more than just a list - it's part of your guest's experience. Customize it with your colors, fonts, and layout to make it feel like a natural extension of your site.

Customizing your event schedule
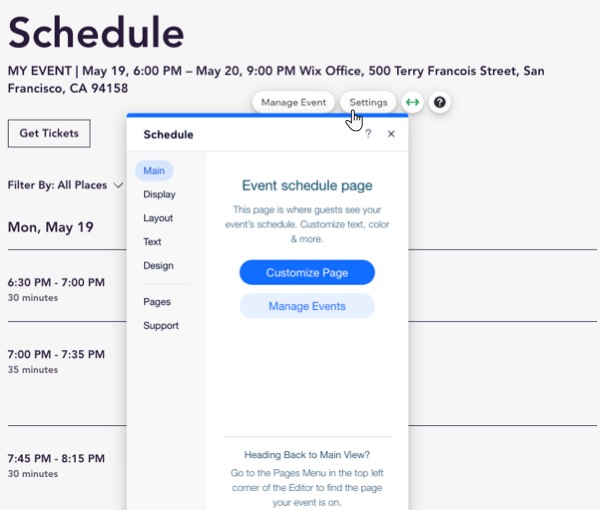
You can access all customization options for the event schedule directly from your editor. These settings let you adjust the layout, display options, text, and design elements of your schedule page.
Wix Editor
Studio Editor
- Go to your editor.
- Go to the Schedule page:
- Click Pages & Menu
 on the left side of the editor.
 - Click Event Pages.
- Click Schedule.
- Click Pages & Menu
- Click the schedule element on your page.
- Click Settings.
- Choose what you want to customize:
Display
Layout
Text
Design

FAQs
Click a question below to learn more about your event schedule page.
Can I customize tags in an event schedule?
How can I schedule when registration opens and closes for my event?
Can I schedule an event to be published at a future date?


