Wix Events: Rescheduling Events
3 min
Reschedule your event when unexpected circumstances occur. You have the flexibility to select a new date and time. Alternatively, update your guests that the event date is pending until you have more information to share. This ensures transparency as you work to finalize the details.
You can do this easily using your site's dashboard, the Wix app, or Wix Studio app.
Important:
- Learn how to refund guests for their tickets when necessary.
- It is not possible to make changes to the date or time of an event which has already started.
Dashboard
Wix app
Wix Studio app
- Go to Events in your site's dashboard.
- Click Manage next to the relevant event.
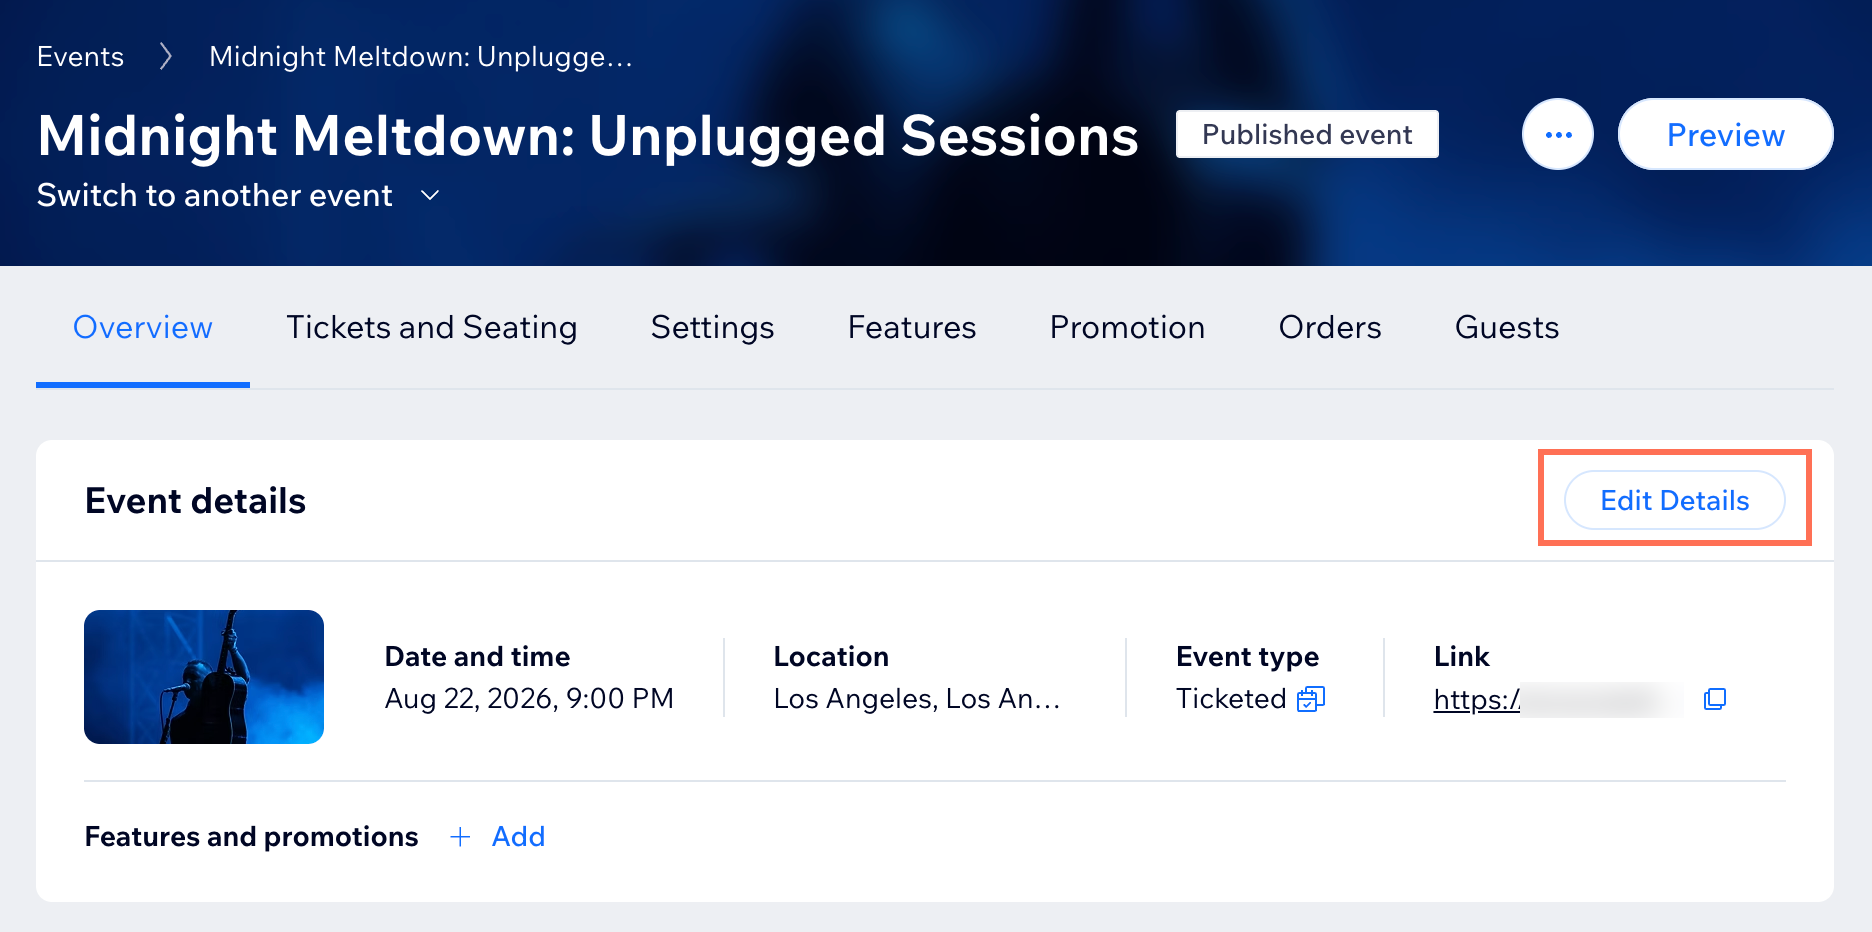
- Click Edit Details.
- Select an option:
- Change to a specific date or time:
- Click the Start date / End date field and select the relevant dates from the calendar.
- Click the Start time / End time drop-down and select the relevant times.
- (Optional) Click Add End Time and select the end time.
- Set event date as to be determined:
- Select the To Be Decided (TBD) checkbox.
- (Optional) Edit the default note in the Display a message field.
- Change to a specific date or time:
- Click Save.
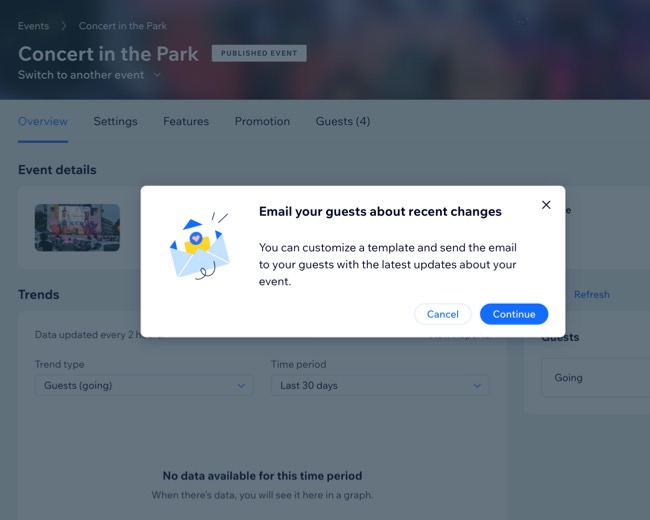
Note: After saving, a pop-up appears at the bottom of the Overview tab, confirming your changes and prompting you to notify guests.

- (Recommended) Notify your guests about the change:
- Click Notify Guests in the pop-up.
- Click Continue to customize a template with the relevant information to send to your guests.