Wix Editor: Placing Elements in Your Header, Footer and Page
3 min
In this article
- Attaching elements to the header
- Placing elements on the main area of the page
- Moving elements to the footer
- FAQs
Your site pages are divided into 3 sections, which are defined by the gridlines in the editor; the header, the main part of the page, and the footer.
Your header and footer are visible on all pages, meaning that elements you place inside them can be accessed from every page of your site. Elements on the page itself are only visible on that specific page.
Attaching elements to the header
The header is usually one of the first things that visitors see when they open your site. It generally contains elements such as your business name, site menu, and logo. Learn more about your site's header
We recommend keeping your header clean and sophisticated, as it ensures a more pleasant experience for your site visitors.
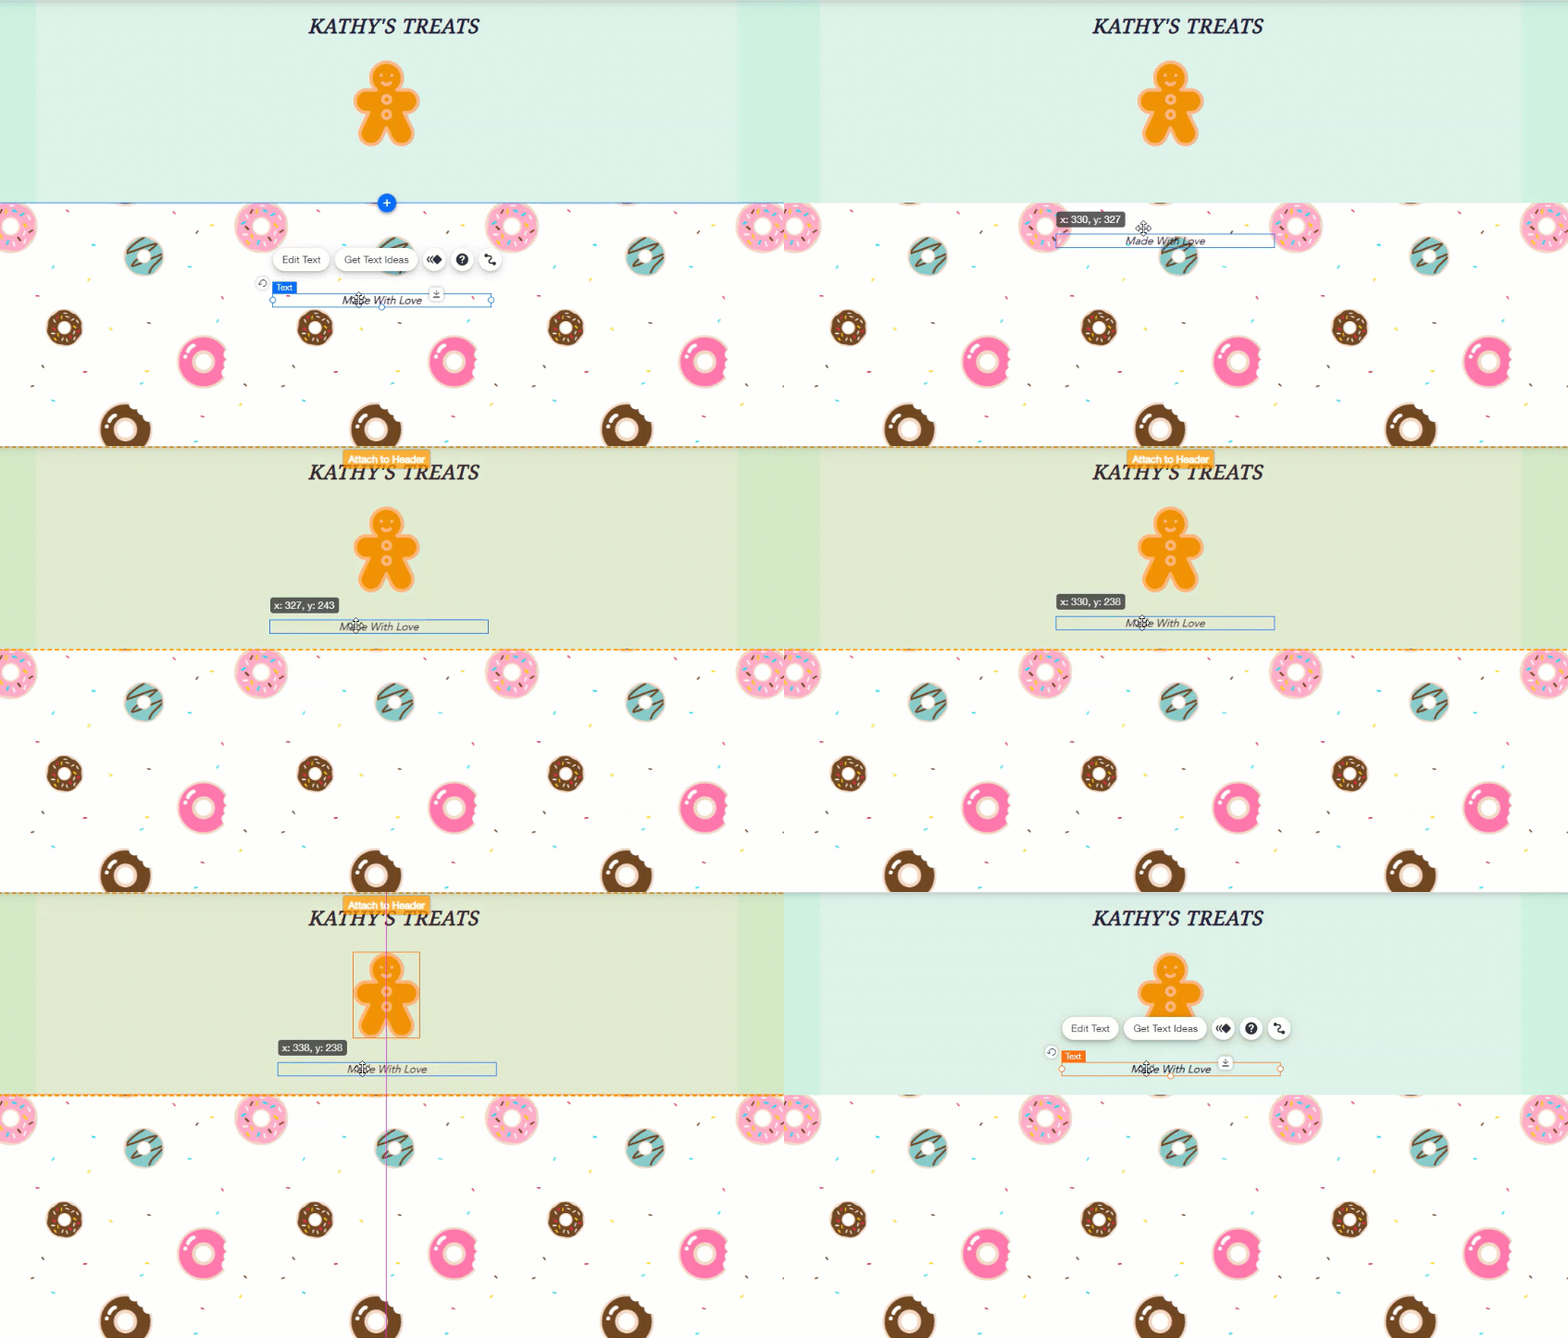
To attach an element to your header, drag it over the header until the Attach to Header message appears.

Note:
Elements must be smaller than the header in order to fit on it.
Placing elements on the main area of the page
The main part of your page contains most of your site's elements and content. The elements will differ from page to page, depending on what that page is about. You can add any content you like to the page, including galleries, text, and forms.
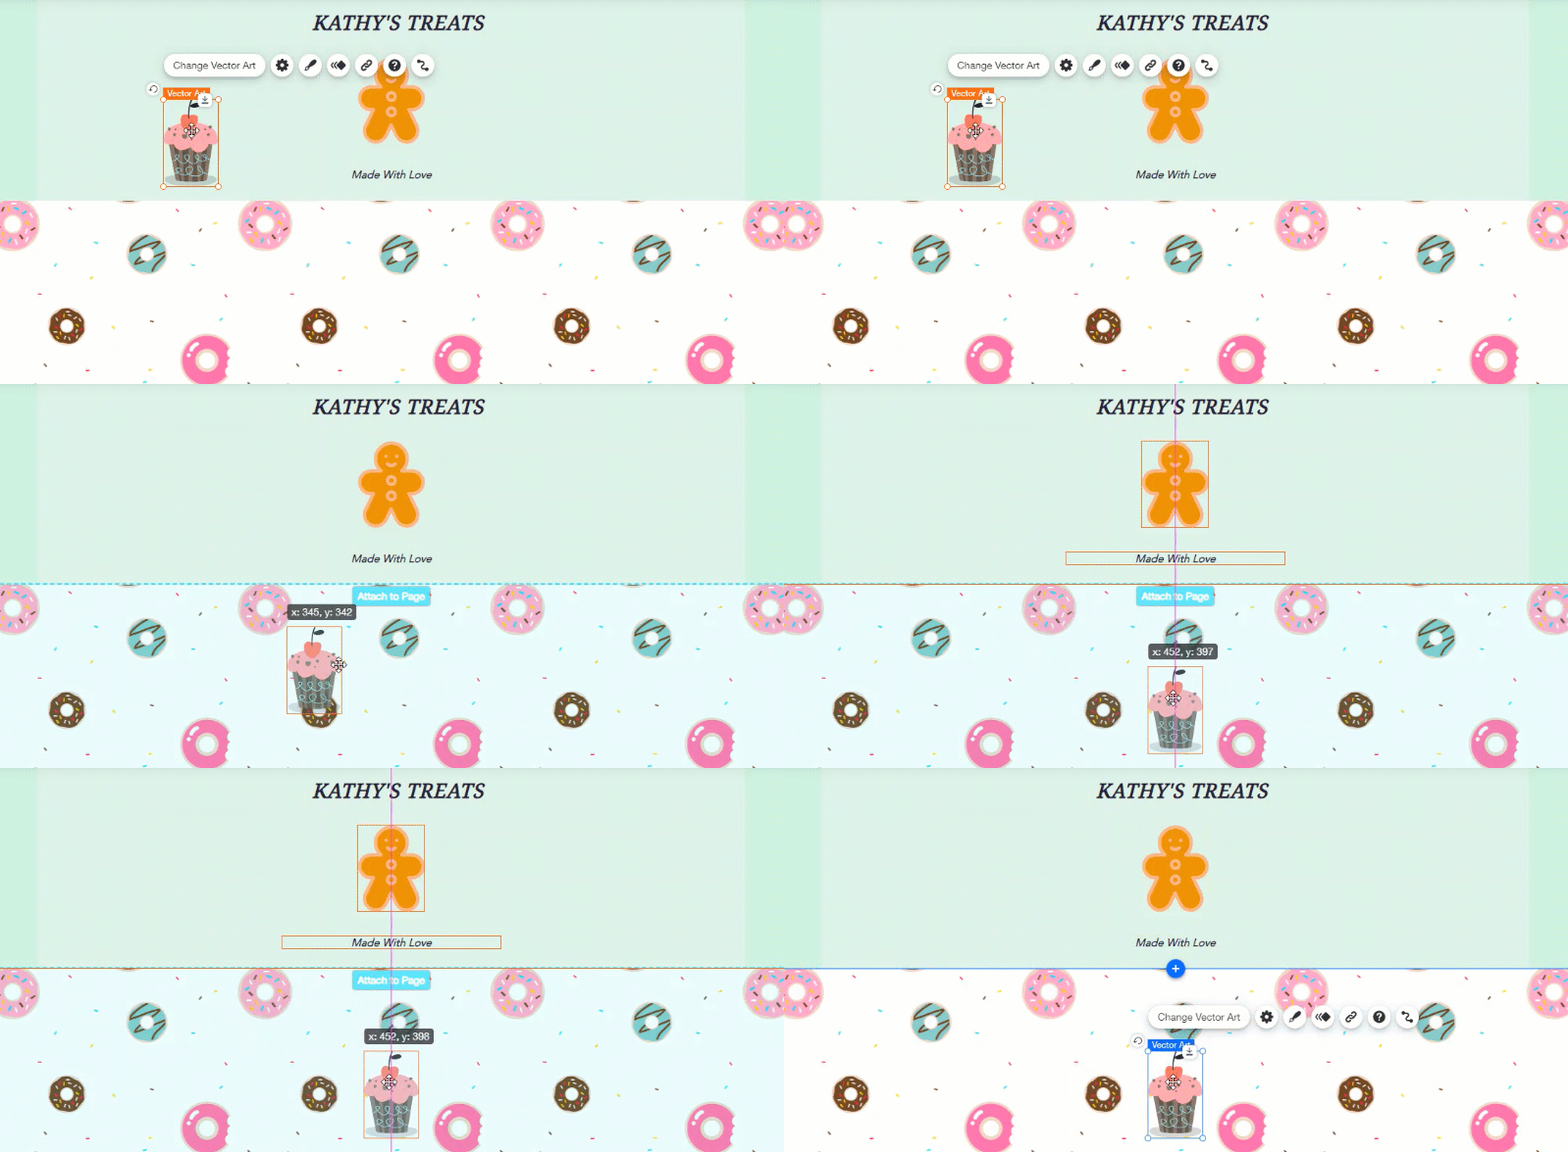
To attach an element to the page, drag it to your chosen location and drop it when the Attach to Page message appears.

Moving elements to the footer
Your footer is at the bottom of your site and is displayed on all pages. It usually contains content such as contact and copyright information. Learn more about your site's footer
We recommend to avoid putting important vital content on your site's footer, as visitors may not see it.
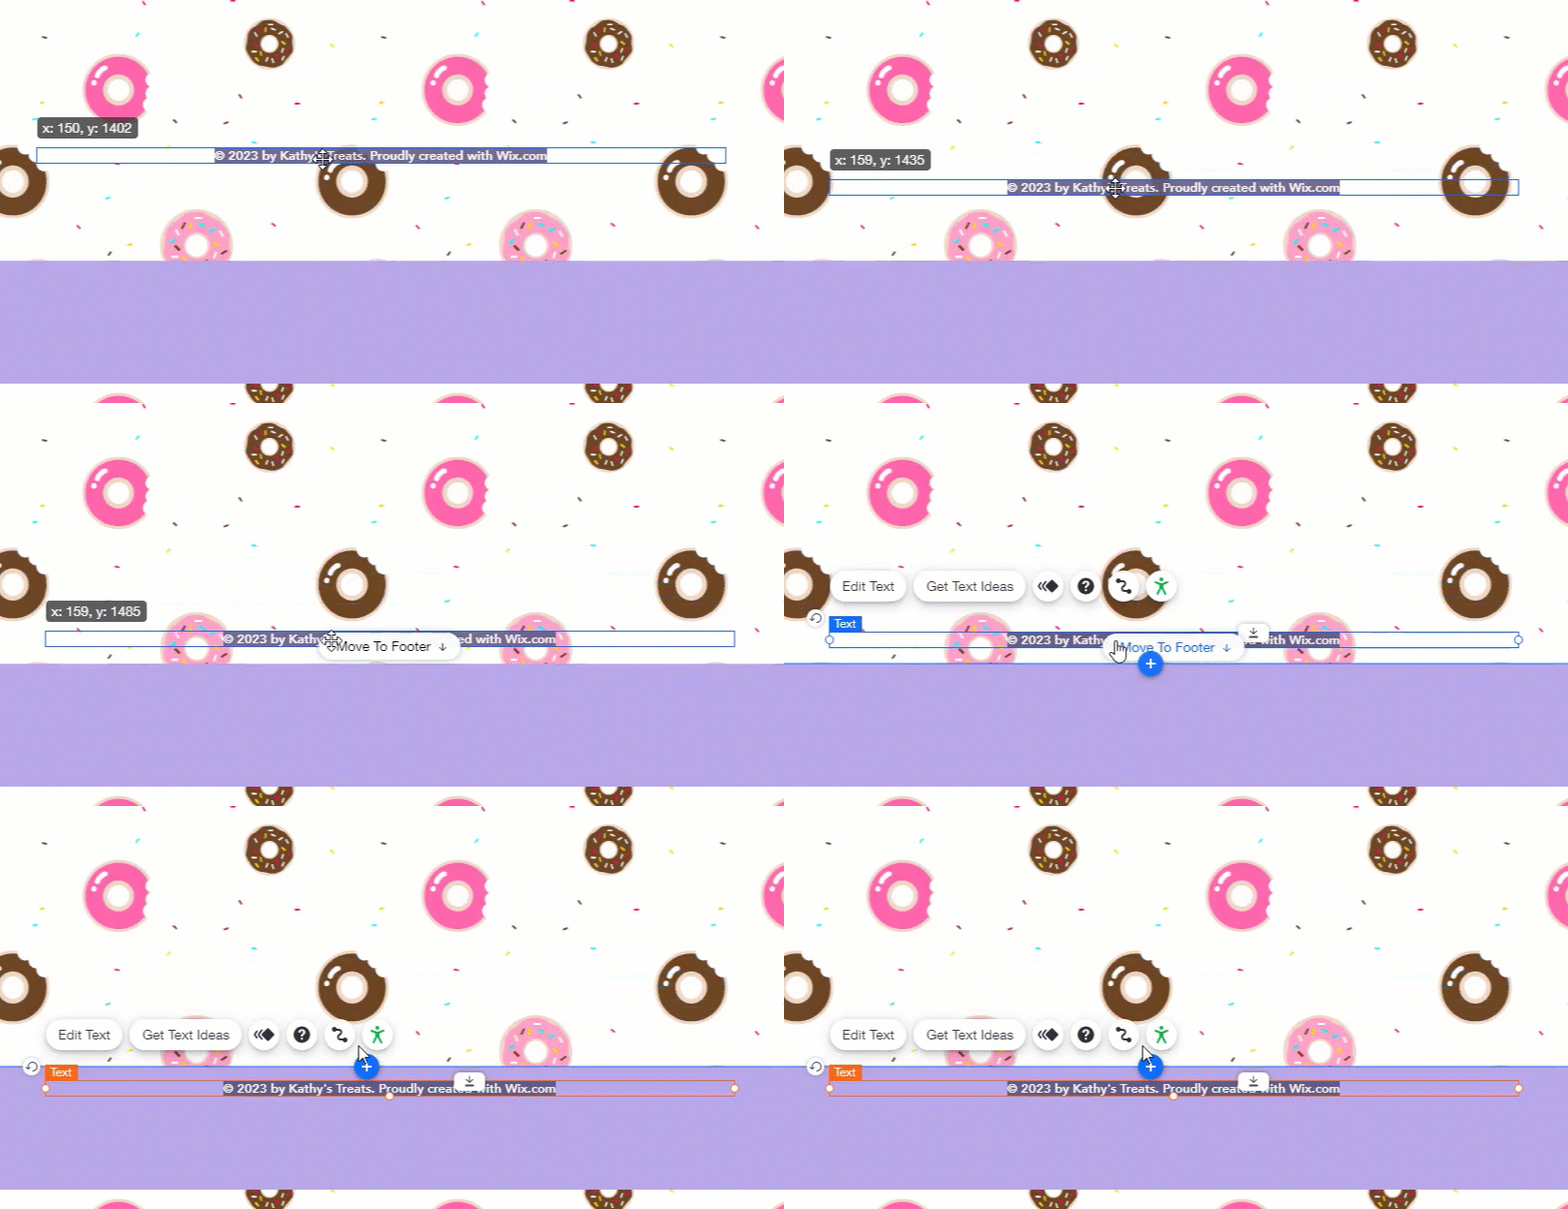
To move an element to the footer, drag it to the bottom of the page (as close to the footer as it goes), and click Move To Footer.

Note:
Elements must be smaller than the footer in order to fit on it.
FAQs
How do I remove an element from my header or footer?
Can I place elements outside the gridlines?


