

Wix Editor: Editing and Customizing Images
6 min
In this article
- Resizing your images
- Rotating your images
- Choosing what happens when an image is clicked
- Applying filter effects to images
- Adding and customizing image frames
- Adding elements to an image
- FAQs
Customize your images to give your site a splash of personality and capture the attention of your visitors. Explore the range of tools available to create unique, eye catching images, specially designed for your site.
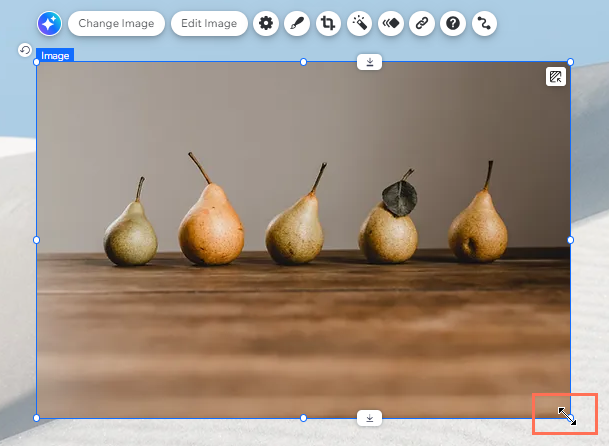
Resizing your images
Resize images so they are displayed in the size you desire on your site.
Tip:
You can also crop your image in a variety of ways.
To resize your images:
- Click the image.
- Drag the handles on the edges of the image to the size you want.
Note:
The image and shape stay at the original proportions when resized using the handles at each corner of the image.
Rotating your images
You can rotate your images with one click with the Wix Editor.
To rotate your images:
- Click the image.
- Click the Rotate icon
 at the top left.
 - Drag the image to the desired angle.
Tip:
You may find that your images are automatically rotated when you upload them to the Media Manager. This is because images taken with digital cameras have embedded metadata that relates to the orientation of the image. You can follow the steps above to rotate your images after you have uploaded them.
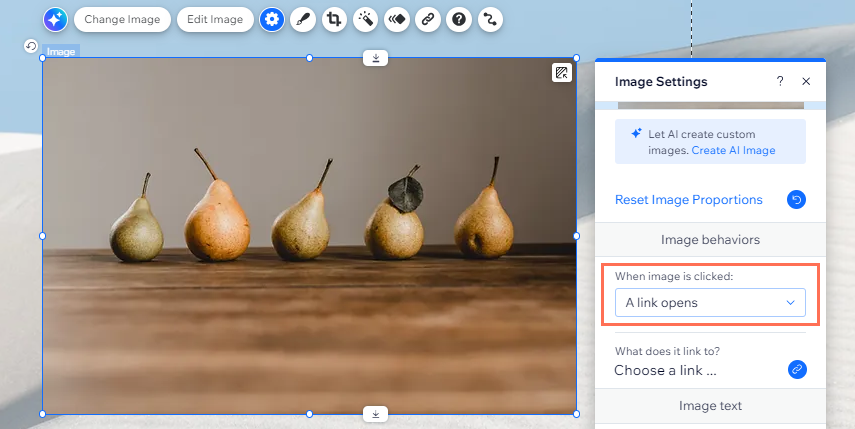
Choosing what happens when an image is clicked
Choose what happens when your site visitors click an image on your site. When clicked, your image can be magnified, open a link or open a popup.
To set what happens when an image is clicked:
- Click the image.
- Click the Settings icon
 .
. - Select an option from the When image is clicked drop-down:
- Nothing happens: Nothing happens when the image is clicked.
- A link opens: The image acts as a button and can be linked to a page, position or anchor on your site, an external URL, a document or an email address. Click Choose a link to set it up.
- It opens in a popup: The image opens in a pop-up window. The image is displayed in its original size on a dark overlay, with the image name underneath. Learn more about renaming your image.
- It can be magnified: The cursor becomes a magnifying glass when a visitor hovers over the image. Clicking the image magnifies it.
Accessibility tip:
If this element is purely decorative, meaning it does not include important information for screen readers, select the Decorative checkbox.
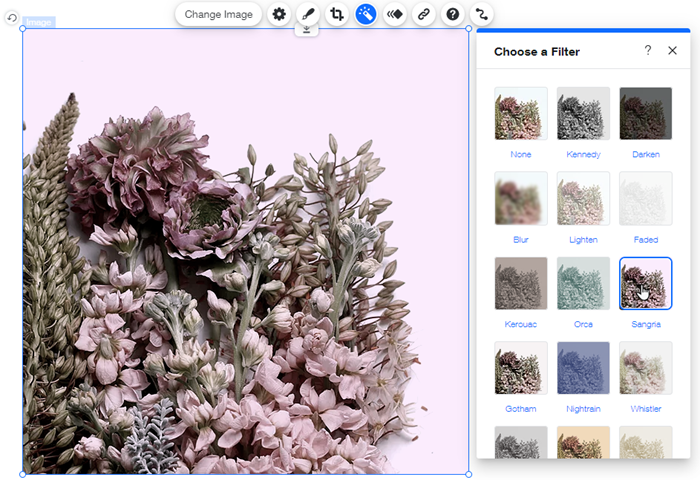
Applying filter effects to images
Choose from tons of stunning traditional filters like Sepia and Blur, or our unique filters such as Kennedy and Orca to add vibrant, visual appeal.
To apply a filter to an image:
- Click the image.
- Click the Filters icon
 .
. - Click a filter to apply it to the image.
Note:
Once you've applied a filter to an image, the Filters icon will turn green  .
.
.You can always click None in the panel to remove the filter, and revert the image back to the original.
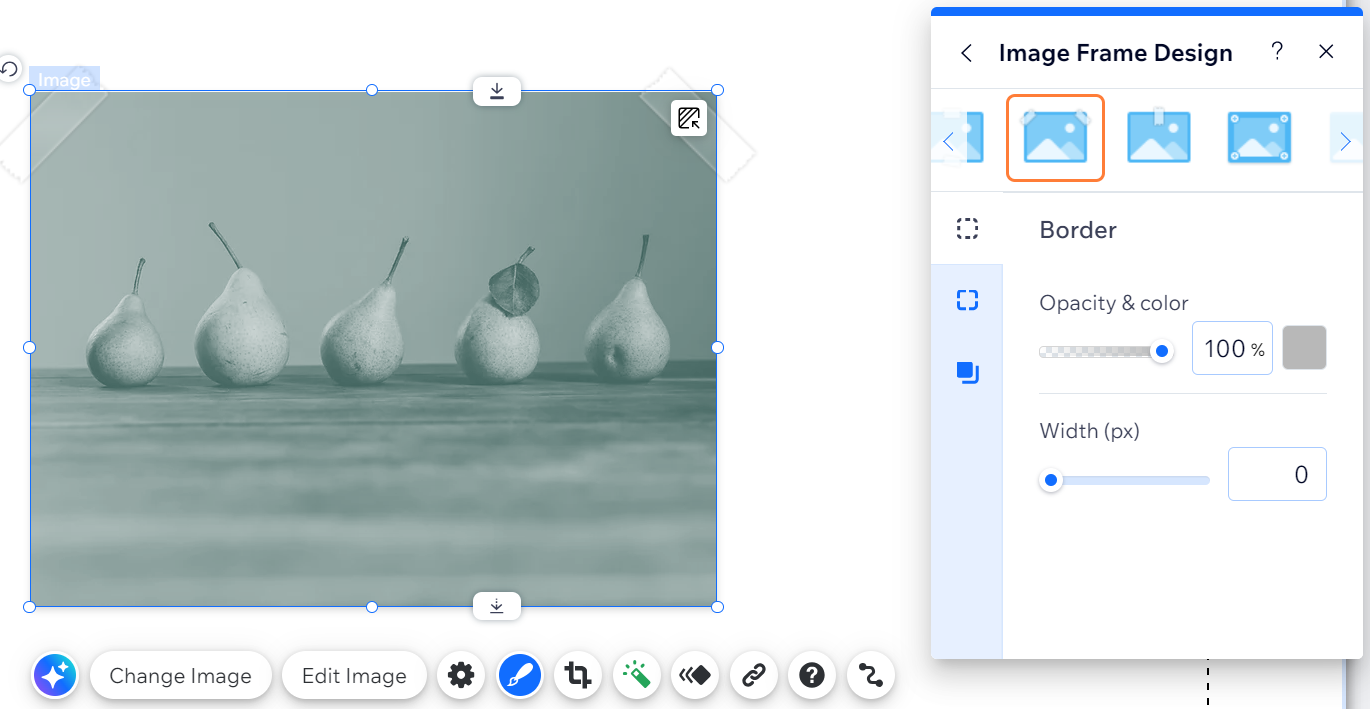
Adding and customizing image frames
Make your image stand out by adding a customizable frame. With a variety of preset frames to choose from, change the color or choose a specific shadow to create the perfect frame for your image.
Note:
The available customization options depend on the frame design that you select.
To add and customize an image frame:
- Click the image.
- Click the Design icon
 .
. - Select the frame design you like.
- (Optional) Customize the design further:
- Click Customize Design.
- Choose what to do next:
- Frame preset: Choose a new preset at the top. These presets offer different shapes and effects to enhance the frame even more.
- Fill Color & Opacity: Select the frame's colors and opacity.
- Border: Design your frame's borders.
- Corners: Round your frame's corners.
- Shadow: Design a shadow for your frame.
Tip:
Some image designs have a Regular and Hover view. Click these tabs to customize them.
Adding elements to an image
Need to display text or other elements on an image? Attach them to a transparent container box that appears on top of the image.
To add elements to an image in a container box:
- Click Add Elements
 on the left side of the Editor.
 - Click Box and select the box you want to add.
- Drag the container box onto the relevant image to attach it.
Note: Make sure the container box is the same size or bigger than the image. - Make the container box transparent:
- Click Change Design.
- Click Customize Design.
- Click Fill Color & Opacity and drag the Background slider to 0% so that the box cannot be seen.
- Drag the relevant elements onto the container box to attach them.
Tip:
Move this group of elements around by clicking the transparent container box and dragging them to the desired position.

FAQs
Click a question below to learn more.
Will any changes I make to my image be reflected in the Media Manager?
I am having issues with my images, is there any troubleshooting steps I can try?
I added a frame to my image, how can I remove it?
 .
.