Wix Editor: Adding and Setting Up an Image Button
4 min
In this article
- Step 1 | Add your image button
- Step 2 | Add a link to your image button
- Step 3 | Customize your image button
Image buttons are a unique way to encourage visitors to interact with and navigate around your site. They use images to give your site something extra, and display a unique effect when visitors hover over them. You can also customize the design of the buttons for each of their states; regular, hover and clicked view.
Learn more about the button states
Step 1 | Add your image button
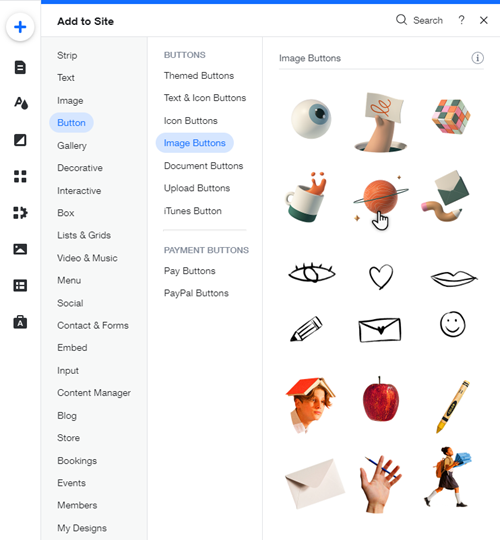
Choose an eye-catching design from the Add Elements panel to get started on setting up your image button. There are a variety of options to choose from, all with their own striking effects.
To add an image button:
- Go to your editor.
- Click Add Elements
 on the left side of the editor.
 - Click Button.
- Click Image Buttons.
- Click or drag the relevant button to add it to your page.

Step 2 | Add a link to your image button
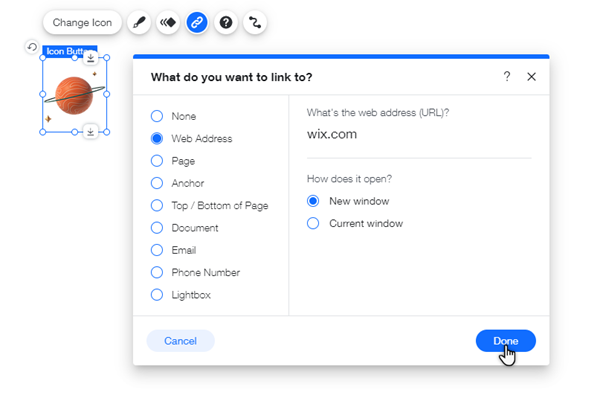
Link your image buttons to direct visitors to parts of your site, or to encourage them to perform an action. Options you can link your button to include pages, anchors, and external sites.
To add a link to your image button:
- Select your new button.
- Click the Link icon
 .
. - Select a link type on the left.
- Depending on the link type you selected, add the relevant information.
- Click Done.

Step 3 | Customize your image button
Customize your image button to suit your site's look and feel. You can apply animation and transition effects, and add a tooltip to advise visitors on where the button will lead them to.
Click an option below to learn how to adjust and customize your image button.
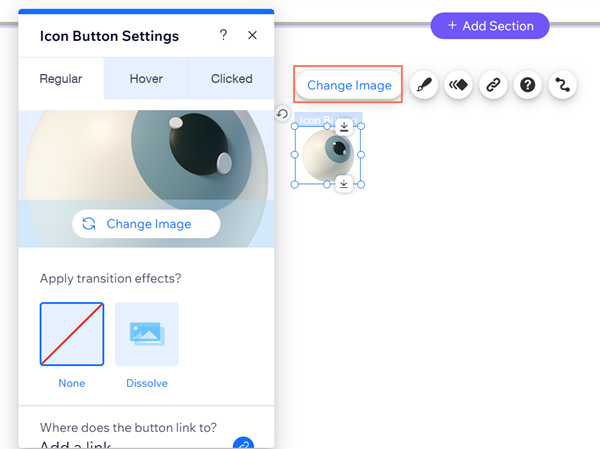
Change the button's image
Apply a transition effect to your button
Add a tooltip to your button
Add an accessible name to your button
Add an animation effect to your button

Note:
If you want to change the color of an image from Wix, you must edit it in an external program, then upload the file to your Media Manager.


