Wix Editor: Adding and Setting Up a Social Bar on Your Mobile Site
4 min
In this article
- Step 1 | Add a social bar to your mobile site
- Step 2 | Manage the icons on your social bar
- Step 3 | Connect your social media accounts
- Step 4 | Adjust the layout of your social bar
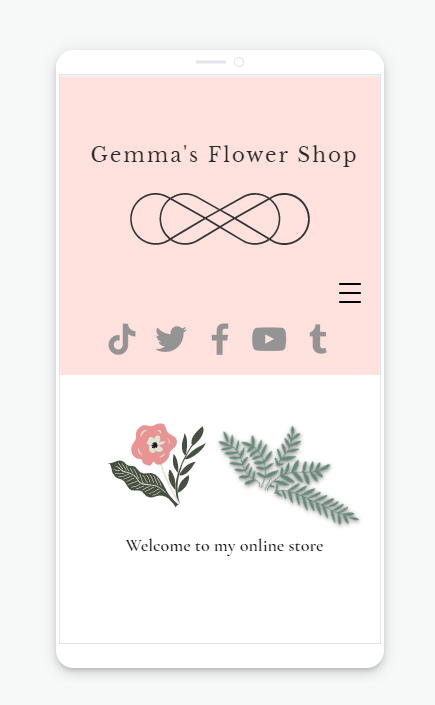
Adding a social bar to your mobile site can help you gain followers on social media and expand your online presence. This also allows visitors to keep up to date with you and your brand, straight from their mobile devices.
Important:
This is a mobile-only element, which means it does not appear in the desktop version of your site. Alternatively, you can use the same social bar element from your desktop site on your mobile site.
Step 1 | Add a social bar to your mobile site
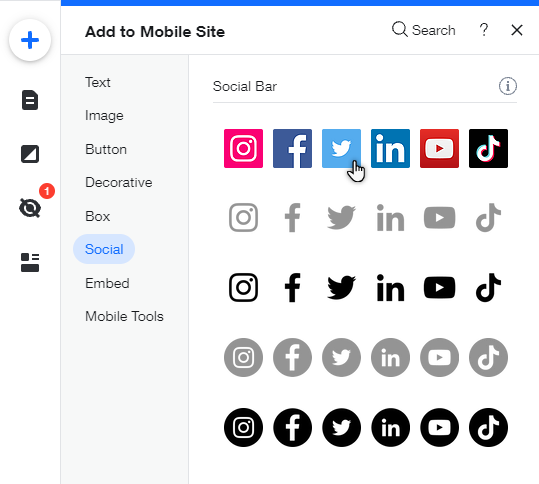
Add a social bar to begin encouraging your visitors to subscribe to you on social media. There are a variety options to choose from, including different color and icon options. You can also customize and adjust the bar to match your site's look and theme.
To add a social bar to your mobile site:
- Click Add to Mobile
 on the left side of your mobile editor.
 - Click Social.
- Select the social bar you want to use or click and drag it onto your page.
Step 2 | Manage the icons on your social bar
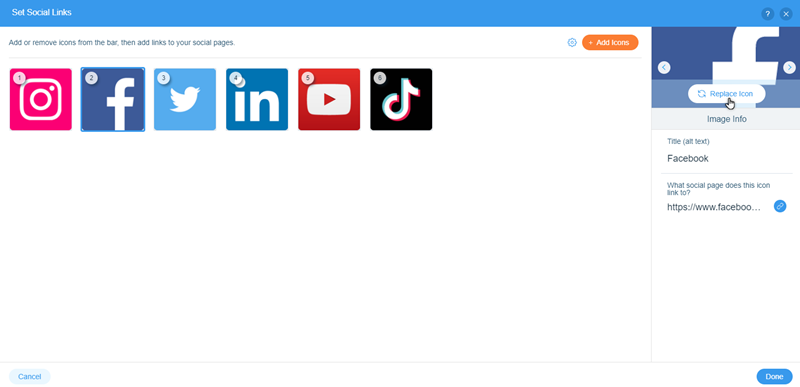
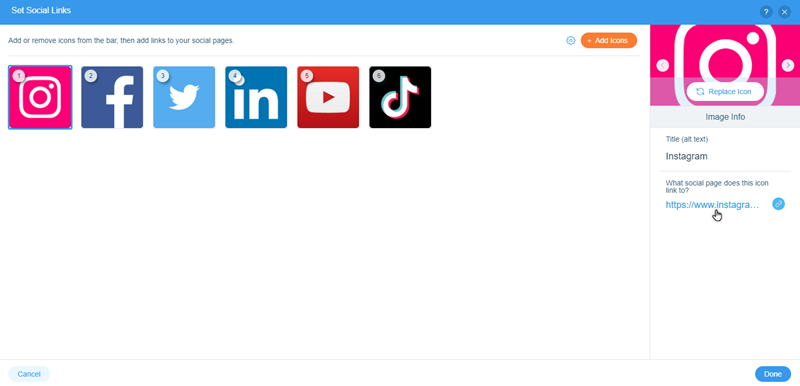
Customize every detail to perfectly suit your social network needs. You can add more icons (representing other social networks), delete those you don't need and reorder the list according to your personal preferences.
You can also replace the existing icons with different designs to ensure the social bar suits your site's theme.
To manage the icons on your social bar:
- Click your social bar in the mobile editor.
- Click Set Social Links.
- Choose what to do next:
- Add more social networks: Click + Add Icons at the top right and select the relevant icon.
- Remove social networks: Hover over an icon and click the Remove Image icon
 to delete it.
 - Reorder the icons: Drag and drop the icons as needed.
- (Optional) Replace the icons to different designs:
- Click the icon you would like to change.
- Click Replace Icon on the right.
- Upload your own image, use one of your site files or explore our large variety of free icons offered by Wix.
Step 3 | Connect your social media accounts
Link the icons to the relevant social media accounts to encourage your visitors to see more of you and your brand's content. Connecting your accounts allows your visitors to subscribe, add, or follow you in a few easy clicks.
To connect your social media accounts:
- Click your social bar in the mobile editor.
- Click Set Social Links.
- Click the icon you want to connect.
- Click the field under What social page does this icon link to? on the right.
- Select Web Address.
- Enter the URL of your social media account in the What's the web address (URL) field.
- Choose how you want the link to open: New window or Current window.
- Click Done.
- Repeat steps 3-8 for all of your icons.
Step 4 | Adjust the layout of your social bar
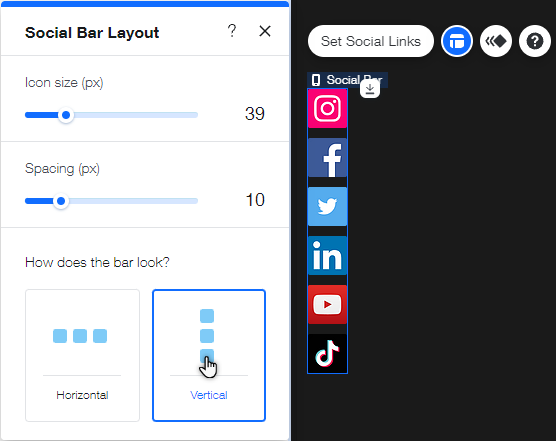
Change the layout of your social bar to suit your site's alignment. You can change settings such as the spacing, and the direction.
To adjust the layout of your social bar:
- Click your social bar in the mobile editor.
- Click the Layout icon
.
- Adjust the layout using the following options:
- Icon size: Drag the slider to increase or decrease the size of the icons.
- Spacing: Use the slider to make the spacing between icons smaller or bigger.
- How does the bar look?: Select whether the bar is displayed horizontally or vertically.
