


Wix Editor: Adding and Setting Up a Gallery
In this article
- Step 1 | Adding a gallery
- Step 2 | Adding images to your gallery
- Step 3 | Adjusting your gallery settings
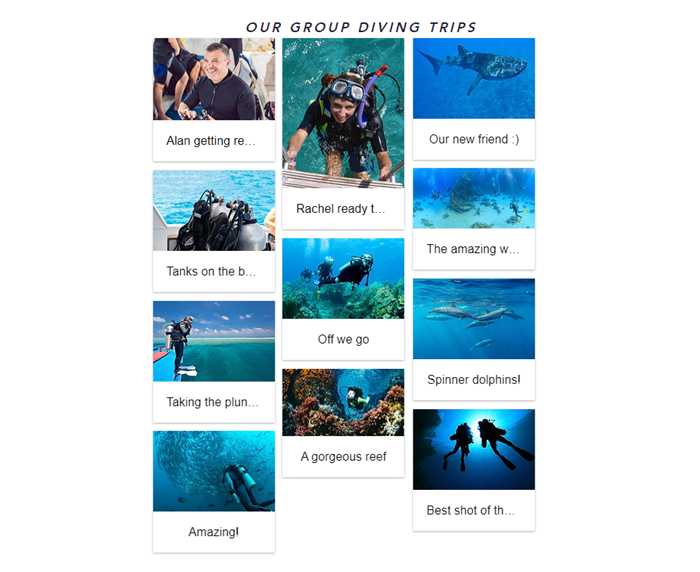
Add galleries to showcase images and encourage visitors to interact with your pages. Galleries have plenty of uses on your site – you can display products or services, for example, or use the gallery like a portfolio.
There are a variety of galleries to choose from, and you can adjust the settings to fit your desired look.
Important:
This article refers to editor galleries, which allow you to display images only. If you would like to display different media types on your site, you can
add and set up a Pro Gallery.
Step 1 | Adding a gallery
To get started, choose a gallery that fits your style from the Add Elements panel. Depending on your needs, you can show your images in a grid, a slider, or a more unique layout like Honeycomb or Freestyle.
To add a gallery:
- Go to your editor.
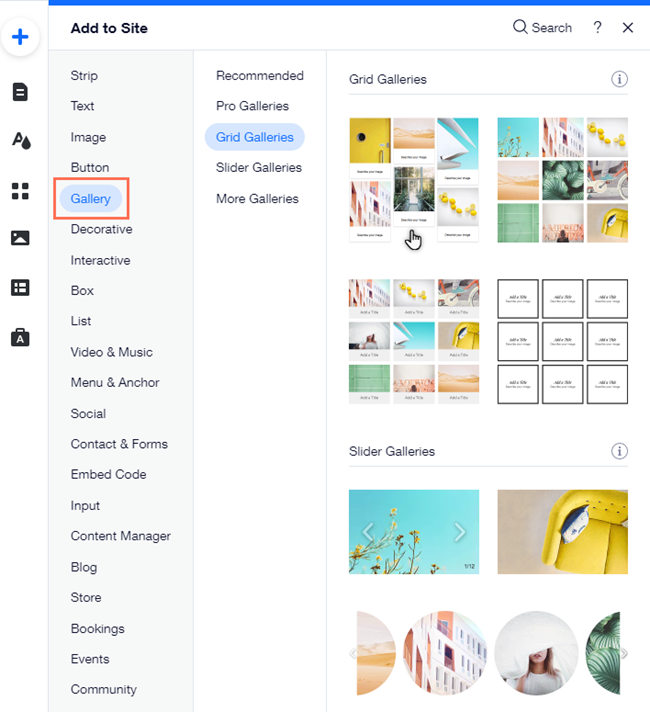
- Click Add Elements
 on the left side of the editor.
 - Click Gallery.
- Click a gallery type:
- Grid Galleries: Choose one of these sleek, square-shaped galleries to let visitors see and browse all of your images at once.
- Slider Galleries: These galleries let visitors browse through slides with your images, similar to a presentation.
- More Galleries: Add a fun gallery to showcase your images in a unique way, with options like 3D Carousel, or Freestyle.
- Click and drag the gallery onto the page.
Step 2 | Adding images to your gallery
Once you've added your chosen gallery to your site, set it up by adding images. You can add free stock images with Wix and Unsplash, purchase stock images from Shutterstock, or
upload your own.
Note:
The number of images you add affects your site loading time. We recommend splitting large galleries into separate smaller ones.
To add images to your gallery:
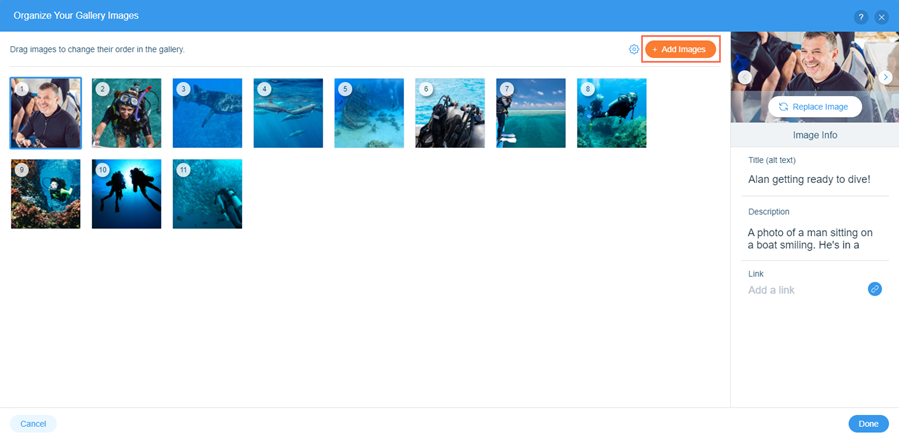
- Click the gallery in your editor.
- Click Change Images.
- Click + Add Images on top of the panel.
- Select a stock image, or images from your site files.
- Click Add to Gallery.
- Click Done.
Want to remove an image from your gallery?
Hover over the image in the
Organize Your Gallery Images panel, and click the Remove Image icon
 .
.
.
Step 3 | Adjusting your gallery settings
After adding images, use the settings to make the gallery and images behave the way you want. Depending on the gallery type, you can set what the images do when visitors click them, whether to display titles, and much more.
Note:
Options displayed in the settings depend on the gallery type you choose.
To change gallery settings:
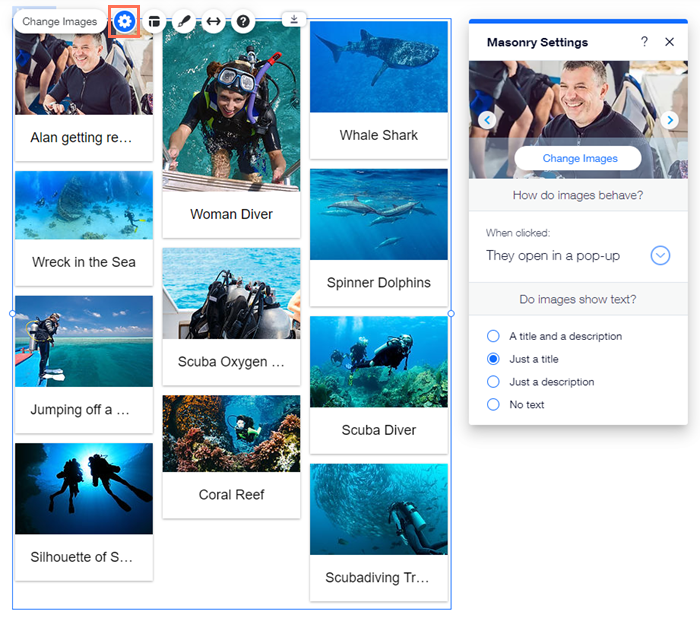
- Click the gallery in your editor.
- Click the Settings icon
.
- Adjust the gallery settings to your liking.
What's next?
Customize the design of your
gallery to look how you want.
