Wix Editor: Adding and Customizing Boxes on Your Mobile Site
4 min
In this article
- Boxes carried over from your desktop version
- Boxes added from the mobile editor
Boxes help to frame, organize and structure the content on your mobile site. Refine the boxes carried over from your desktop version, and customize the ones you add from the mobile editor.
When you add boxes from the mobile editor, you can fully customize their borders, shadows, colors, and spacing. When editing boxes carried over from your desktop site, you can only edit their animations or hide them.
Not sure if it's a mobile or desktop element?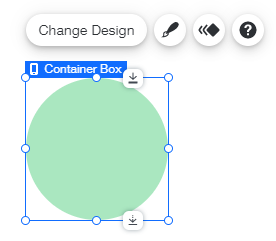
Mobile-only elements display a Mobile icon  when you click them.
when you click them.Boxes carried over from your desktop version
Adding boxes to the desktop version of your site automatically adds them to your mobile site. You can add an animation or hide the box.
Note:
Hover interactions (oftentimes applied to boxes) are not available on mobile.
To customize boxes carried over from desktop:
- Click the box in the mobile editor.
- Choose how to customize your box:
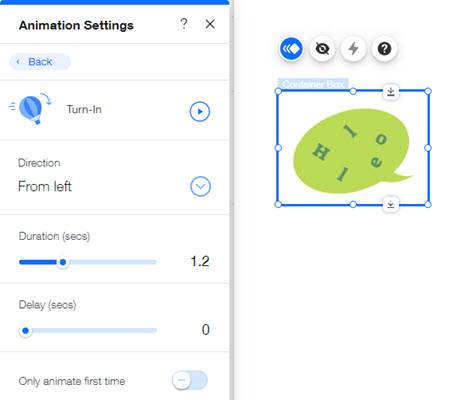
- Add an animation:
- Click the Animation icon
 .
. - Select the animation you want to apply to your box.
- (Optional) Click Customize to further adjust your animation's settings.
- Click the Animation icon
- Hide the box: Click the Hide Element icon
 to hide the box from your mobile site.
- Add an animation:
Tip:
To unhide an element, click the Hidden on Mobile icon on the left of the mobile editor. Then, click Show next to the relevant element to display it on your mobile site.
on the left of the mobile editor. Then, click Show next to the relevant element to display it on your mobile site.Boxes added from the mobile editor
Add a container box directly to your mobile site. Choose from a range of preset designs for your box and customize its color(s), border(s), corners, shadows and spacing.
To add and customize mobile-only boxes:
- Click Add to Mobile
 on the left side of your mobile editor.
 - Click Box.
- Click the box you want to add to your site.
- Click the Design icon
 .
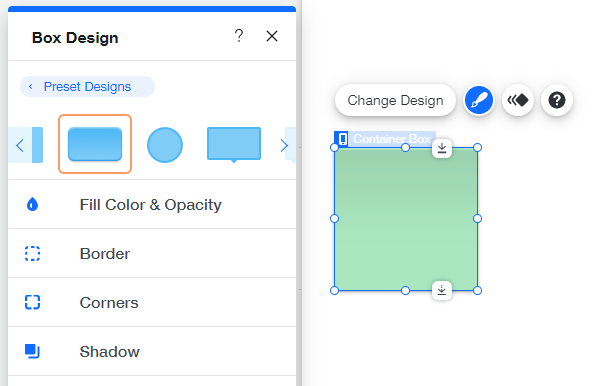
. - Click Customize Design.
- Select the following options to customize the box design:
- Fill Color & Opacity: Click the color box to change the background of your hover box and drag the slider to adjust its opacity.
- Borders: Refine your box's borders.
- Opacity & Color: Edit the border color and drag the slider to adjust the opacity.
- Width: Drag the slider to adjust the border width. For no border, set to zero.
- Corners: Curve the corners of your box.
- Radius: Enter a number to round the box corners or to create a round box.
- Lock: Click the Lock icon
 to keep the four corners the same.
- Shadow: Click the toggle to apply a shadow around your box.
- Angle: Select a position on the circle or enter a value.
- Distance: Drag the slider to increase or decrease the shadow distance.
- Size: Drag the slider to increase or decrease the size.
- Blur: Drag the slider to increase or decrease the shadow blur.
- Opacity & Color: Select a color and drag the slider to increase or decrease the shadow opacity.