Wix Bookings: Understanding Your Checkout Settings
3 min
In this article
- Streamline your billing by sending automatic invoices
- Improve customer experience with clear checkout policies
- Gather additional customer info with a customized checkout page
- Improve customer communications with customized order confirmation emails
Customize your checkout page so that it suits your business needs. Add checkout policies, customize the information fields, and decide whether to send an order confirmation email. If you also use Wix Stores, there are additional checkout settings you can adjust.

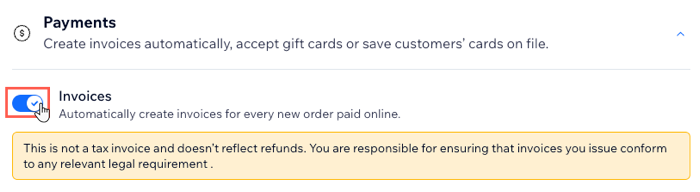
Streamline your billing by sending automatic invoices
If you need to include an invoice for every order, you can do so automatically from the eCommerce Settings section of your site's dashboard.
Learn more about sending automatic invoices to your customers.
Notes:
- Invoices are created only after the order status changes to "Paid".
- Automatic invoices are created for bookings paid for through your site, but not for bookings paid for through the manual payment or payment in person methods. You can create automated invoicing for these payment methods using Wix Automations.
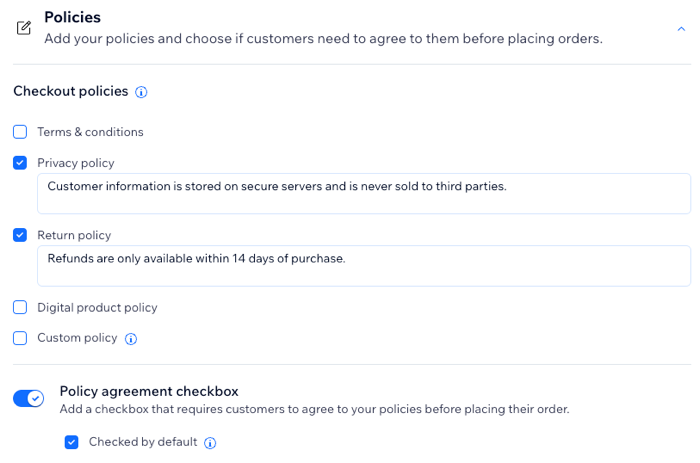
Improve customer experience with clear checkout policies
Display your business policies on your checkout page, so customers know exactly what to expect as they check out.
These policies appear:
- As clickable links in the footer of your checkout page
- (Optional) Next to a policy checkbox that customers must agree to before checking out.
Learn more about adding eCommerce policies, terms and conditions to your site's footer.
Notes:
- Checkout policies apply to orders on your site that also contain products, not just services.
- Your checkout policies are separate from your Bookings policies, which determine your booking window, cancellation policy, and more.
Gather additional customer info with a customized checkout page
Customize the fields that appear in the billing address that customers fill out on the Checkout Page. You decide which of these fields you want to make mandatory and which ones customers can choose to leave blank.
You can also add checkboxes for your policies and a subscription option that customers select before completing checkout.
Learn more about customizing the checkout page.
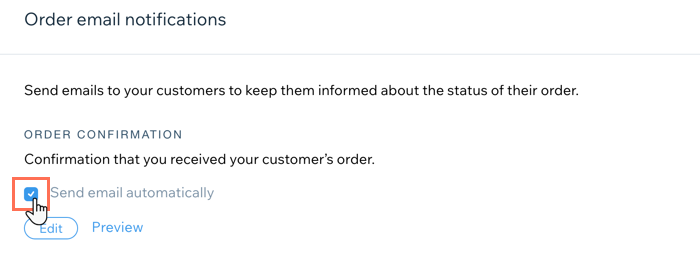
Improve customer communications with customized order confirmation emails
When you add cart checkout to your site, you and your clients receive an order confirmation email once they make a purchase. This email is sent in addition to your default Booking confirmation emails.
You can edit the content of your order confirmation email or turn it off completely. This is useful if you don't want double notifications for each booking.
Learn about Wix Stores Order email notifications.
Note:
You can deselect the Send email automatically checkbox to stop these emails from being sent. However, this applies to both Bookings orders and Wix Stores orders, including pickup and digital orders.