Wix Bookings: Adding and Setting up a Loyalty Program for Your Business
12 min
In this article
- Step 1 | Create your loyalty program
- Step 2 | Set up how your clients earn points
- Step 3 | Set up your loyalty rewards
- Step 4 | Customize your loyalty pages
- Step 5 | Customize your My Rewards Page
Offer your returning site members rewards by creating a loyalty program. Choose specific actions that reward your members, and the amount of points they receive for each one. This can include becoming a member of your site, or booking a session in one of your new services.
Add a description of your incentives to your Loyalty page and allow registered members to log in and view their point balance and rewards on the My Rewards page.
Important:
- To launch your loyalty program, you must upgrade to a plan that includes accepting payments.
- The Wix Loyalty Program is not yet available in the Wix Harmony Editor.
Step 1 | Create your loyalty program
Create and customize your loyalty program to suit your clients, business and branding. Set the title of your rewards program, give your points a unique name and icon.
To create your loyalty program:
- Go to Loyalty Program in your site's dashboard.
- Click Start Now.
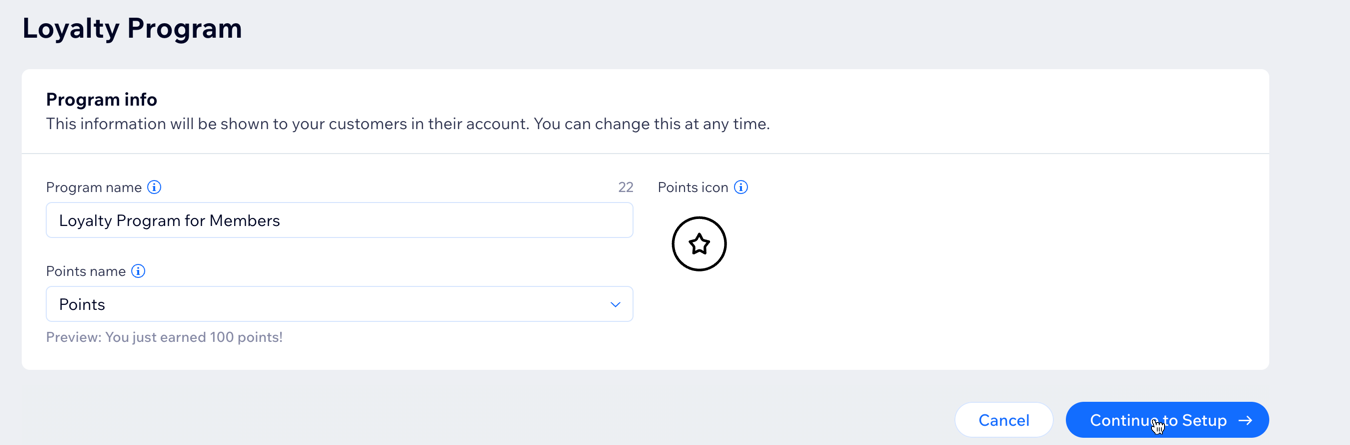
- Set up your Program info:
- Add your loyalty program name.
- Choose what to call your loyalty points under Points name:
- Points: this is the default name.
- Custom name: Enter a new name for your points that matches your site's brand.
- Choose a loyalty points icon or upload an image from your desktop.
- Click Continue to Setup.
Step 2 | Set up how your clients earn points
After creating your new Loyalty program, choose which actions earn points and the amount of points members get for each one.
You set how the reward system works – for example, your client earns 50 points for signing up to your reward program. Those 50 points entitle them to a 5% discount on their next booking.
Note:
Points based on spending are rounded down to the nearest whole number. For example, if you reward 10 points per $1, a spend of $4.99 earns 40 points.
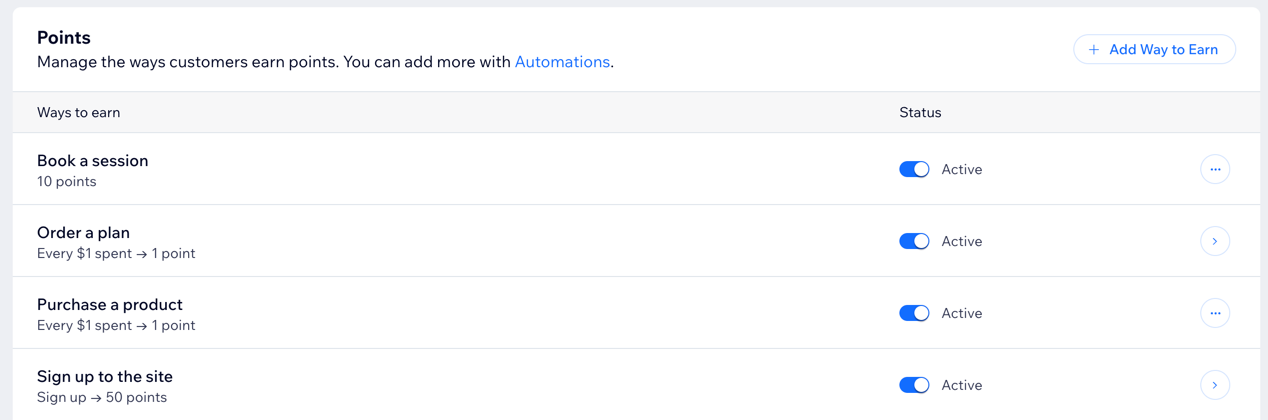
To set up how your customers earn points:
- Under Points, enable the toggle next to the action(s) that should allow clients to earn points.
- Customize your selected actions:
- Hover over an action and click Edit to customize it:
- Edit the action title.
- (If needed) Choose the action:
- Each purchase
- Every $1 spent
Note: Clients earn points based on your site currency.
- Set the number of points clients earn for the action.
- Click Save.
- Hover over an action and click Edit to customize it:
- (Optional) Give members more ways to earn points:
- Click + Add Way to Earn next to Points.
- Select Follow on social media or Celebrate a birthday.
- Click Continue.
- Edit your action and click Create.
Tip:
You can also use automations to add more options.
Step 3 | Set up your loyalty rewards
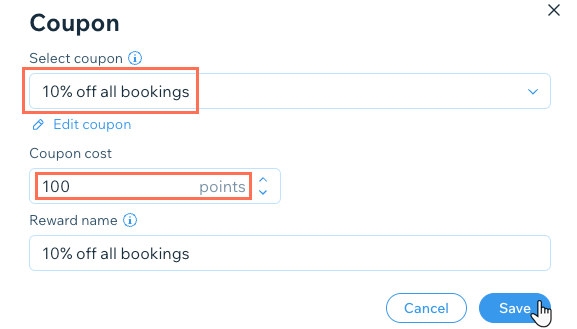
After choosing and customizing the actions that earn points, set up the rewards (coupons) and how your clients redeem them. For example, a client can redeem 100 points for a 10% discount on their next booking.
To set up your loyalty rewards:
- Click Edit next to any existing rewards or click Create Reward.
Note: Learn more about how to create coupons for Wix Bookings. - Click Next.
- Select the relevant coupon from the drop-down.
- Set the Coupon cost in points.
- Set the Reward name.
- Click Save.
Step 4 | Customize your loyalty pages
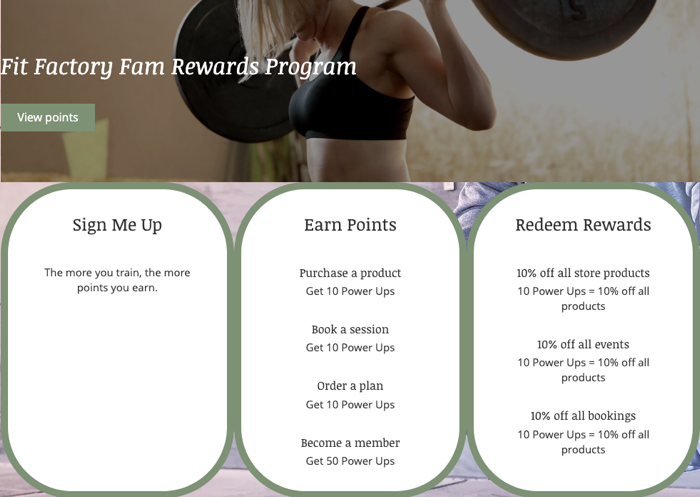
Once you set up your rewards program, make sure to customize your two loyalty pages in the editor so they suit your brand and business.
Your Loyalty Program page contains details of your program with your clients while the My Rewards page is where your registered members track their points and rewards.
Wix Editor
Studio Editor
- Go to your editor.
- Access the Loyalty page:
- Click Pages & Menu
 on the left side of the editor.
 - Click the Loyalty page under Site Menu.
- Click Pages & Menu
- Click the Loyalty element on the page.
- Click Settings.

- Choose what you want to customize:
Display

Layout

Text

Design
 to set the font for any piece of text in the header.
Step 5 | Customize your My Rewards Page
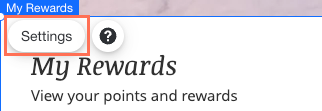
Once you set up your Loyalty program page, make sure to update all the relevant information your clients see on their My Rewards page.
Wix Editor
Studio Editor
- Go to your editor.
- Access the My Rewards page:
- Click Pages & Menu on the left side of the editor.
- Click My Rewards under Member Pages.
- Click Pages & Menu
- Click the My Rewards element on the page.
- Click Settings.
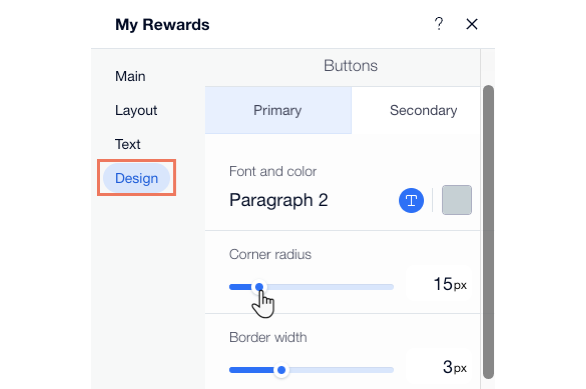
- Choose what you want to customize:
Layout

Text

Design