

Wix Blog: Editing the Text Formatting of Your Blog Posts
11 min
In this article
- Customizing your post text
- Adjusting the layout of post text
- Adding links, quotes, and code snippets
- Using lists in your post
Design the formatting of your blog posts with the Wix Blog post composer. Use the post composer's rich text editor to customize the text's formatting and alignment, insert links, and more.
Depending on your needs, you can access full formatting and media options from the dashboard version, or use the essential features in the app to create and update posts on the go.
Good to know:
- The Undo
 and Redo
  icons are available in both the dashboard and your Wix app, so you can always revert and restore your changes while you work.
 - You can make changes to all of your post's text style, fonts, and colors at the same time in your editor. Learn about customizing your post page.
Customizing your post text
Customize post text to make it look how you want. Choose from a ton of options in the blog dashboard, or update essential formatting from your Wix app.
Dashboard
Wix app
- Go to Blog in your site's dashboard.
- Select the post that you want to edit, or create a new post.
- Highlight the relevant text in the composer.
- Customize your text using the formatting settings:
- Text style: Click the drop-down to choose and apply a text style (e.g. Heading 1, Paragraph, etc.). You can also update the current style to match the selected text, or reset the style to its default.
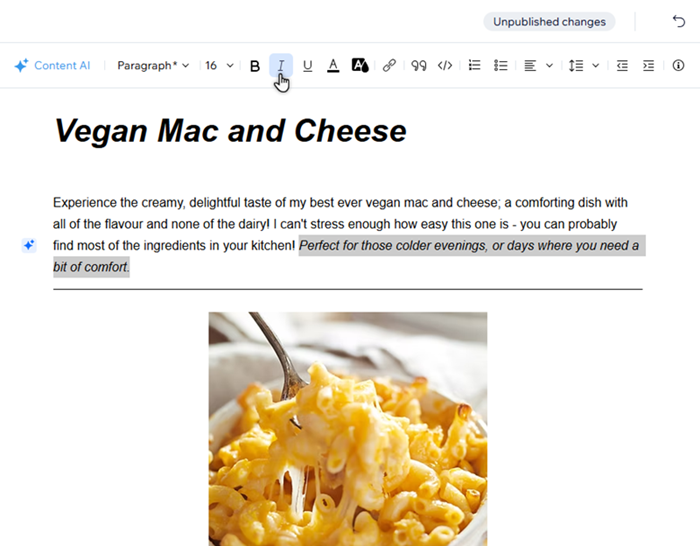
- Formatting: Click the Bold icon
 , Italic icon
  , or Underline icon
  to apply the style to the text.
 - Colors: Select the Text color
 and the Highlight color icons
  to give your text the colors you want.
Tip: Click the Add custom color icon to choose a color by HEX number, or click Reset to default to reset the text color.
Adjusting the layout of post text
Choose the text alignment to suit the layout of your post. If you're working from the dashboard, you can also adjust the spacing and indentation.
Dashboard
Wix app
- Go to Blog in your site's dashboard.
- Select the post that you want to edit, or create a new post.
- Highlight the relevant text in the post composer.
- Adjust the text with the options:
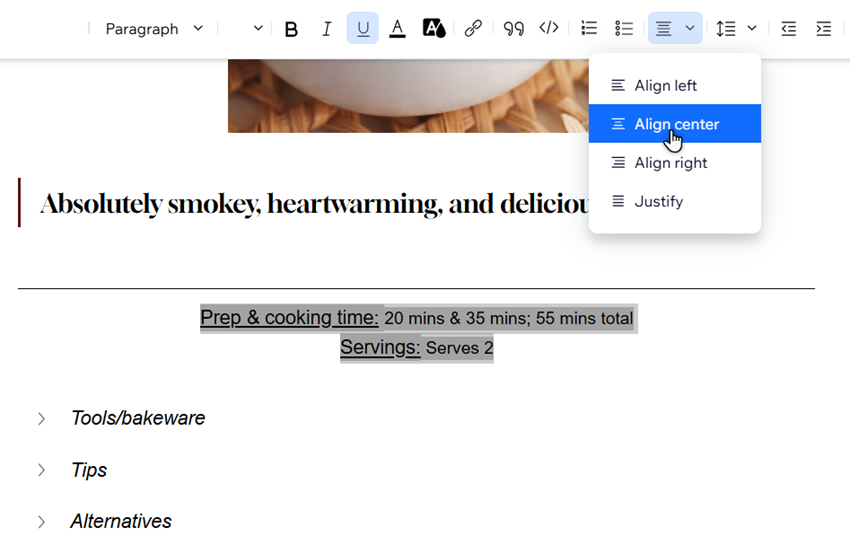
- Alignment: Click the Alignment icon
 to choose whether text is justified, or aligned to the left, right, or center.
 - Line spacing: Click the Spacing icon
 to adjust the distance between lines of text. You can select between 1 and 3 lines, or click Spacing options to create your own.
 - Indentation: Click the Increase indent icon
 or Decrease indent icon
  to adjust it to your liking.
- Alignment: Click the Alignment icon
Adding links, quotes, and code snippets
Quotes and code snippets are a great way to make parts of your text stand out from the rest of the post. You can also hyperlink text to direct readers where you want.
Good to know:
- Quotes have a solid line to the left of the text, whereas code snippets are in a grey box.
- Depending on what you choose to add, you can change some of the design / formatting options as you can with standard text in your post.
To insert quotes or code snippets:
Dashboard
Wix app
- Go to Blog in your site's dashboard.
- Select the post that you want to edit, or create a new post.
- Highlight the relevant text in the post composer.
- Choose what you want to insert to the text:
- Link: Click the Link icon
 and use the options in the panel to set it up:
- Link to: Select the type of link destination you want and input the details.
- Links open in a new tab: Choose whether the link opens in the same or a new tab.
- noreferrer: Click the toggle to hide or unhide information about the link source.
- nofollow: Enable the toggle to tell search engines to ignore the link.
- sponsored: Enable the toggle to mark the content as sponsored.
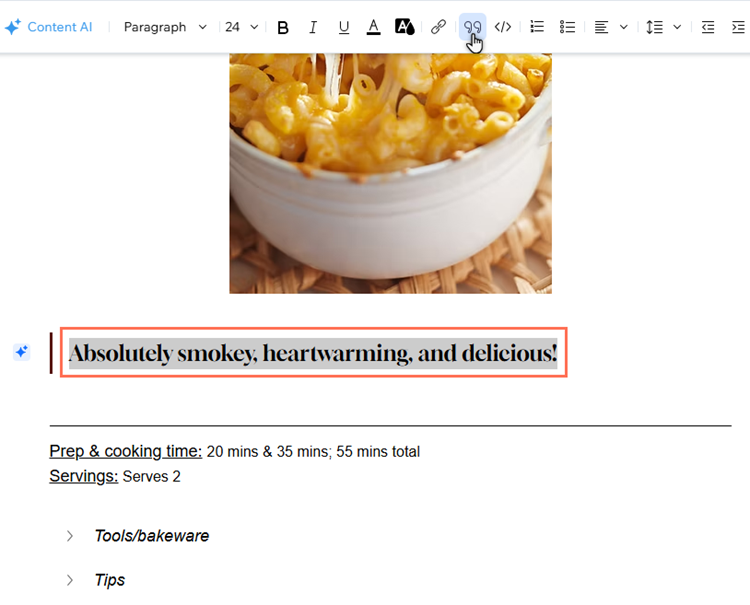
- Quote: Click the Quote icon
 to turn the text into a quote.
 - Code: Click the Code snippet icon
 to change the text.
- Link: Click the Link icon
Using lists in your post
Organize sections of text by turning them into numbered or bulleted lists. Numbered lists are a great way to add steps that your readers need to follow, whereas bulleted lists can be useful for lists of options with no particular order.
Dashboard
Wix app
- Go to Blog in your site's dashboard.
- Select the post that you want to edit, or create a new post.
- Highlight the relevant text in the post composer.
- Click the Numbered list icon
 or the Bulleted list icon
  .
.

Note:
While you can use both numbered lists and bulleted lists in your post, it is not possible to continue the numbering after bullets within the same list.
Did you know?
You can add notes to your posts to highlight issues or remind yourself to change something later.
Hire a Professional WriterGet the content you need for your website. Hire a writer from the Wix Marketplace to create text that fits your message and brand.
