

Wix Blog: Translating Your Blog
5 min
In this article
- Translating your blog
- Managing your translated content
- FAQs
Translating your blog can expand your site's reach and improve SEO by increasing traffic and conversions. You can translate posts and categories, including their images, descriptions, and URL slugs.
Before you begin:
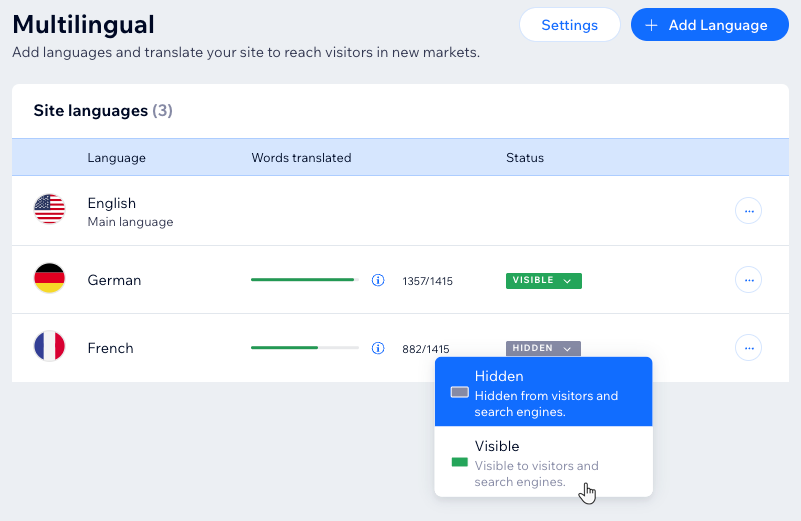
First, you need to add and set up Wix Multilingual. You can add Wix Multilingual from your editor, your site's dashboard, or from the Wix App Market.
Translating your blog
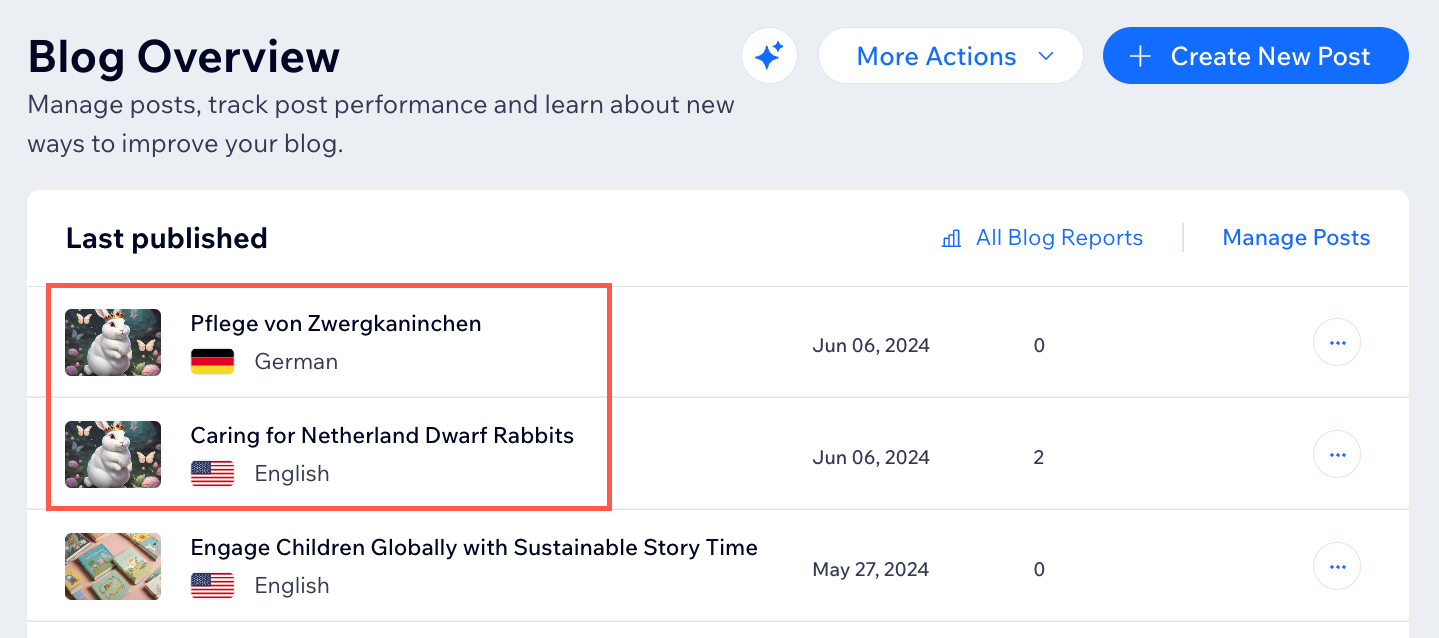
With your standard blog dashboard, you can translate posts and category names along with their images, descriptions, and URL slugs.
To translate your blog:
- Go to Blog in your site's dashboard.
- Choose what you want to translate:
Category names
 next to the relevant category.
Blog posts
 next to the relevant post.
Tip:
Using the Translate tab in your post composer, you can also translate a post as you edit it. Click Add next to the relevant language to open a duplicate version of your current post and start translating in your chosen language.
Managing your translated content
Now that you've localized some categories and posts, there are multiple ways to manage your translated content going forward.
To manage your translated content:
- Go to Blog in your site's dashboard.
- Choose what you want to do:
Filter your categories by language

Filter your posts by language

Edit a post or category in a specific language
Change the post language

Tip:
Categories, post SEO settings and URLs can be localized and are unique per translation.
FAQs
Click a question below to learn more about translating your Wix Blog:
Can I translate tags?
Can I translate my blog in the translation manager?

Can I translate my blog in the editor?

Do all languages appear on my live site?
Can I assign categories and tags to posts of all languages?
Is auto-translation initiated automatically for newly added languages?
What happens if I add a language, but I don't translate my blog content?
Hire a Professional WriterGet the content you need for your website. Hire a writer from the Wix Marketplace to create text that fits your message and brand.
