

Wix Editor: Using The Right-Click Menu
3 min
In this article
- Copying and pasting elements
- Setting elements to show on all pages
- Copying the design of an element
- Arranging elements on your page
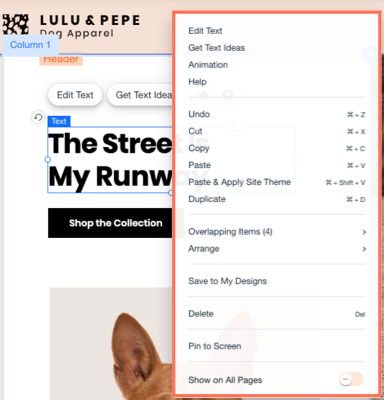
The right-click menu is a great way to control your elements and their settings. There are a variety of actions you can perform, such as duplicating the design, and arranging the element's position on your page.
Right-click any element in the editor to open the right-click menu. Mac users should press control and click the mouse button.
Copying and pasting elements
Use the menu to copy and paste elements to different areas on your site.
This a great way to re-use elements without needing to manually add them again from the Add Elements panel.
To copy and paste an element:
- Right-click the relevant element.
- Select Copy from the menu.
- Right-click another area on your site.
- Click Paste.

Did you know?
You can group elements together to copy and paste multiple elements at once.
Setting elements to show on all pages
Elements added to your site's header and footer automatically show on all pages on your site.
However, you can set elements on your page body to also be shown on all pages. This is helpful for elements such as chat buttons, or menus that you've added to the page body.
To set an element to show on all pages:
- Right-click the relevant element in the editor.
- Enable the Show On All Pages toggle in the menu.
Toggle not available?
There are some elements which can't be shown on all pages. For these elements, the toggle is not available in the right-click menu.
Copying the design of an element
Instead of copying an element, you can instead copy the design and apply it to different elements across your site.
This is a great way to maintain a consistent theme and look across your site, without needing to manually edit each element.
To copy an element's design:
- Right-click the element you want to copy the design from.
- Click Copy Design.
- Click the panel to close the right-click menu.
- Select the designs on the right side that you want to replace with design on the left.
- Click Apply.
Arranging elements on your page
You can place elements in front of or behind other elements to add depth to your site page.
Note:
Placing elements in front or behind other elements can potentially cause issues, as it may be difficult to then select the element and work with it within the editor.
Using the right-click menu, you can move the element forwards or backwards to edit it, or rearrange the look of your site.
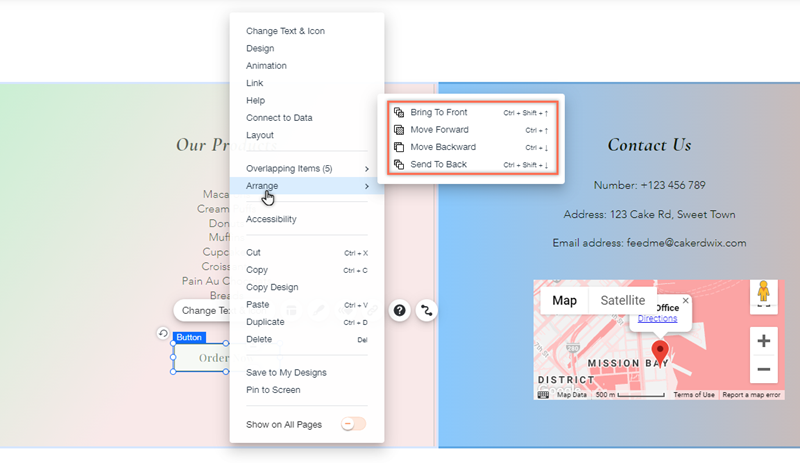
To arrange an element:
- Right-click the relevant element in the editor.
- Click Arrange.
- Select an option:
- Bring to Front: Move the element in front of all other elements.
- Send to Back: Move the element behind all other elements.
- Move Forward: Move the element one layer forward.
- Move Backward: Move the element one layer back.
Tip:
You can also arrange elements with the layers panel on your site.
