

Studio Editor: Working With Layers
7 min
In this article
- The structure of the Layers panel
- Selecting and managing layers
- Managing a layer
- Setting a layer selection preference
- Renaming layers
- Reordering layers
- Hiding and unhiding elements
Manage the layers of a page as you're working on it in the Studio Editor. This is where you see all of the sections and elements, to better understand their hierarchy. The Layers panel is also helpful when you need to select an element that is difficult to find on the canvas.
The structure of the Layers panel
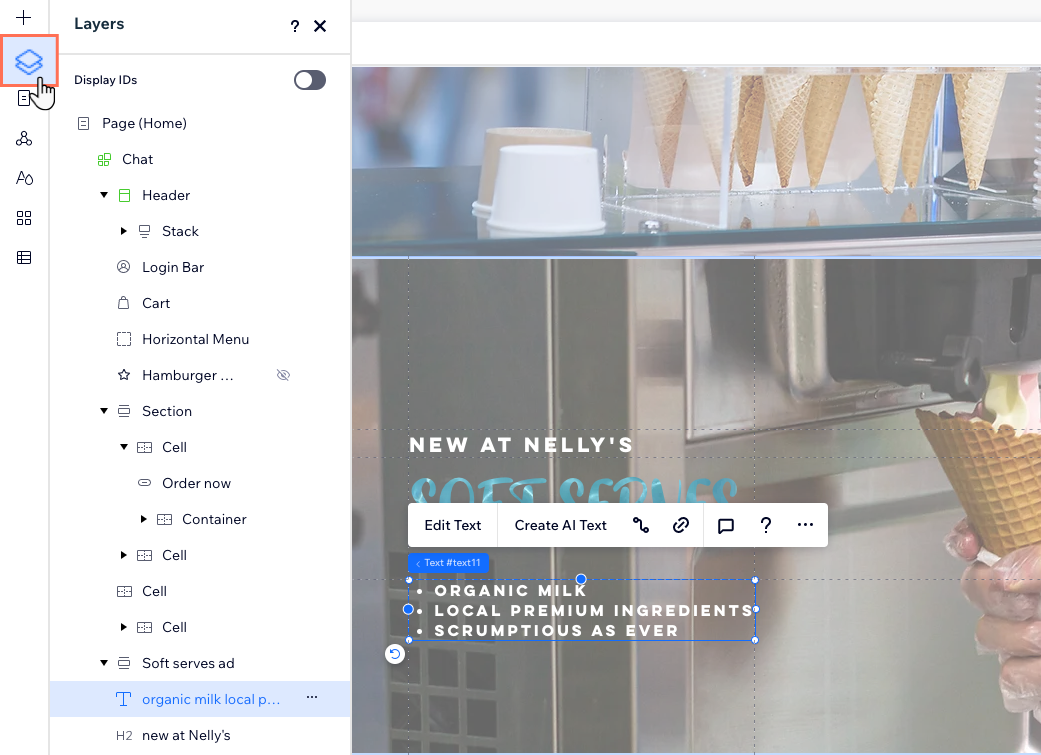
The Layers panel displays all of the sections in the current page, in a hierarchy from top to bottom. If the page has a header at the top, for instance, it appears at the top of the list.
When nesting elements within other elements, it creates a parent/child relationship between them. For example, text elements within a container are its child elements. In turn, that container is the child of the section that displays it.
The Layers panel is organized according to this parenting logic, so you can click a parent element to see its child elements. If your page has any global sections, they are highlighted green.
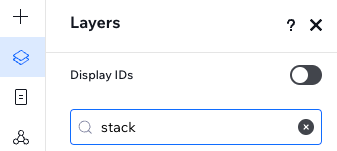
Use the search bar to quickly find the layer you need. You can type the element name or ID.
Selecting and managing layers
The Layers panel is a useful and quick way to navigate to a certain element on the page. It's also a great way to find an element, for example, if you have overlapping elements and you can't locate or select the one you need.
When you hover over a layer, it is highlighted on the page. If you click the layer, the Editor scrolls directly to that element. Even if you close the panel at this point, your selection is still saved.
Tip:
Select multiple elements by holding the Shift key as you click on them.
Did you know?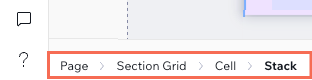
You can also select layers from the breadcrumbs bar at the bottom left of the editor.
Managing a layer
Found the layer you need? From this panel, you can perform actions like copying the layer, moving it up or down, choosing which pages to show it on and much more.
Manage a layer by doing one of the following:
- Right-click on the layer's name.
- Hover over the layer's name and click the More Actions icon
 .
.

Setting a layer selection preference
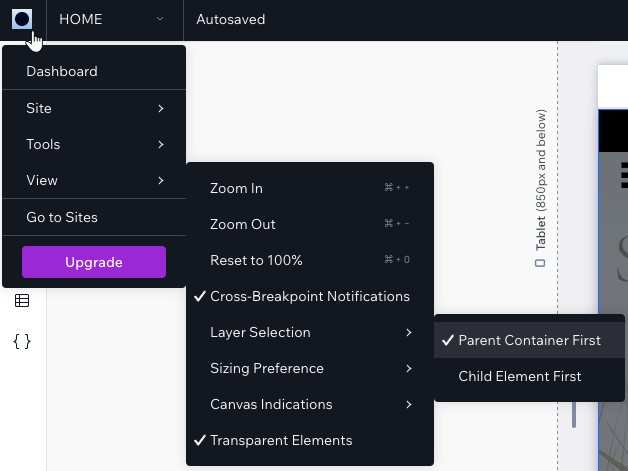
The Studio Editor lets you choose a default pathway for grabbing layers on your canvas. Decide which element gets "selected" when you click a parent container that has child elements.
- Parent Container First: The parent container (e.g., container box, stack, etc.) is selected when you click it. Then, you can click again on any element inside to edit it.
- Child Element First: The specific child element you click on is selected, not its parent container.
To set a layer selection preference:
- Click the Wix Studio icon
 at the top left.
 - Hover over View.
- Hover over Layer Selection.
- Select the relevant option: Parent Container First or Child Element First.
Renaming layers
When adding many sections, containers and elements to a page, it might become difficult to tell them apart in the Layers panel. Rename layers to make sure they're easy to recognize - double-click the relevant layer to give it a new name.

Using Dev Mode?
Display element IDs in the Layers panel to easily identify elements in your code. Enable the Display IDs toggle to see the IDs as defined in the Properties panel.
Reordering layers
Using drag and drop, you can easily reorder elements and sections on the current page. As the Layers panel is organized from top to bottom, moving elements around also affects their location on the page.
When working with overlapping elements, reordering them also affects the Z order. For example, if you want text to appear on top of a shape, the text must be above the shape in the Layers panel.
You can only drag and drop elements within their parent. It is not possible to drag an element to a different parent.

Changed the section order on smaller breakpoints?
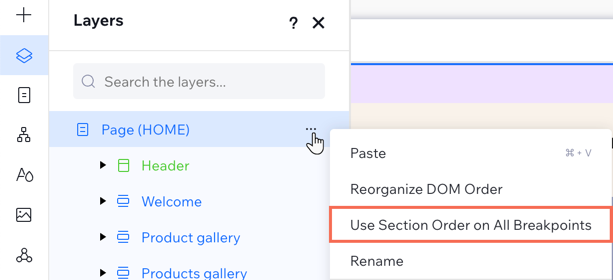
You can always re-apply the order you currently have on desktop. Go to the Layers  panel, click the More Actions icon
  next to Page and select Use Section Order on All Breakpoints.
panel, click the More Actions icon next to Page and select Use Section Order on All Breakpoints.Hiding and unhiding elements
You can quickly hide an element from the current breakpoint, directly on the canvas, by clicking the More Actions icon  on the element and selecting Hide.
on the element and selecting Hide. 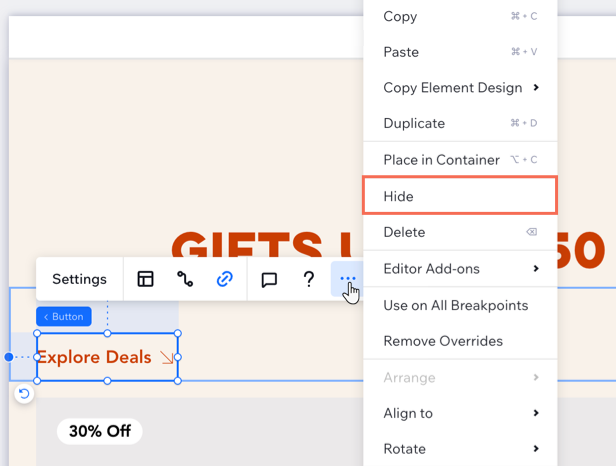
However, if you ever need to unhide the element, you must do it from the Layers panel. A hidden element appears with a Hidden icon  so you can easily locate it on the list.
so you can easily locate it on the list.Tip:
When adding an element to a smaller breakpoint (e.g. mobile), it's always hidden on larger breakpoints (e.g. desktop). Following these steps, you can make the element appear on the larger breakpoints.
To unhide an element:
- Click Layers on the left side of the editor.
- Locate the hidden element on the list.
- Click the Show icon
 .
.

