

Studio Editor: Troubleshooting Gaps and Horizontal Scroll Bars
4 min
In this article
- Step 1 | Find and re-position elements in the Layers panel
- Step 2 | Check the page edges
- Step 3 | Change the Overflow Content setting of the page
- Step 4 | Check the section's height
- Troubleshooting
While building a site in the Studio Editor, you may notice unwanted gaps and horizontal scroll bars. Use the steps in this article to learn what you should check, and ensure that they don't appear to visitors on any screen size.
Step 1 | Find and re-position elements in the Layers panel
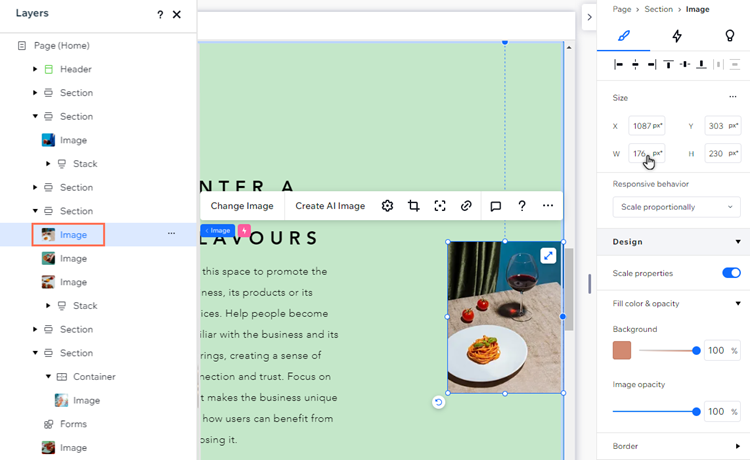
If an element is outside its section boundaries, a blank gap is automatically created to make the element fully visible. Use the Layers panel to see a list of your page elements, and click each one to check and re-position them as needed.
To find and re-position elements in the Layers panel:
- Click Layers
 on the left side of the editor.
 - Select an element to find it on the page.
- Re-position the element using the following tools:
- Drag and drop it to the right place.
- Use the handles to decrease the size of the element.
- Adjust the margins or resize the element from the Inspector panel
 .
.
Step 2 | Check the page edges
While an element may be positioned inside a section, its edges could still cross the page's boundaries and create a white gap and / or a horizontal scroll bar. This often happens with text elements.
Click each section and hover over all of the elements close to the edges of the page. If any of them are overflowing, you can move or resize them as needed.

Step 3 | Change the Overflow Content setting of the page
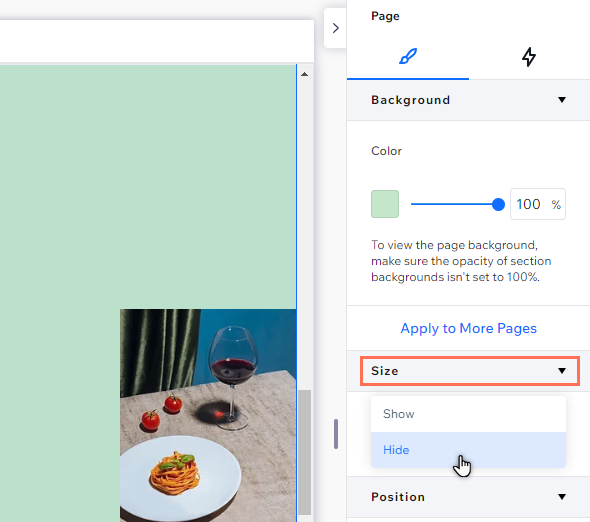
You can hide a page's overflow content to prevent white gaps and horizontal scroll bars from automatically being displayed on the page. This setting "clips" the edges of the page, so any overflowing elements (or parts of elements) are cropped.
To change the overflow content setting:
- Select the page layer:
- Go to the relevant page.
- Click Layers on the left side of the editor.
- Click Page.
- Click the Open Inspector icon at the top right of the editor.

- Click the Design tab
 .
. - Select Hide from the Overflow content drop-down.
Step 4 | Check the section's height
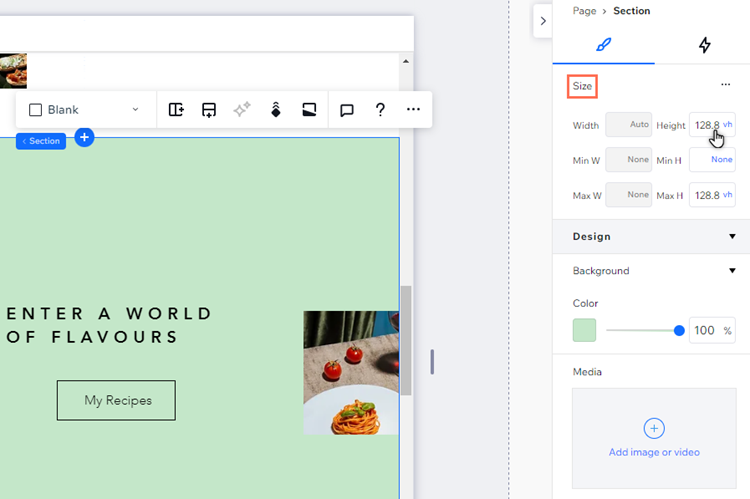
The height and / or minimum height you set for a section or CSS Grid may create a gap. If you're using the 'Fit to screen' behavior, or the vh measurement (which is relative to the viewport height), the gap may appear bigger on larger screens.
You can use the Inspector panel to check the CSS Grid and section's sizing, and change their height and / or minimum height as needed.
To check the section's height:
- Select the relevant section.
- Click the Open Inspector icon at the top right of the editor.
- Check and adjust Height and Min H settings under Size.
Troubleshooting
If you’re still seeing unwanted gaps on your client's live site, learn what else you can do to remove them or check out this video tutorial to troubleshoot the issue.
