

Studio Editor: Grouping Elements
3 min
In this article
- Creating a new group
- Detaching an element from a group
- Editing a single element from a group
- Ungrouping elements
- Managing groups in the Layers panel
Perform actions on multiple elements using grouping, a smart multi-selection tool. Grouping can significantly accelerate the design process as it lets you drag and align all of the associated elements at once.
Creating a new group
You can group as many elements as you need as long as they share the same parent. The groups that you create apply to all breakpoints.
To group elements:
- Go to your editor.
- Hold the Shift key and select the relevant elements.
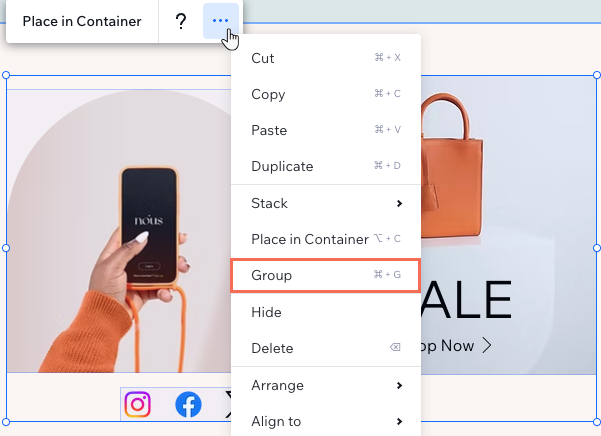
- Click the More Actions icon
 .
. - Select Group.
Tip: You can also press Ctrl + G / Cmd + G in your keyboard to group the elements.
Tip:
You can always add more elements to a group, or merge existing groups into one big group, by following the steps above.
Detaching an element from a group
If needed, you can detach specific elements from an existing group. The elements aren't removed from your site, but will no longer be associated to the group.
To detach an element:
- Go to your editor.
- Click Layers
 on the left side of the editor.
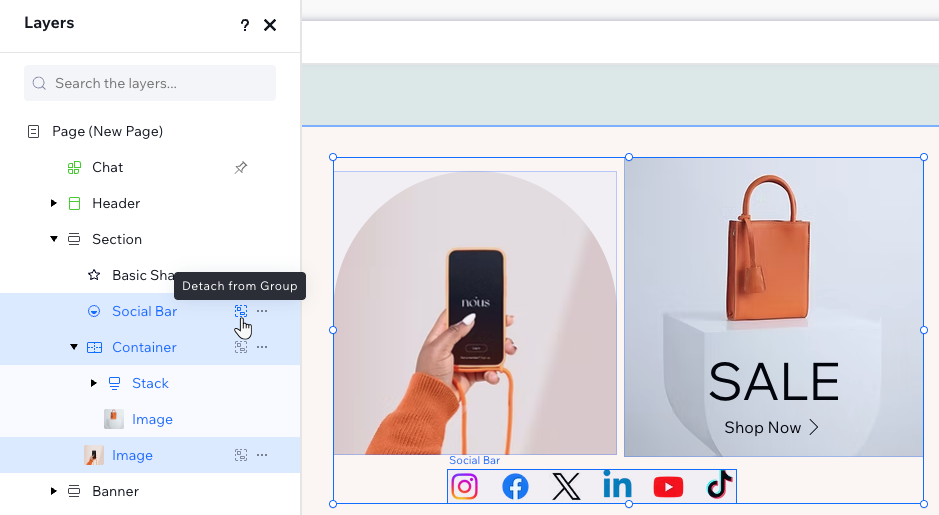
 - Select the element you want to detach.
- Click the Detach from Group icon
 next to the element.
Editing a single element from a group
Select single elements from your group to design them individually. You can move them around and change the design without affecting the entire group.
Click the group on your page, then click the relevant element to make changes to it. You can also hold the Ctrl / Cmd key in your keyboard and click the element to select it.
Ungrouping elements
You can ungroup your elements at any time. This doesn't remove the elements from your site, only their association as a group.
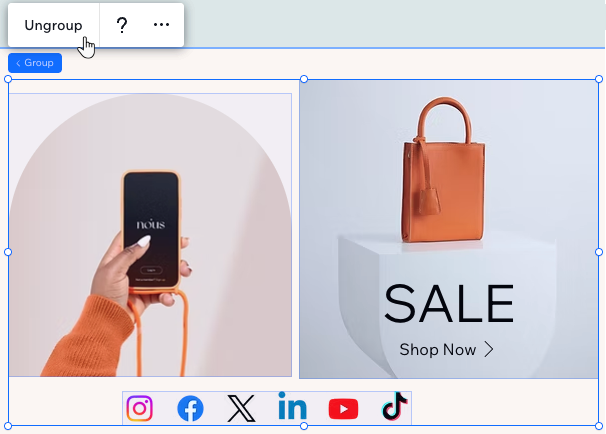
Select the relevant group in your editor and click Ungroup. You can also press Ctrl + Shift + G (PC) / Cmd + Shift + G (Mac) in your keyboard to quickly ungroup.
Managing groups in the Layers panel
Access the Layers panel to view existing groups of elements on the page you're working on.
When elements are in a group, you can see a Group icon  on their right. Clicking on any element from a group selects the other elements as well and highlights them in blue:
on their right. Clicking on any element from a group selects the other elements as well and highlights them in blue: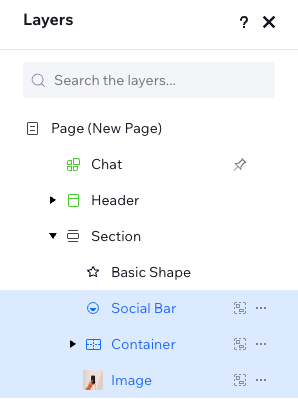
Click again on an element from the group to manage it individually. The selected element is then highlighted in blue:

