Site Members: Offering Exclusive Content to Your Members
10 min
In this article
- Restricting pages in your site
- Restricting pages to specific member roles
- Restricting pages to members with pricing plans
- Restricting pages to members with badges
- Allowing customers to access their private information
Use the members area to give site members access to exclusive content. Members log in with their own accounts, so only they can see it. You can also let members share content with each other to build a stronger community.
Restricting pages in your site
You can restrict access to certain site pages, making sure that only logged-in members can see them. To make these pages even more exclusive, you can limit access to members with a specific role or pricing plan, even if the page isn’t part of your members area.
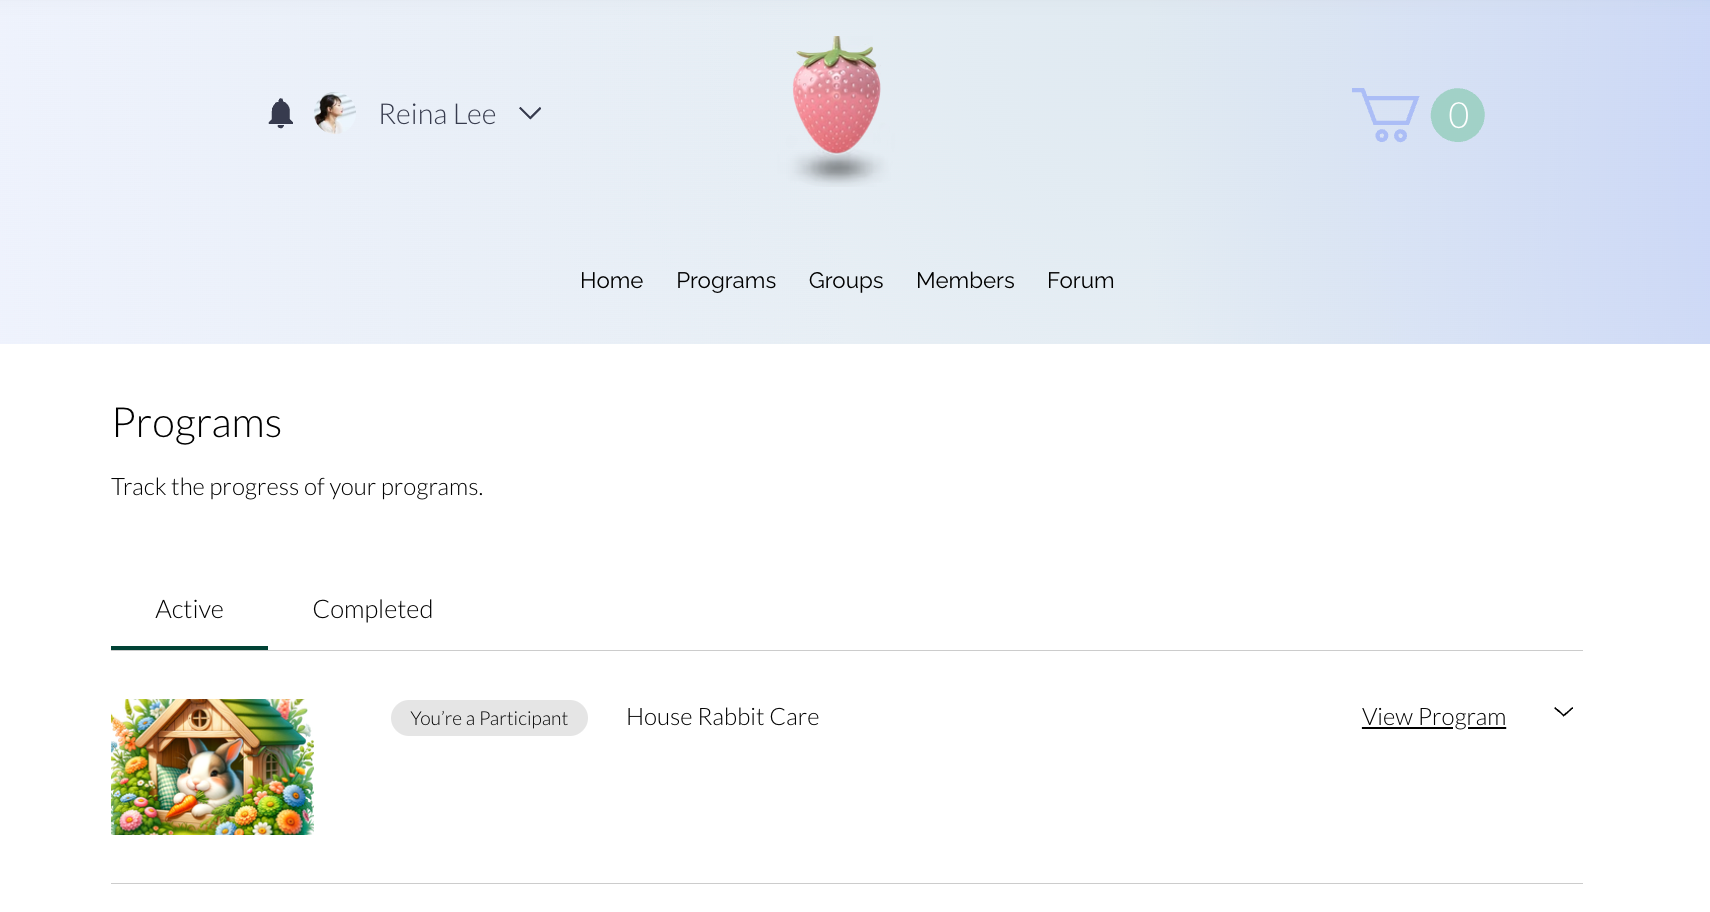
The default member pages in your members area, like My Account and Profile, are private by default. Any custom member pages you create will also be private automatically.
Restricting pages to specific member roles
Allow certain members to have access to specific member pages. For example, you may run a yoga studio and want to create pages just for the students, and also pages just for the teachers.
Before you begin:
Create member roles and assign them to different members.
Wix Editor
Studio Editor
Wix Harmony Editor
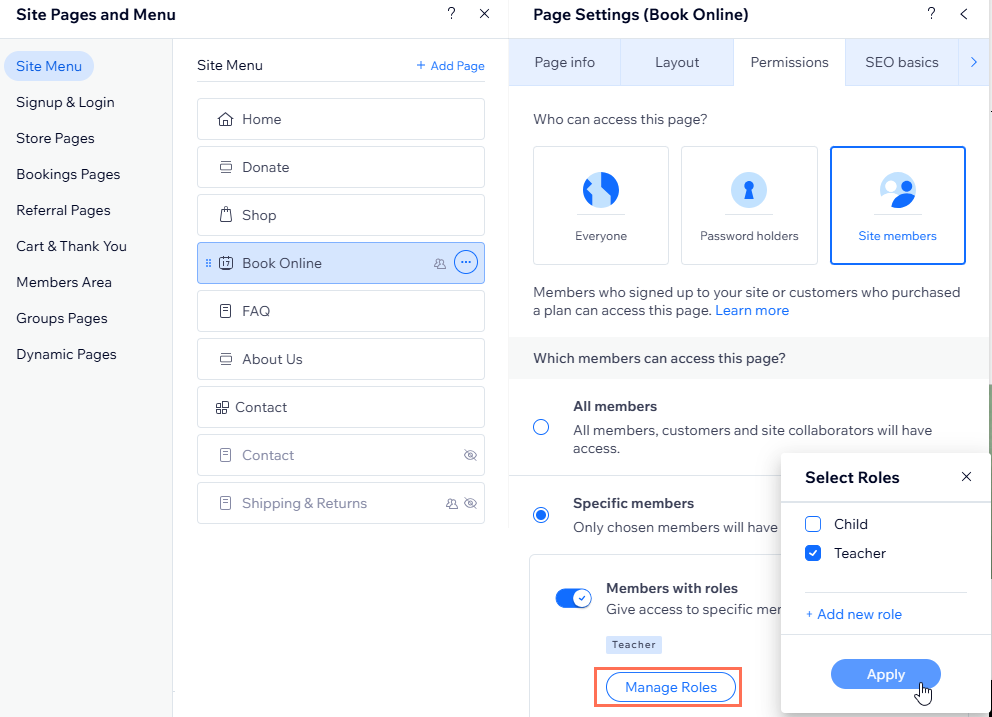
- Go to your editor.
- Click Pages & Menu
 on the left side of the editor.
 - Hover over the relevant page and click the More Actions icon
 .
. - Click Settings.
- Click the Permissions tab.
- Select Site members under Who can access this page?
- Select Specific members under Which members can access this page?
- Enable the Members with roles toggle.
- Click Manage Roles and select the relevant role(s).
- Click Apply.
- Publish your site when you're ready to make the changes go live.
Restricting pages to members with pricing plans
Restrict site pages to members who have purchased specific pricing plans. For example, if you're a teacher offering online courses, you can restrict the pages with the course material to members who have purchased the relevant pricing plan.
Before you begin:
Make sure you've added the Pricing Plans app and created plans.
Wix Editor
Studio Editor
Wix Harmony Editor
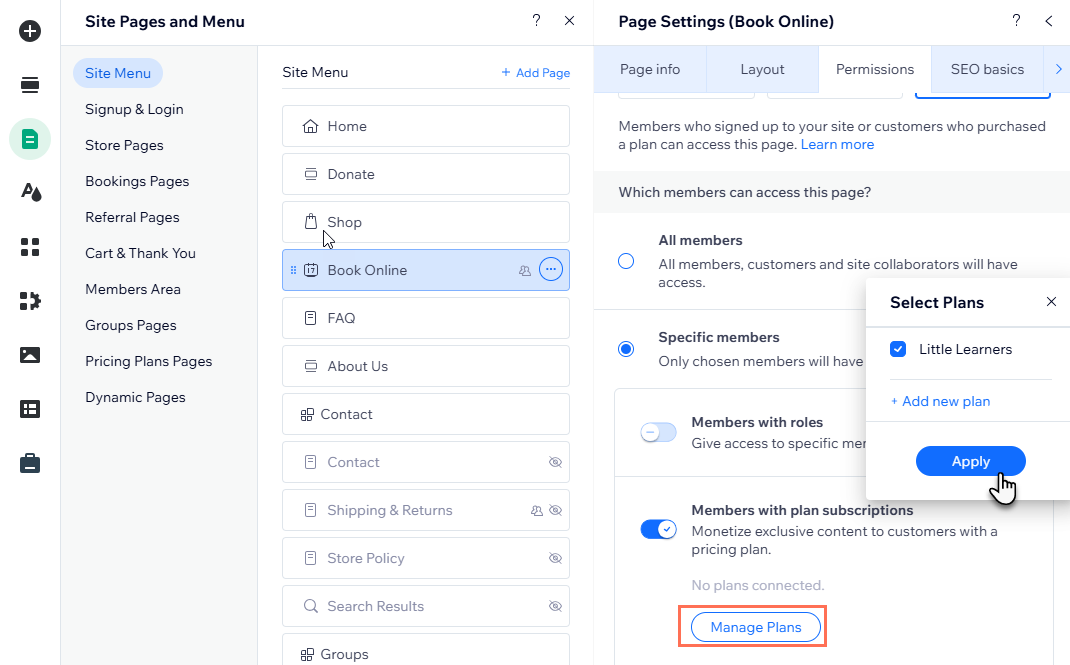
- Go to your editor.
- Click Pages & Menu on the left side of the editor.
- Hover over the relevant page and click the More Actions icon .
- Click Settings.
- Click the Permissions tab.
- Select Site Members under Who can access this page?
- Select Specific members under Which members can access this page?
- Enable the Members with plan subscriptions toggle.
- Click Manage Plans and select the relevant plan(s).
- Click Apply.
- Publish your site when you're ready to make the changes go live.
Restricting pages to members with badges
Using badges to reward your members and make them stand out? Create exclusive pages for them. For example, if you have a blog with premium content, you can set permissions so it's only accessible by members with a 'Blog VIP' badge.
Before you begin:

Make sure you've enabled badge permissions in your site's dashboard for the relevant badge. If you do not enable them, the option to restrict page permissions by badge type will not appear.
Wix Editor
Studio Editor
Wix Harmony Editor
- Go to your editor.
- Click Pages & Menu on the left side of the editor.
- Hover over the relevant page and click the More Actions icon .
- Click Settings.
- Click the Permissions tab.
- Select Site members under Who can access this page?
- Select Specific members under Which members can access this page?
- Enable the Members with badges toggle.
- Click Manage Badges and select the relevant badge(s).
- Click Apply.
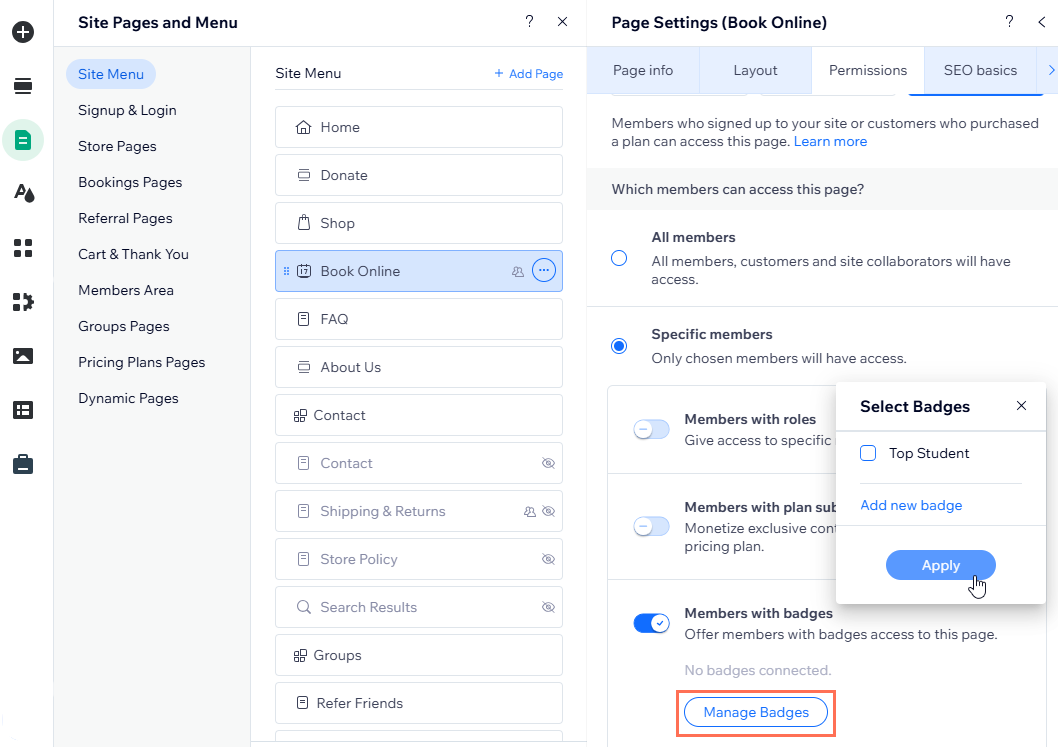
- Publish your site when you're ready to make the changes go live.
Allowing customers to access their private information
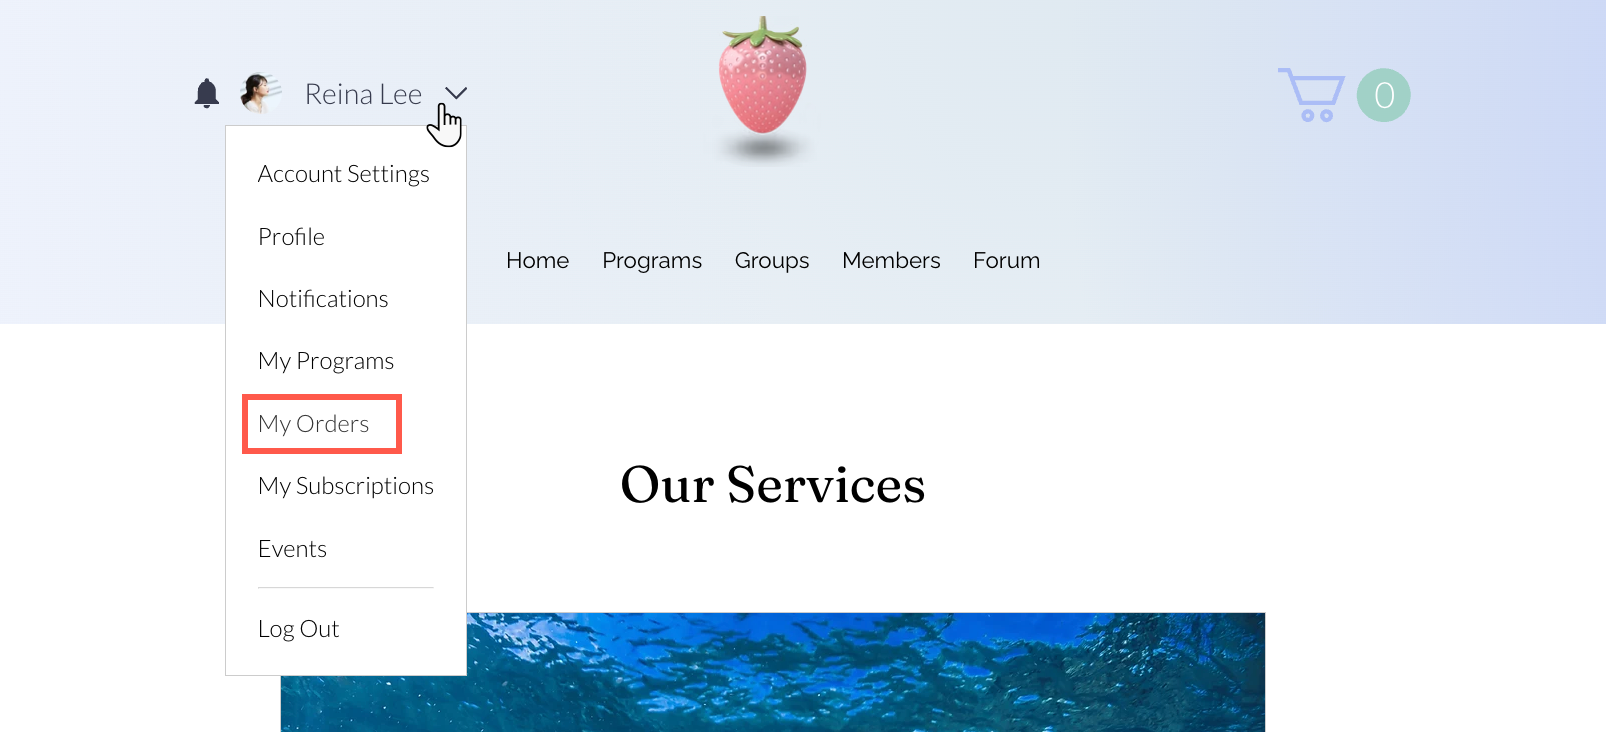
The members area interacts with many different business solutions, like Wix Stores or Wix Bookings. By signing up to your site, members get access to pages with all their previous info so they're encouraged to keep engaging.
If you're using Wix Stores, for example, a My Orders page is automatically added to your members area so customers can keep track of their previous purchases. Another example is the My Wallet page where members can view and update their credit cards.