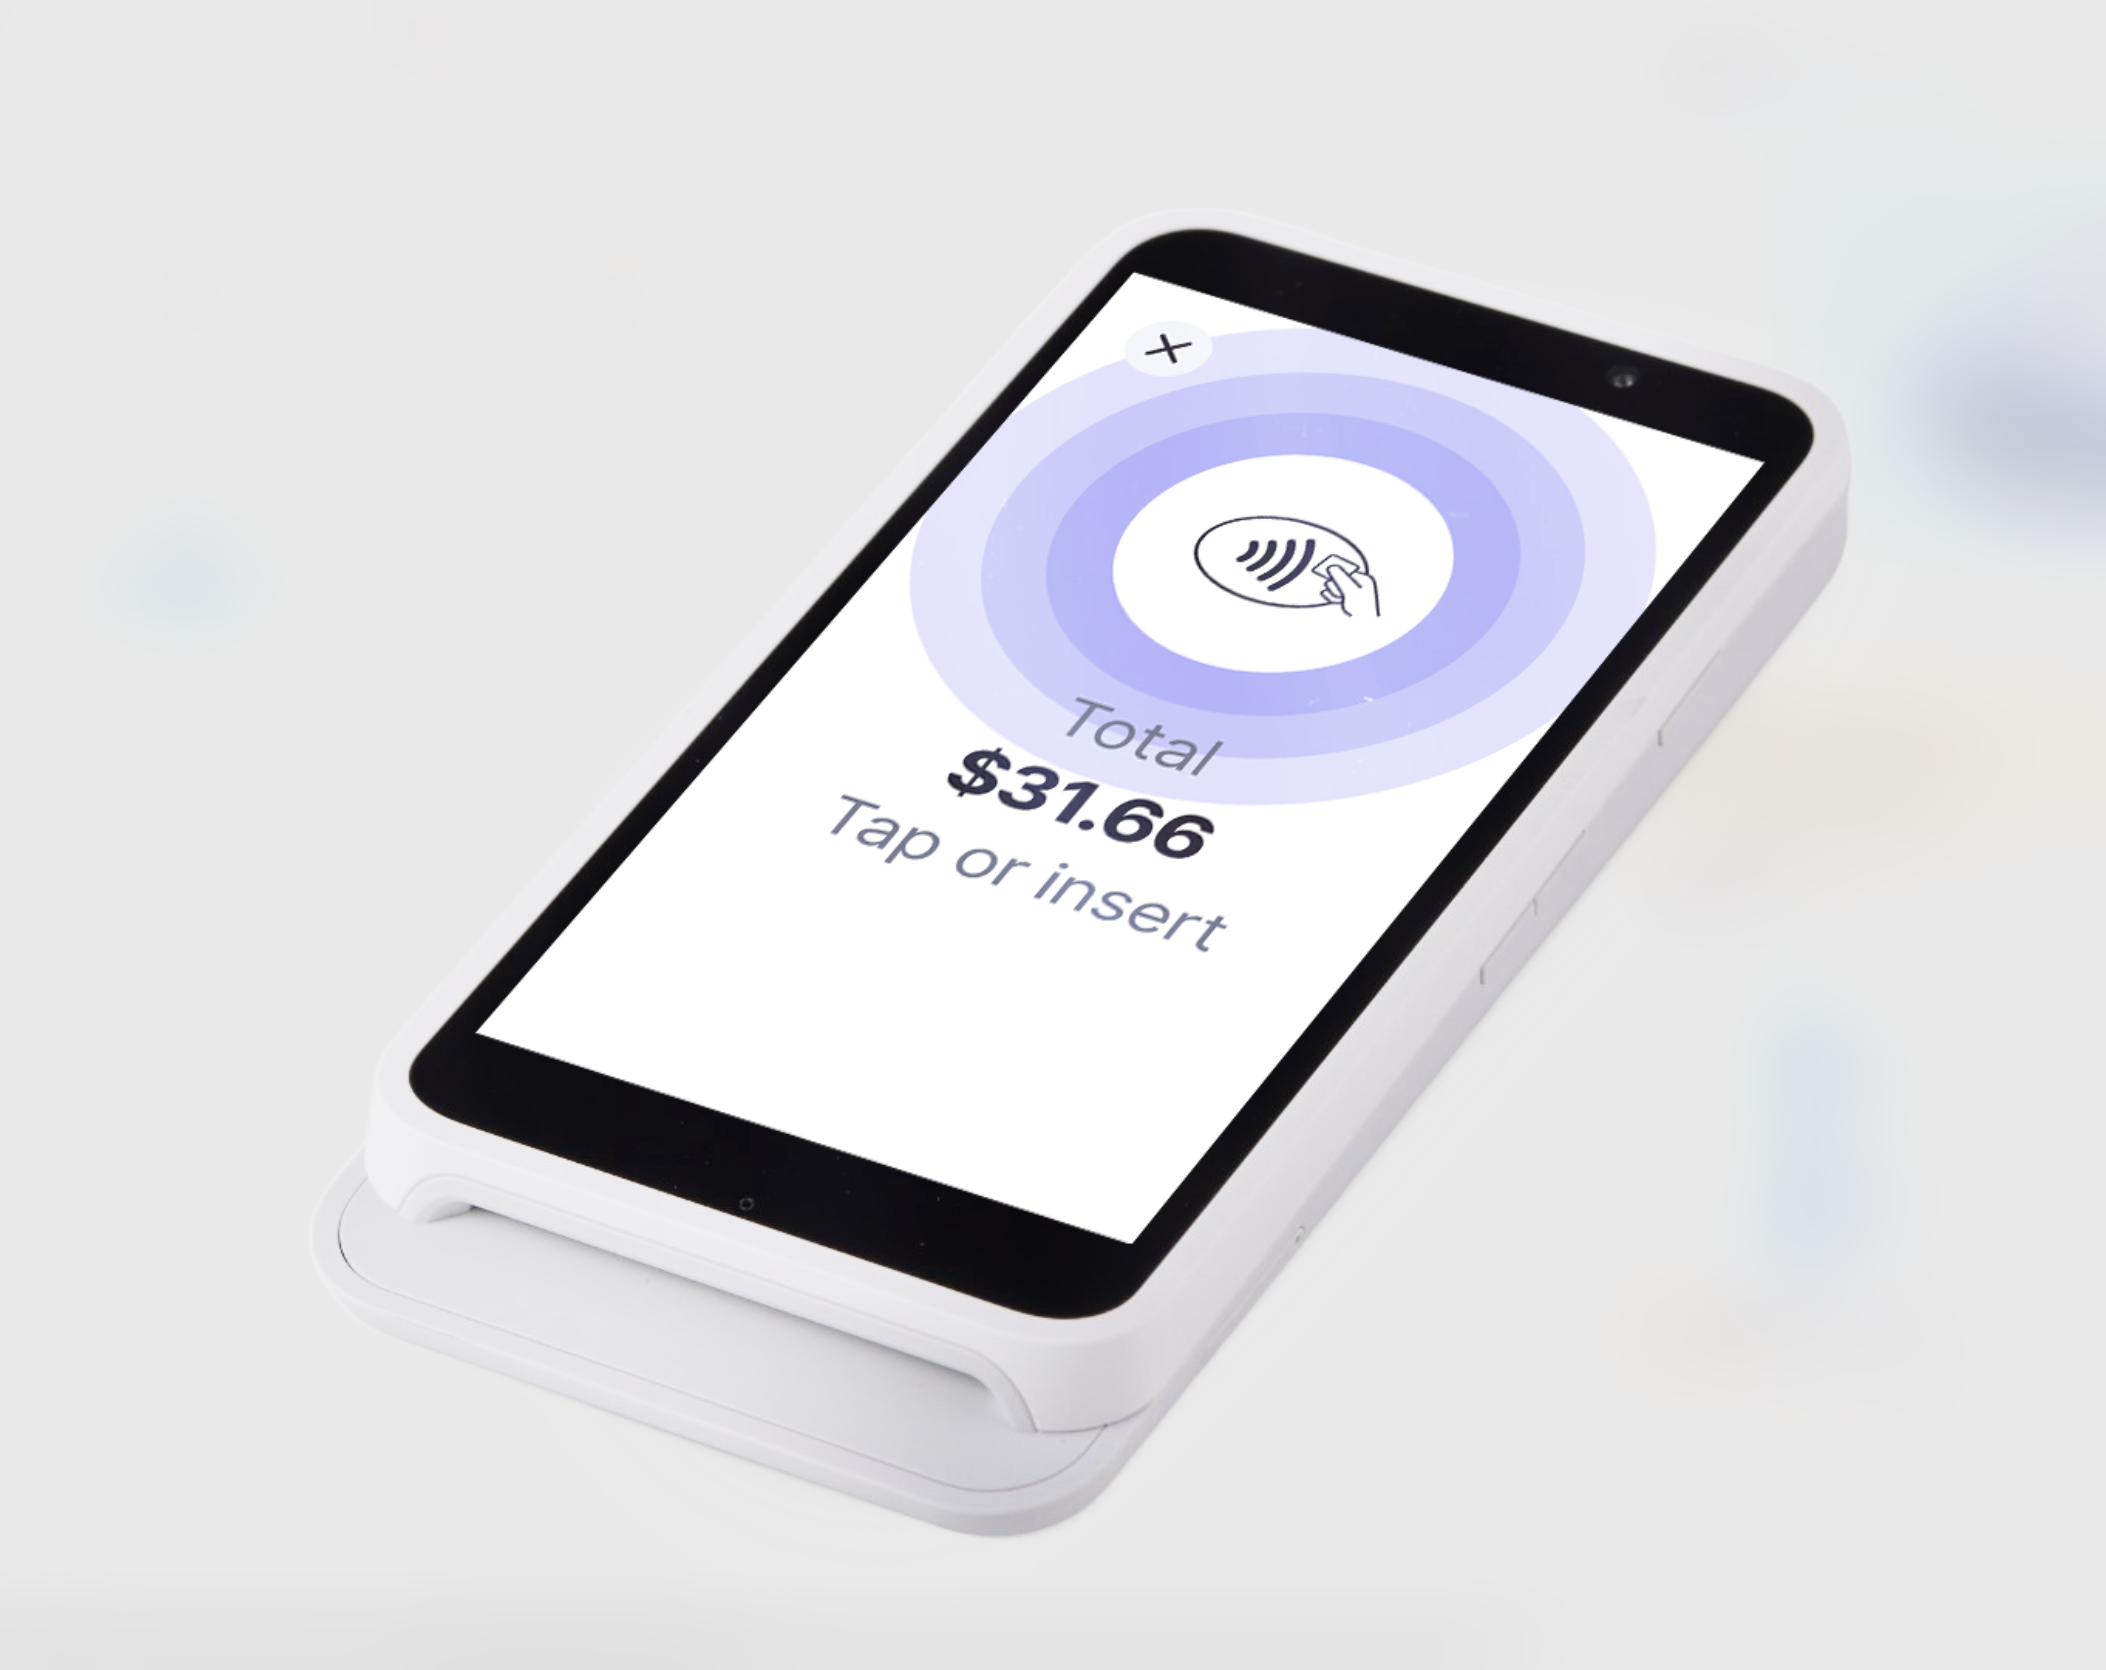
Pairing Your Card Reader
4 min
In this article
- Step 1 | Start your reader and connect to WiFi
- Step 2 | Generate and enter your code
- Troubleshooting
- This article is relevant for both the Wix POS Go and the Desktop Card Reader.
- The Desktop Card Reader is currently no longer for sale. If you already own this card reader, you can still follow the instructions below. Alternatively, you can purchase our Wix POS Go card reader, available in the US, Canada and UK.
To start making sales with your card reader, you need to first pair it with your account. Once paired, your reader (or readers) are listed in your Point of Sale Settings.
If you do not have a card reader yet, you can go to our shop to purchase one.
Before you pair your device:
Make sure you are connected to the Wix Payments payment provider and have activated Wix POS as a payment method on your POS dashboard.

Step 1 | Start your reader and connect to WiFi
After unboxing your reader, connect it to a WiFi network to start pairing it with your Wix account.
To start setting up your reader:
- Unbox your card reader and insert the battery.
- (If needed) Charge your reader.
- Go to Point of Sale in your site's dashboard.
- Click Pair Reader.
Note: If this is not your first reader, go to your Point of Sale Settings to pair your reader instead. - Turn on your reader and select your language and country.
- (On your POS dashboard pop-up) Click Next.
- Select an option:
- Your device automatically opens WiFi settings: Select your WiFi network.
- Your device does not open WiFi settings: Manually access WiFi settings.
- Swipe right from the edge of the screen and tap the Settings button.
- Enter the admin PIN 07139, then select Network.
- Select your WiFi network.
- Click Continue on your device.
- (On your POS dashboard pop-up) Click Next.

Important:
When using your reader with the Desktop POS, or POS Register solutions, make sure to connect it to the same WiFi network as your computer or tablet.
Step 2 | Generate and enter your code
To finish pairing your device with your account, enter the code displayed on the device screen in your POS dashboard pop-up. After your reader is paired, you'll see it listed in your Point of Sale settings.
To generate and enter your code:
- Check if a code is displayed on your card reader screen.
- Select an option:
- Code is displayed: Enter the three-word code in the POS dashboard pop-up, including the hyphens.
- Code not displayed: Generate a code and enter it in the pop-up:
- Swipe right on your card reader screen.
- Tap the Settings button.
- Select Generate pairing code.
- Enter the three word code in the POS dashboard pop-up, including the hyphens.
- (Optional) Give your card reader a name.
Tip: If you plan on using more than one reader, this will help you manage them. - Click Pair Reader.

To pair additional readers:
Once you've paired your first reader, you can access your Point of Sale Settings from your POS Home by clicking the Settings icon  at the top right of the page. From there you can click + Pair New Reader and follow the steps in this article.
 at the top right of the page. From there you can click + Pair New Reader and follow the steps in this article.
Troubleshooting
Why can't I pair the card reader to my computer?
How can I reconnect my card reader after my computer crashed in the middle of a sale?


 next to the relevant reader.