

Fit by Wix: Customizing Your Site on the App
5 min
In this article
- Customizing the header
- Editing the navigation tabs
- Adding elements to your tabs
- Managing your elements
Your clients can access, book and interact with your fitness business on the Fit by Wix app.
Customize how every part of your site looks on the app to prioritize the most important information, and design it to match your fitness brand. Start by customizing your header and adding tabs to your site, then organize the elements within those tabs.
All aspects of the Fit by Wix app are customized and managed directly from your Wix app.
Follow these steps before you begin
 at the bottom.
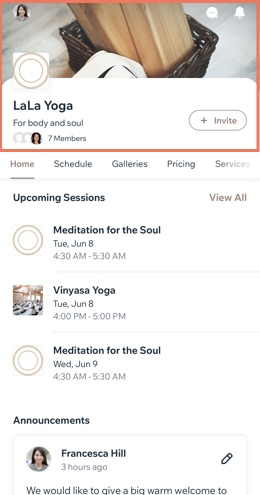
Customizing the header
Your header is the first thing members see when they visit your site. Style it for your fitness business by adding your logo, a cover photo, and a theme color to make your buttons and accents pop.
To customize your header:
- Tap Edit Header at the top left.

- Choose what to customize.
- Name: Enter the name of your business.
- Tagline: Show or hide a custom tagline (a slogan or a short announcement). This can also appear on your site info (see section below).
- Logo: Add your logo so that clients can easily recognize your business. You can also disable the toggle if you don't want your logo to display in the header.
- Cover photo: Upload a cover photo to make your site stand out with your brand. You can add multiple photos to create a slideshow that your members can scroll through.
- Theme Color: Choose your button color, accent color, and header color (if you don't upload a cover photo). You can also create your own custom color.
- Choose what information to show and hide in your header:
- Show Member Count: Show or hide the number of members in your site and their profile images.
- Show Invite Button: Show or hide the button that allows members to invite more people to your site.
- Show Custom Button: Add a custom button and decide where it should take your members. For example, a Book Now button could send members to your booking or appointments tab.
- Tap Save.
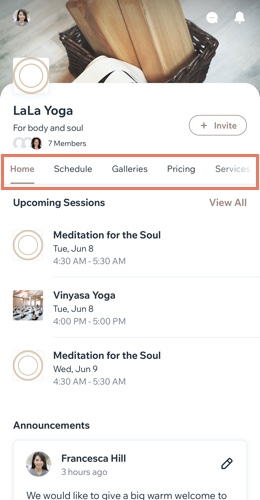
Editing the navigation tabs
Your site is made up of tabs to help members navigate between different areas. The tabs are displayed at the top of your site in a menu. You can customize this menu by adding new tabs, reordering them, and consolidating information to the Home tab.
To edit the navigation tabs:
- Tap Edit Navigation Tabs.

- Customize the menu using the following options:
- Add new tab: Tap + Add New Tab and enter a title and choose what content it should display content element.
- Reorder tabs: Long tap and drag to reorder the tabs.
- Rename a tab: Tap the More Actions icon
 next to the relevant tab and tap Rename Tab.
 - Deleting a tab: Tap the More Actions icon next to the relevant tab and tap Delete Tab. When deleting a tab you also have the option to move that tab's content to the Home tab instead.
Want to remove the navigation tabs altogether?
If you want to keep your site to a single page with different elements, you can remove the navigation menu by deleting each tab separately.
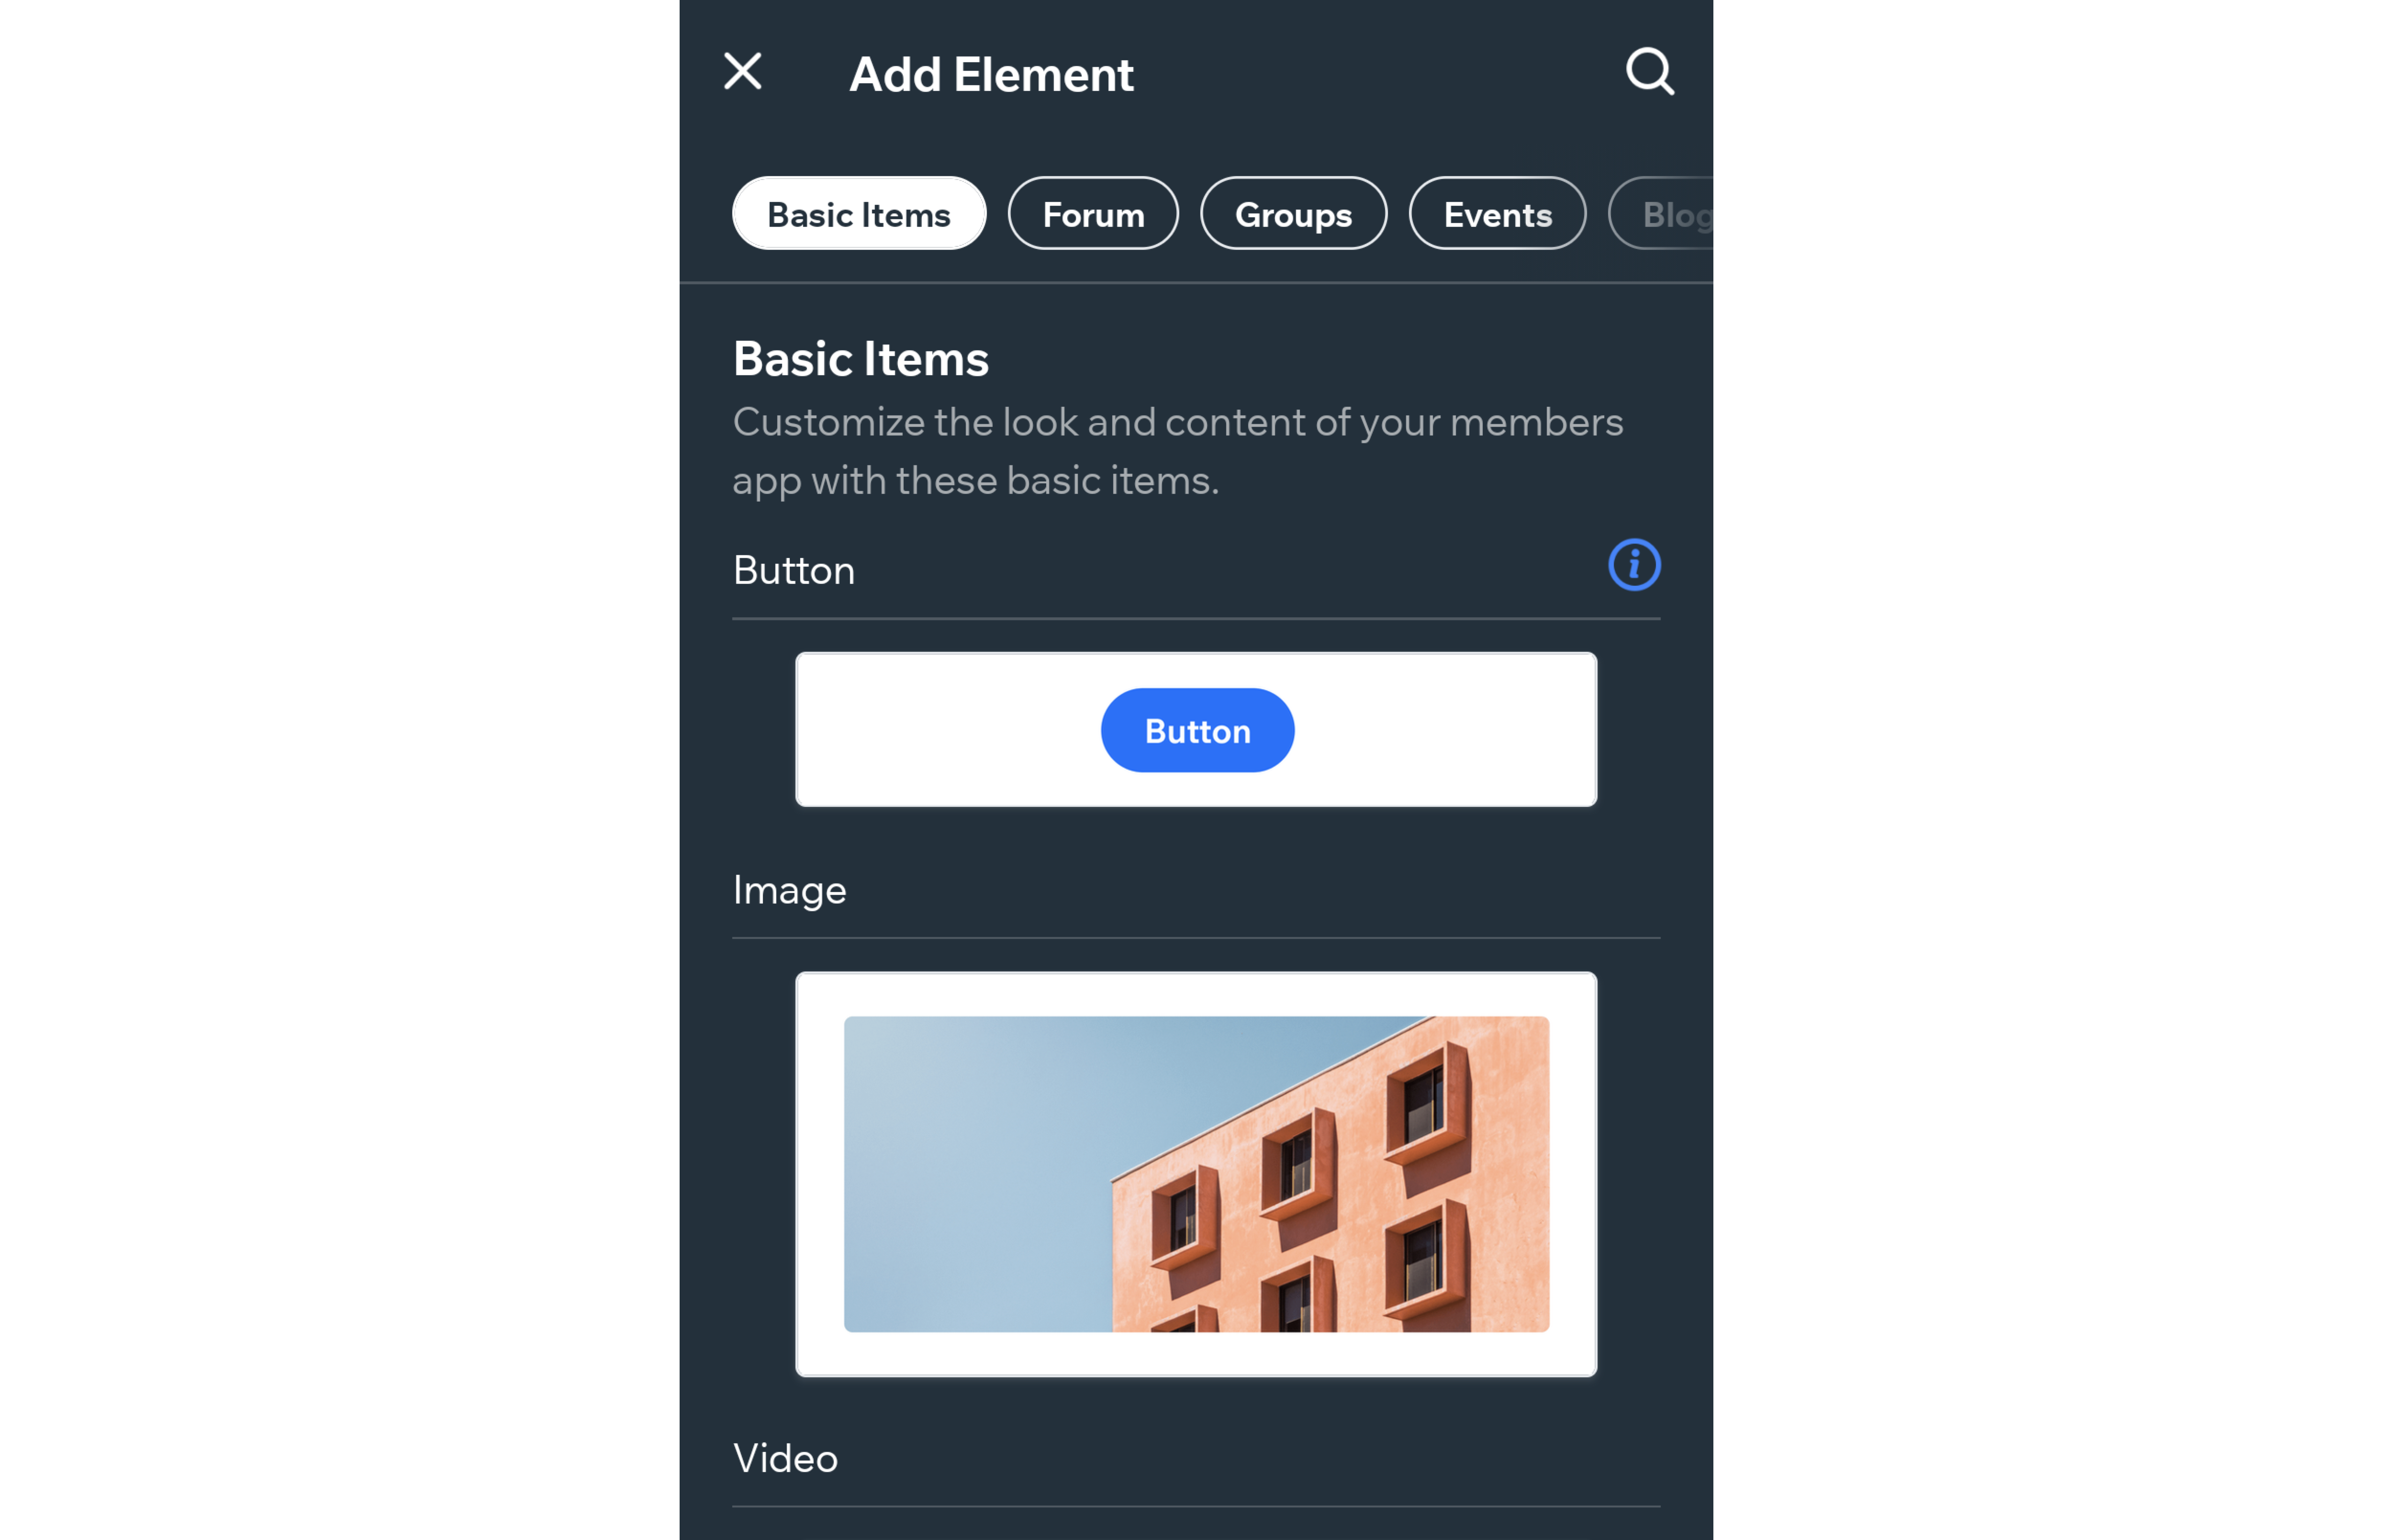
Adding elements to your tabs
Add elements to your site on Fit by Wix to showcase who you are, what you do, and what you offer your members. Some site elements are added for you automatically, but you might want to add more.
You can add elements including galleries, videos and buttons to display your own custom content. You can also add elements specifically related to the apps you have on your site, such as a Groups Feed, or Blog search bar. There are tons of options to choose from!
Note:
Sections are referred to as 'Elements' in the Wix app. For example, Add Element, Customize Element etc.
To add an element to your site on Fit by Wix:
- Go to the tab where you want to add a new element.
- Tap Add Element.

- Choose an element.
- Depending on the element you've added, adjust its content and display settings.
- Tap Add.
Tip:
You can also add standalone elements like a button, an image or a YouTube video by tapping the Basic Info tab.
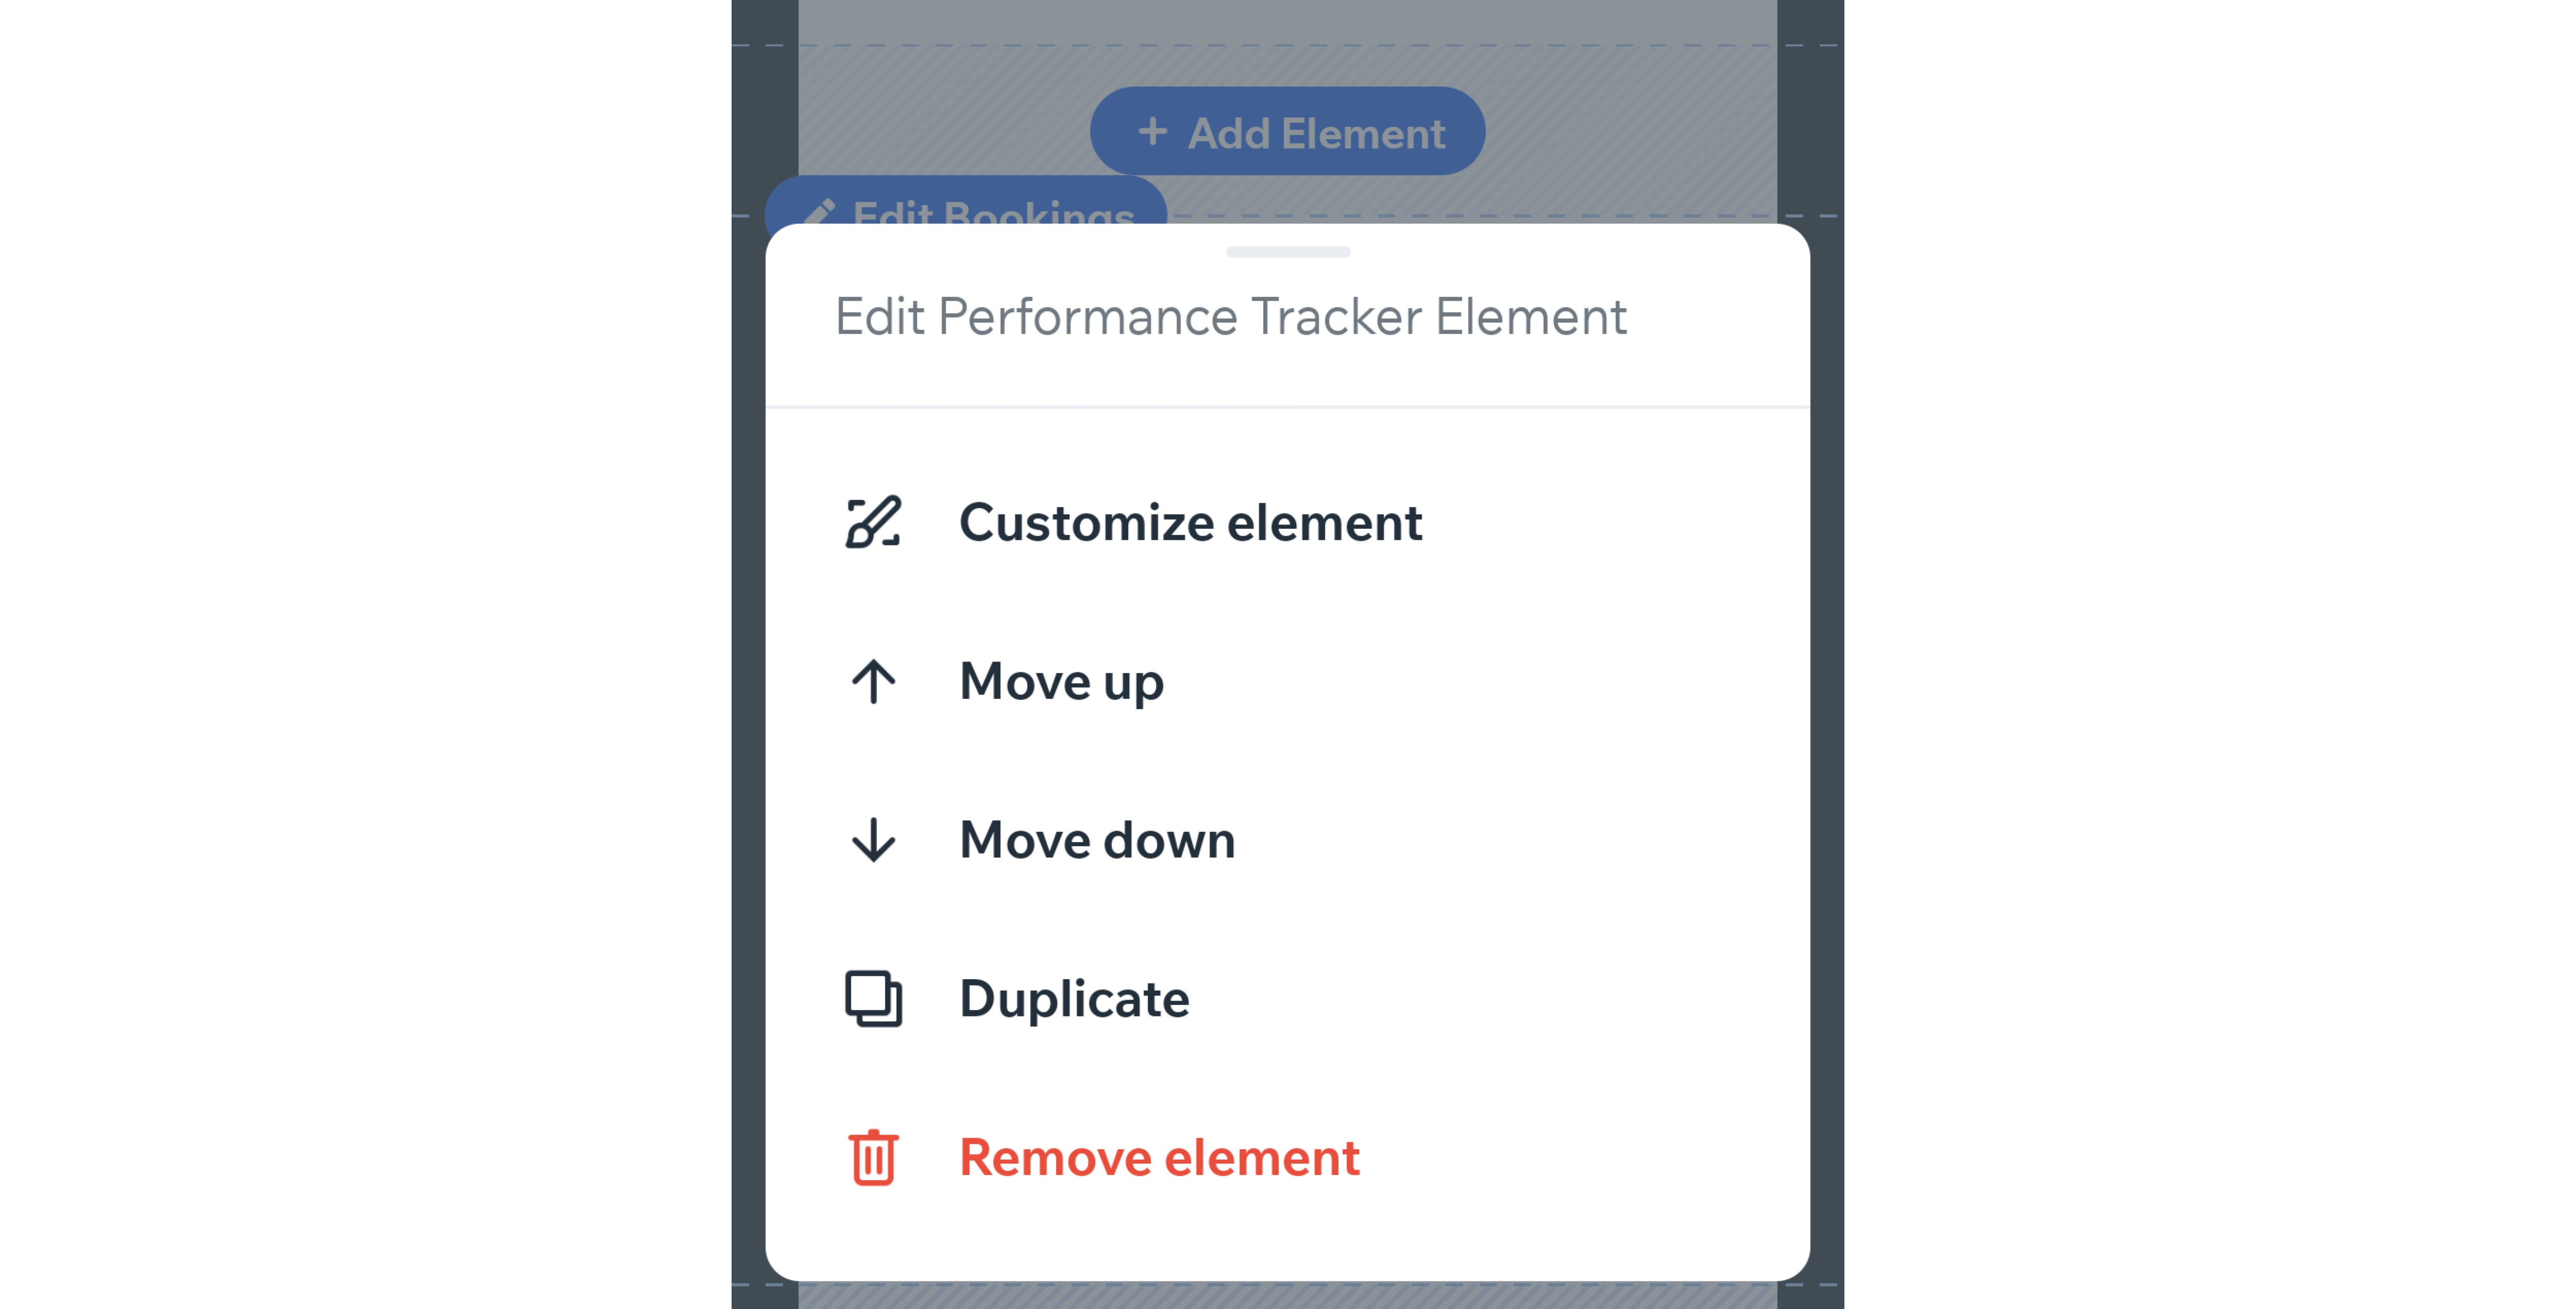
Managing your elements
Once you've added elements to your site, move them up or down the same tab or switch them to a different tab entirely. You can also duplicate elements, add and remove unwanted ones, and edit the content settings within each element.
To manage the elements on your site on Fit by Wix:
- Scroll down to the element you want to manage.
- Tap Edit on the element and do one of the following:
- Customize Element: Adjust the design settings of the element.
- Reorder: Tap Move Up or Move Down to reorder the elements on the tab.
- Duplicate: Tap Duplicate to add another of the same element.
- Delete: Tap Remove element to delete it from your site.
- Tap Done.
What's next?
Now you're ready to invite your clients and potential clients to join your site on the Fit by Wix app. Learn how to invite clients to your site on the Fit by Wix app
