Email Marketing: Customizing the Backgrounds of Your Campaigns
In this article
- Customizing the outer background
- Customizing the inner background
Customize both the outer and inner backgrounds of your email campaign to make your campaign stand out the way you want it to.
Customizing the outer background
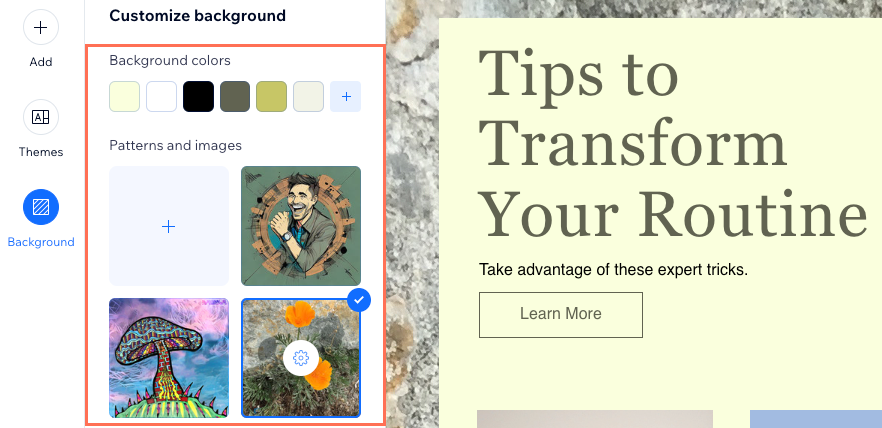
Personalize the outer background of your email campaign by choosing a color, pattern, or uploading an image. The recommended image size is 1920 X 1080 pixels, but the background width is limited to 720 pixels when viewed as an email. We suggest using decorative images for the background. If a subscriber clicks to view the full email, they will see the complete background.
To edit the outer background:
- Go to Email Marketing in your site's dashboard.
- Click Edit next to an existing campaign or create a new one.
- Click Background
 on the left.
 - Choose whether to show background colors or patterns and images in the outer background:
- Background colors: Select the relevant color or click the Pick Color icon
 to choose a custom color.
 - Patterns and images: Select the relevant pattern / image or click the Add icon to choose another pattern or image. Then click the Settings icon
 to choose the color behind the image or to have the image repeat itself across the background.
- Background colors: Select the relevant color or click the Pick Color icon
Customizing the inner background
Customize the background of the middle portion of your email campaign, which is 700 pixels wide.
To edit the inner background:
- Go to Email Marketing in your site's dashboard.
- Click Edit next to an existing campaign or create a new one.
- Click Background on the left.
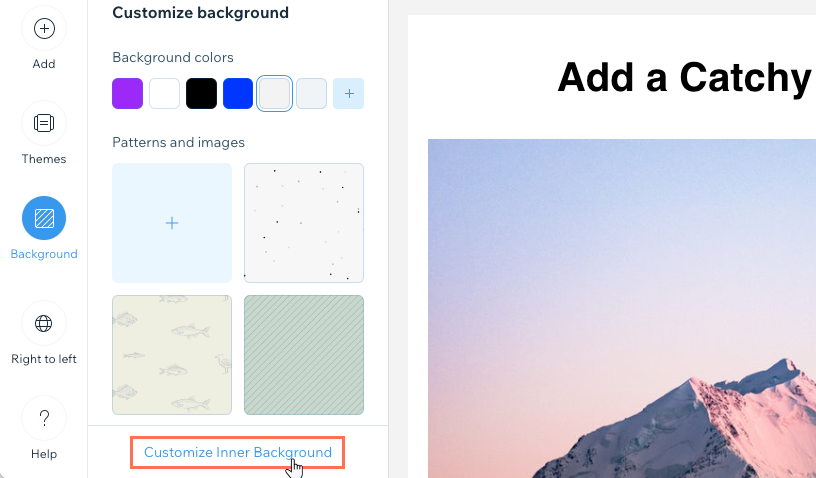
- Click Customize Inner Background at the bottom.
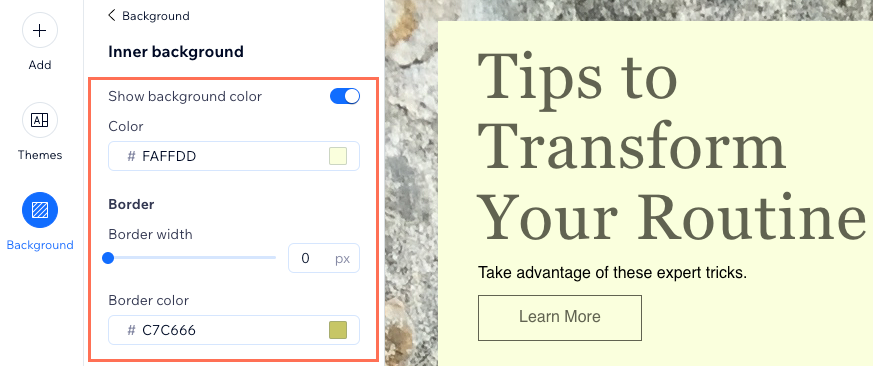
- Click the Show background color toggle to choose a color for the inner background or make it transparent:
- Enabled: Choose the color you want to appear behind the content in the inner portion of your campaign.
- Disabled: The inner portion behind your campaign's content is transparent. This causes your content to appear on top of the outer background.
- Drag the Border width slider to adjust the width of the inner background border. Then click the Border color to adjust its color.