Editor X: Adding and Customizing a Stack
4 min read
In this article
- Creating and Setting Up a Stack
- Adding and Removing Elements from a Stack
- Reordering Elements in a Stack
- Designing a Stack
- Unstacking Elements
Editor X is transitioning to Wix Studio, our new platform for agencies and freelancers.Learn more about Wix Studio
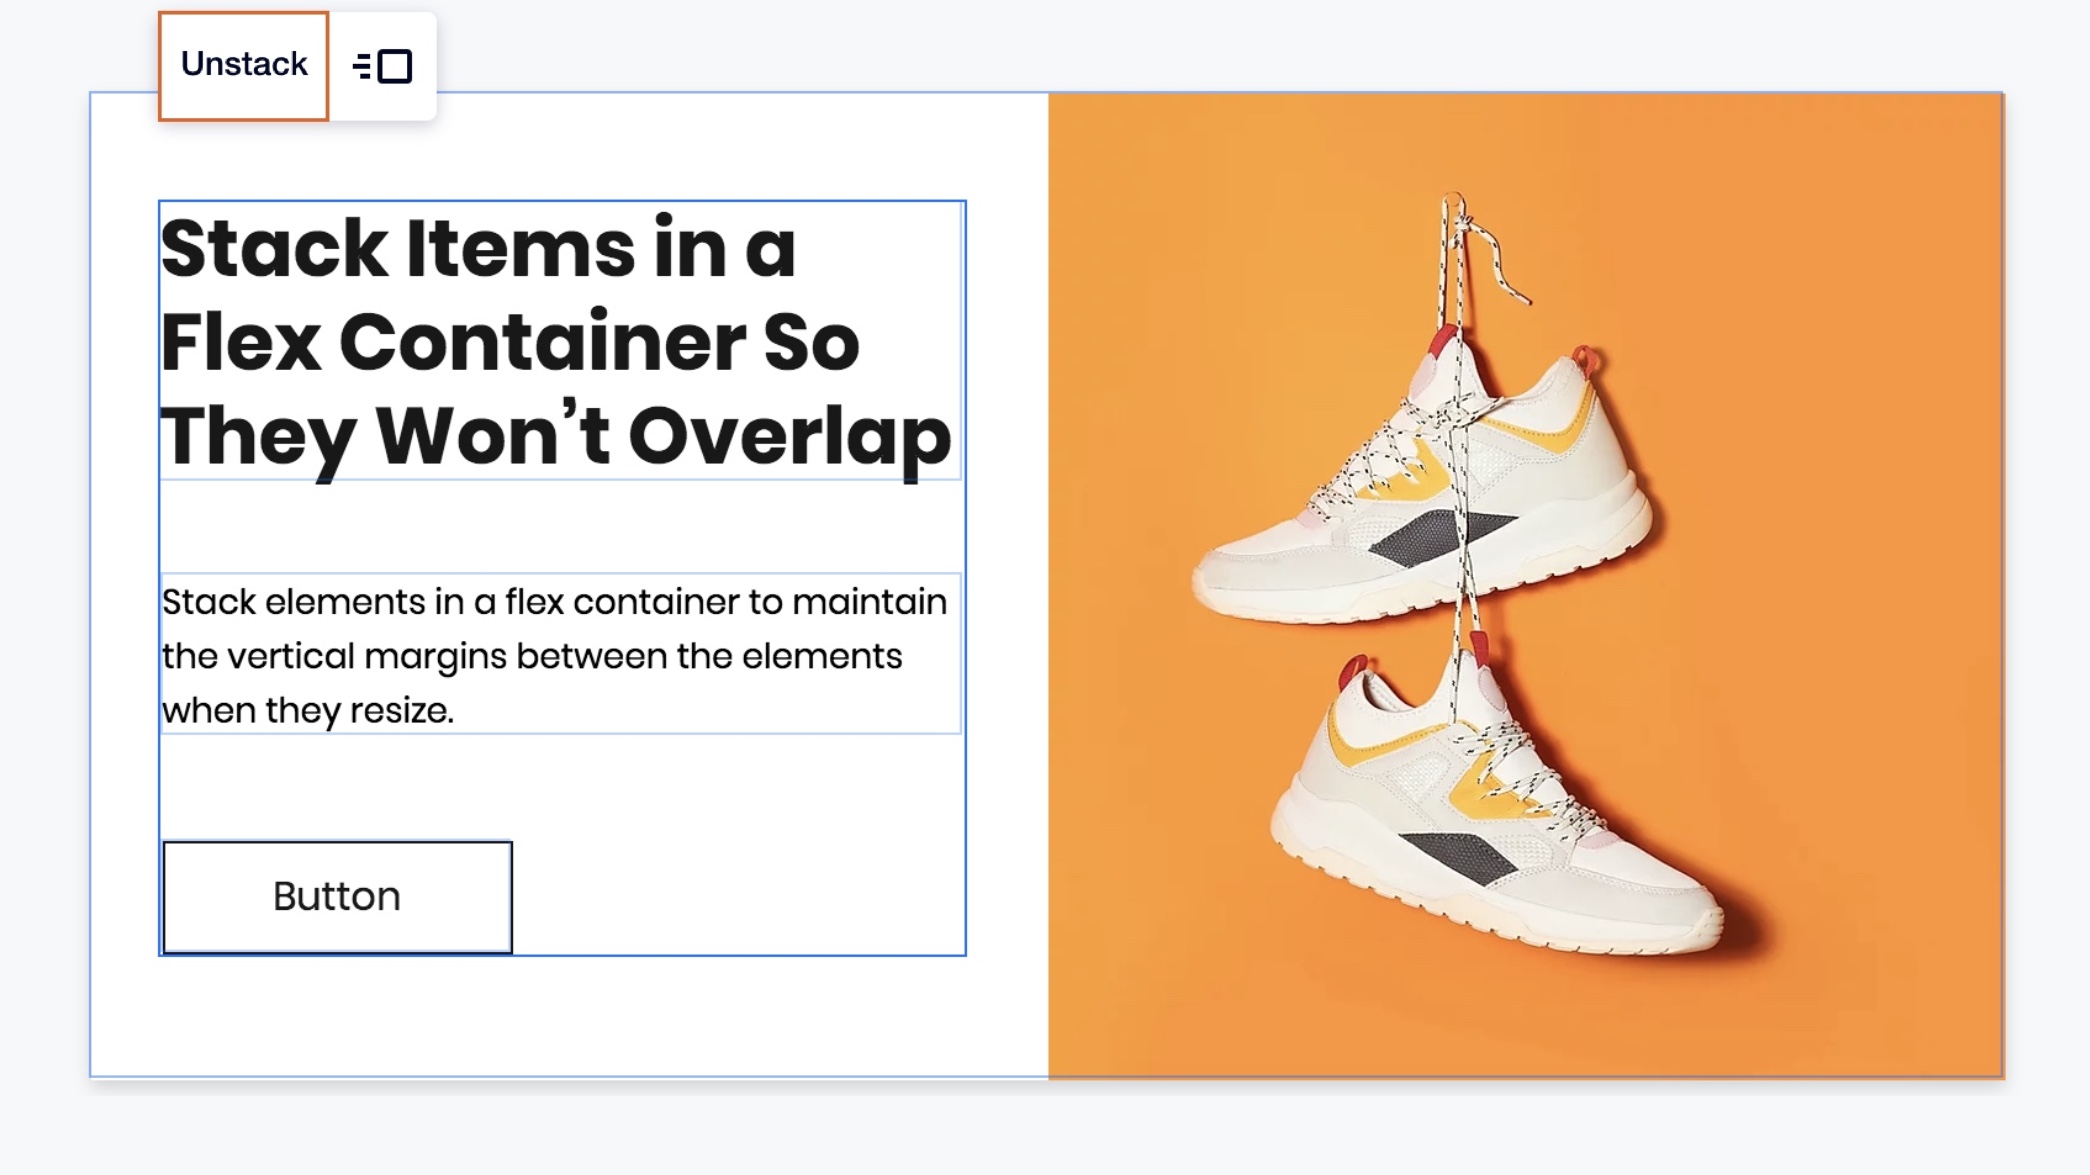
When elements are arranged above and below each other, you can stack them so they don't overlap in different screen sizes. Stacking adds a flex container around your elements and vertical margins that you can customize to your needs.
In this article, learn how to:

Working with breakpoints:
Stacking and unstacking elements affect your site on all breakpoints. Learn more about changes that apply to all breakpoints
Creating and Setting Up a Stack
After designing elements in a certain composition, stack them together so they never overlap. You can equalize and customize the margins between your items and choose how they should be aligned from the Inspector panel.
To create and set up a Stack:
- Click the first element of your Stack.
- Hold down the Shift key and select all other elements that should be stacked.
- Click Stack.
- Customize the spacing between stack items and their alignment:
- Click the Inspector icon
 at the top right.
 - Enter a value in px or percentage next to Item spacing.
- Align your items to a certain direction: Left, Center, Right or Justify.
- Click the Inspector icon

Tip:
Need to edit an individual element inside a stack? Double-click the element to adjust it.
Adding and Removing Elements from a Stack
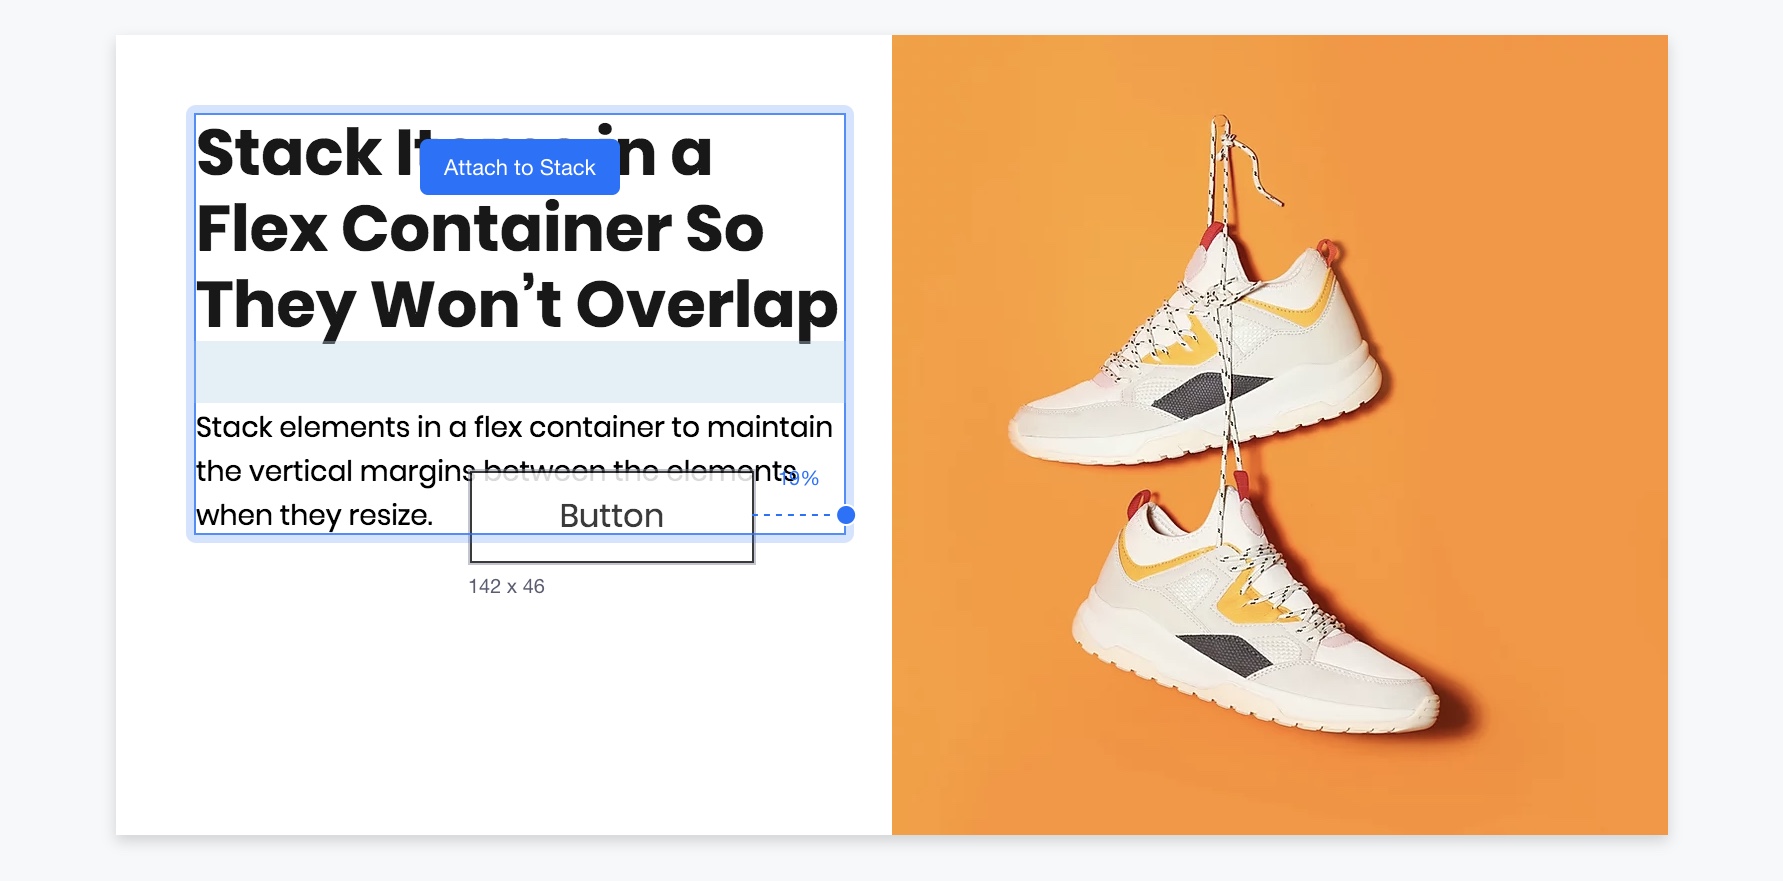
You can add any element to an existing stack by simply dragging it onto the stack. An Attach to Stack notification appears to let you know you are adding an element to the stack.
To remove an element from a stack, just drag it out of the stack container.
Reordering Elements in a Stack
Change the order of the elements in the stack by dragging them to the new position inside the container.
Designing a Stack
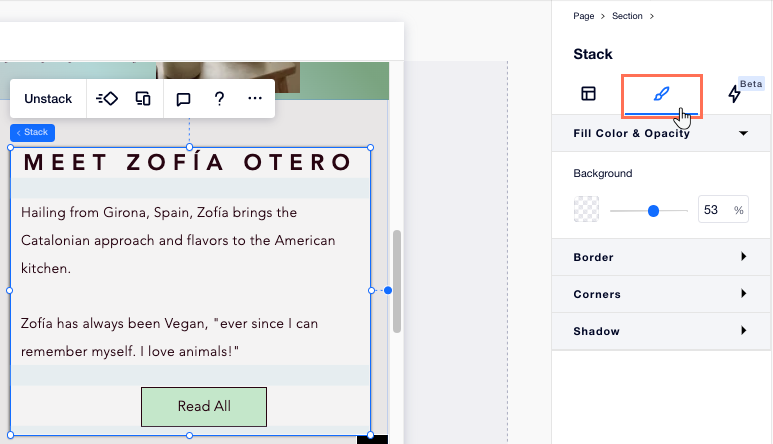
A Stack creates a flex container around your element. The container is transparent by default, but you can design it to your needs: Choose a background color for your stack and set the borders, corners and shadow.
To design a stack:
- Select the stack in the Editor.
- Click the Inspector icon at the top right.
- Click the Design icon
 .
. - Design your stack using the available options:
- Set the background color and its opacity.
- Create and design the borders around your stack.
- Choose a radius for the corners.
- Enable shadow and manage settings like its angle, distance, size, etc.
Unstacking Elements
You can unstack elements at any point. If you unstack elements, they are unstacked on all breakpoints.
Select the stack in the Editor, then click Unstack.