

Customizing Login Settings in the Shared Gallery App
2 min
Important:
As of May 4th, 2025 the Shared Gallery app will no longer be supported. To ensure your site continues running without interruptions, we recommend switching to the Anyfile app.
With the Shared Gallery app, you can create beautiful galleries on your site to share photos and videos with your community.
Visitors to your site can sign up to become members and join your community. You can select to let your members upload media, create and manage albums, and manage your gallery. Learn more about Shared Gallery permissions
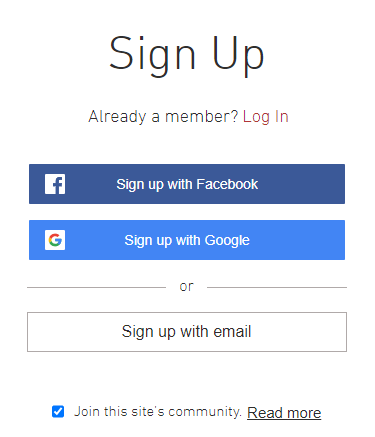
Customize your login page to control who can become a member, which login page visitors see first, which credentials they can use, and which policy links that visitors see on your login page.
To customize your login page settings:
Wix Editor
Studio Editor
- Go to your editor.
- Click Pages & Menu on the left side of the editor.
- Click Signup & Login.
- Click Member Signup Form (Default).
 on the left side of the editor.
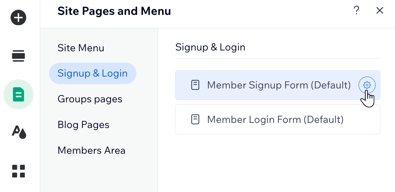
- Customize the settings available on the General, Social & Community and Policies tabs.
Tip
Learn more about customizing your Member Signup Form settings.
Want to create your own customized signup form?
Select Custom Form from the Which member signup form do your visitors see? drop-down, then click Edit Custom Signup form to get started. Learn more about custom signup forms
