

Create a Pricing Plan
5 min
In this article
- Step 1 | Name Your Pricing Plan and Add a Tagline
- Step 2 | Create a List of Benefits that Clients Receive
- Step 3 | Connect Other Benefits to this Pricing Plan
- Step 4 | Set Plan Pricing and Duration
- Step 5 | (Optional) Display Your Plans's Policies
- Step 6 | Save Your Plan and Finish Creating Your Service/Content
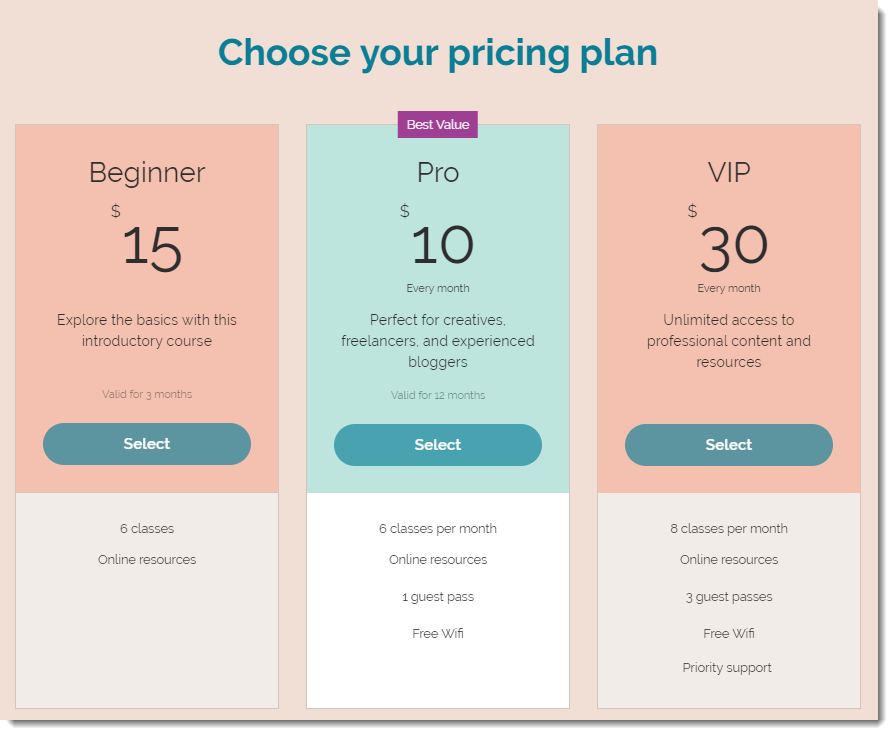
To offer services or content as part of a pricing plan (e.g. a membership, subscription, or package), you need to first create the pricing plan.
This article will walk you through how to do just that. The plan you create will appear on your site so clients can purchase it. You can create additional plans later.
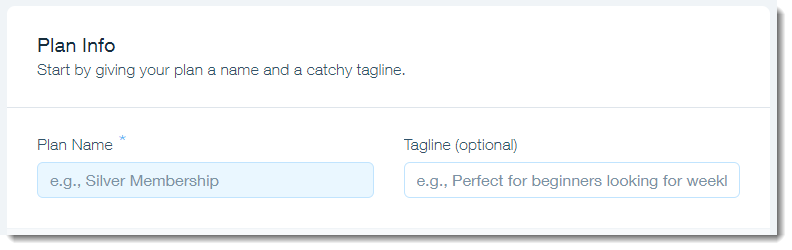
Step 1 | Name Your Pricing Plan and Add a Tagline
Start creating your plan by giving it a suitable name and adding a short tagline to describe your plan.
Tell me more

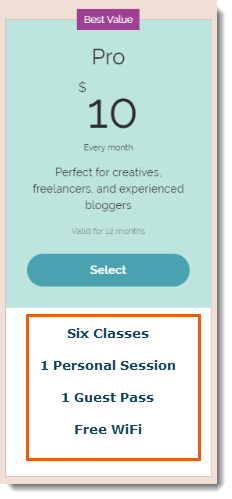
Step 2 | Create a List of Benefits that Clients Receive
This is the place to list the benefits included in your plan so clients know exactly what they are paying for.
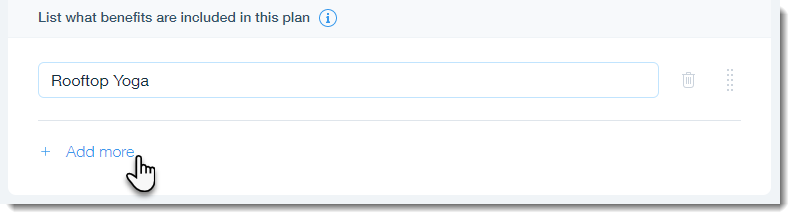
You can add other services now, or add them later. Additionally, you can add other benefits that aren't managed within Wix, such as "Locker Access".
Show me how
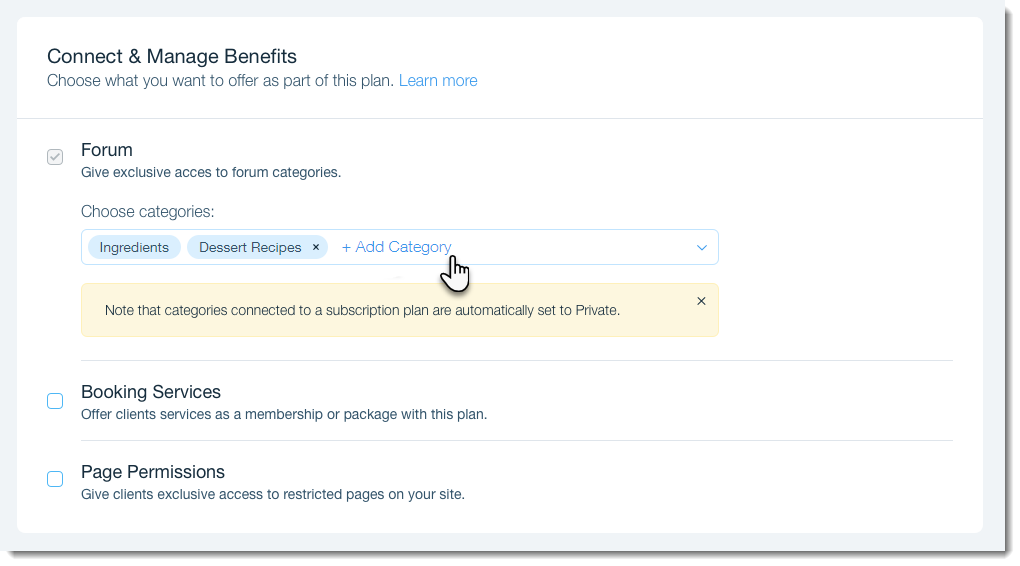
Step 3 | Connect Other Benefits to this Pricing Plan
Here you actually connect this pricing plan to other services or content. The options available vary depending on what app you added to your site (i.e. Wix Forum, Wix Bookings).
- Wix Forum: Connect any categories in your Forum. Note that any categories you connect are automatically made private, so they are only accessible to clients who purchase the plan.
- Wix Bookings: Connect any services you created.
- Site Pages: Grant access to site pages that have Members Only status. Learn More
Show me how
Step 4 | Set Plan Pricing and Duration
You have three pricing options to choose from:
- Free Plan
- One-time Payment
- Recurring Payments
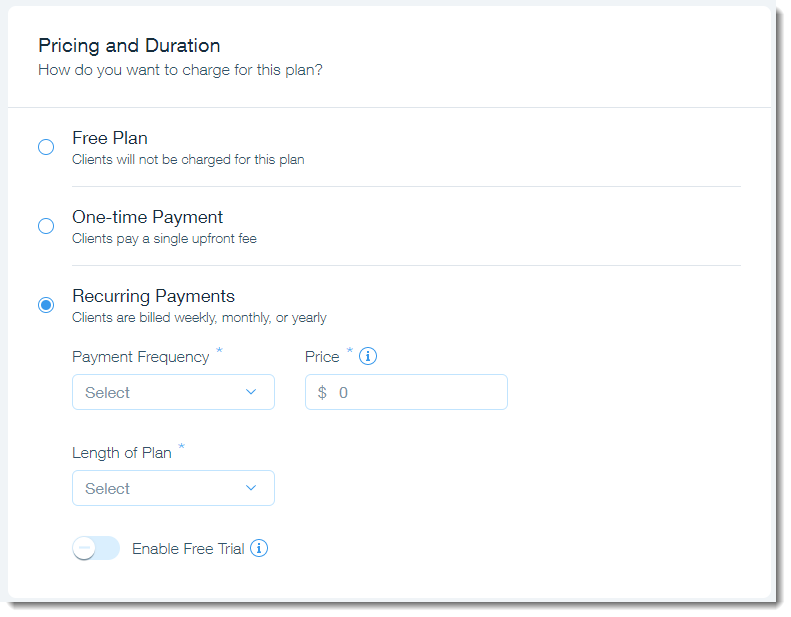
Create the type of plan that best suits your business needs:
Show me how
Step 5 | (Optional) Display Your Plans's Policies
Here you can inform your customers about any terms & conditions that apply to this plan. If none apply, leave it blank.
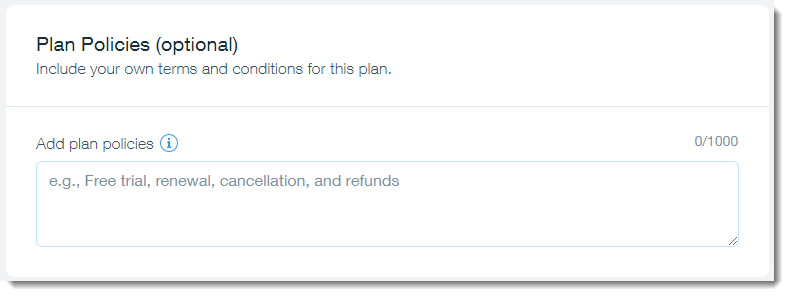
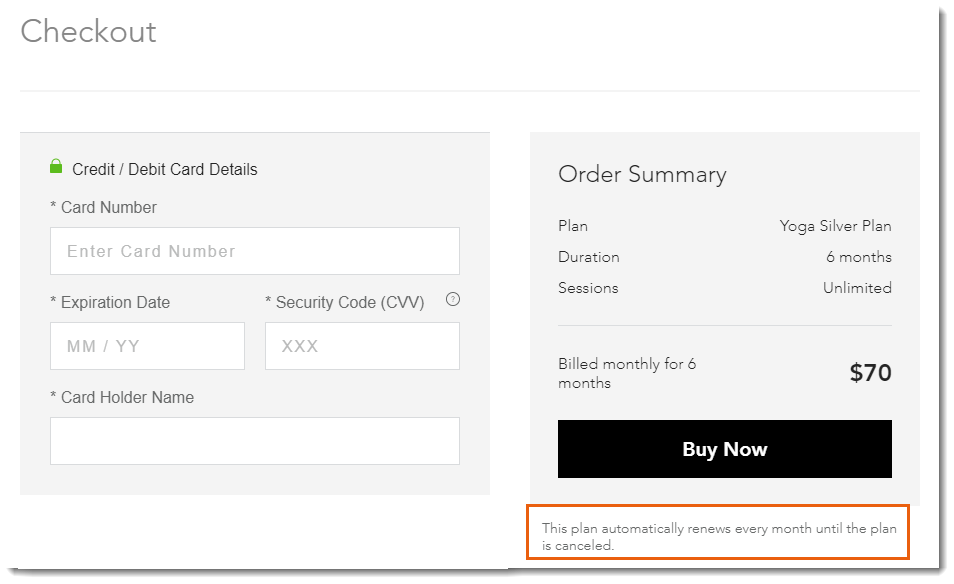
The information you enter here appears on the plan's checkout screen.
Step 6 | Save Your Plan and Finish Creating Your Service/Content
Click Create to save your changes. This creates your pricing plan and returns you to where you started.
- Bookings: Finish creating your Wix Bookings service and click Save Service.
- Forum: Save changes to the Forum category.
