

CMS: Setting Up a Single Checkbox Input Element
14 min
In this article
- Using the Checkbox input element to filter content on your live site
- Using the Checkbox input element to collect responses from site visitors
- FAQs
Give visitors a way to filter live site items by a boolean (true or false) collection field or submit binary responses with the single Checkbox input element.
For example, you could set the checkbox to filter an "available" boolean field, so visitors can click to view only items that are available in a repeater or gallery. Or, you could set the checkbox to collect responses and use it to let visitors subscribe to your newsletter.
Tip:
This article is about setting up the single Checkbox input element. Alternatively, you can use a Multi-Checkbox input element to let visitors filter or submit multiple choices.
Using the Checkbox input element to filter content on your live site
Connect your Checkbox input element to the same dataset as your repeater or gallery to filter content. Choose the boolean field (true or false) that the checkbox will filter and set the condition (checked or unchecked). When visitors click the checkbox, the repeater or gallery will show items based on the boolean field value as per the selected condition.
Wix Editor
Studio Editor
- Go to your editor.
- Add the Checkbox input element:
- Go to the page or section where you want visitors to filter content by a boolean value.
- Click Add Elements
 on the left side of the editor.
 - Click Input.
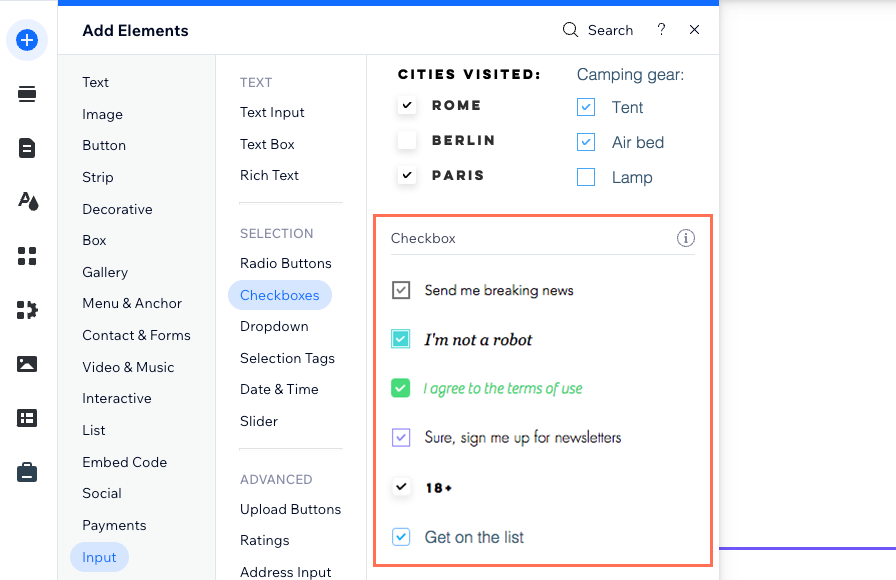
- Click Checkboxes.
- Scroll down to the single Checkbox input elements.
- Click and drag the relevant single Checkbox input element onto the page.
- Connect the Checkbox element to the CMS:
- Click the Connect to CMS icon
 on the Checkbox element.
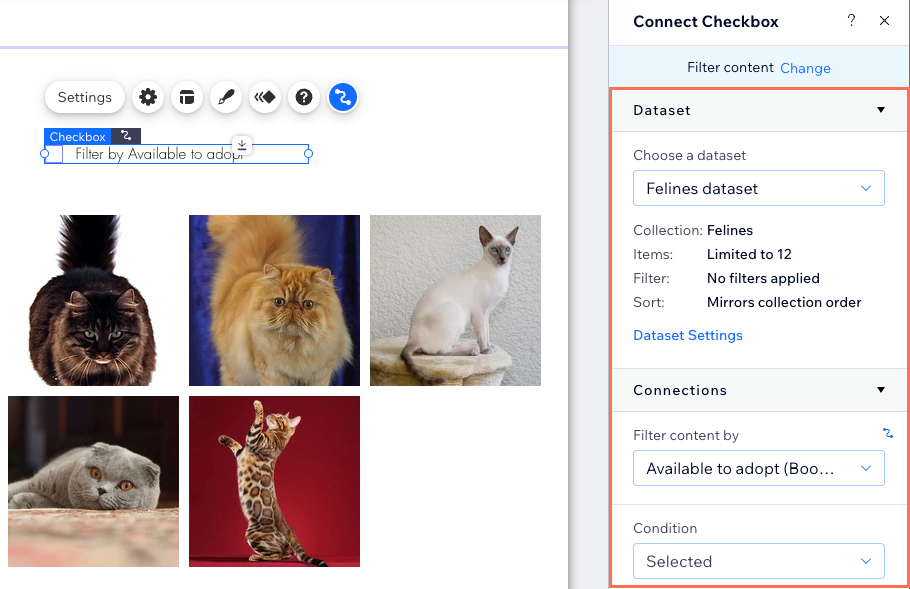
 - Select Filter content in the Connect Checkbox panel on the right.
Tip: If you haven't added a dataset to the page yet, add a dataset first (see the next step) then select Filter content. - Click the Choose a dataset drop-down and select the same dataset that connects to the elements (e.g. repeater, gallery, table) that you want visitors to filter.
- Click the Filter content by drop-down and choose the boolean field that visitors will use to filter the content.
Tip: To add a new field to your collection and use it for filtering content, select + Add, then enter the field name and click Add. You can add values to the field in your CMS collection later. - Click the Condition drop-down and choose an operator:
- Selected: Show items that have their boolean field marked as checked (set to True).
- Is not selected: Show items that do not have their boolean field marked as checked (set to False).
- Click the Connect to CMS icon
- Customize the Checkbox input element:
- Click the Settings icon
 to edit the following:
- Checkbox text: Edit the text that displays next to the checkbox and lets visitors know what the checkbox does.
- Value: (Velo only) Enter the component's value property used in JavaScript code.
- Field type: Disregard the Required and Checked by default settings, which are only relevant if you set the Checkbox to collect content.
- Link Settings: Enable the toggle to add linked text next to the Checkbox text. Enter the Link text and set the link destination.
- Click the Layout icon
 to set the checkbox size, spacing and alignment.
 - Click the Design icon
 to choose a preset design and customize it further.
 - Click the Animation icon
 to choose and customize an animation effect.
- Click the Settings icon

- Click Preview to test your Checkbox element.
- Click Publish if you are ready to make the changes go live.
Using the Checkbox input element to collect responses from site visitors
Set the Checkbox input element to collect content and connect it to a dataset that binds to a collection where you will store the responses. When visitors click your submit button, their response is saved to a boolean (true or false) field in your collection.
Wix Editor
Studio Editor
- Go to your editor.
- Add the single Checkbox input element:
- Go to the page or section where you want visitors to use the Checkbox element.
- Click Add Elements on the left side of the editor.
- Click Input.
- Click Checkboxes.
- Scroll down to the single Checkbox input elements.
- Click and drag the relevant single Checkbox input element onto the page.
- Connect the Checkbox element to the CMS collection where you will store the submissions:
- Click the Connect to CMS icon on the Checkbox element.
- Select Collect content in the Connect Checkbox panel on the right.
Tip: If you haven't added a dataset to the page yet, add a dataset first (see the next step) then select Collect content. - Click the Choose a dataset drop-down and select a dataset that connects to the collection where you will store the submissions.
- Click the Checked state connects to drop-down and choose the boolean field in which you will store the submissions.
Tip: To add a new field for storing submissions, select + Add, then enter the field name and click Add.
- Click the Connect to CMS icon
- Set the dataset mode and collection permissions:
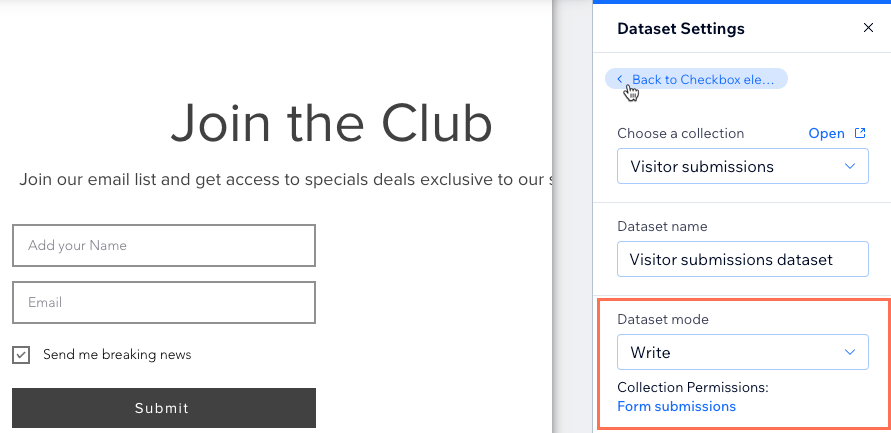
- Click Dataset Settings in the panel on the right.
- (Optional) Click the permission type next to Permissions to determine who can view, add, update, or delete collection content.
- Click the Dataset mode drop-down and select the relevant option:
- Write: Connected input elements can add new items to the collection, but cannot edit existing items.
- Read & Write: Connected elements can update existing items in the collection. If you connect a 'New' button, visitors can use it to update existing items and add new items to your collection.
- Click Back to Checkbox element at the top of the Dataset Settings panel.
- Customize the Checkbox input element:
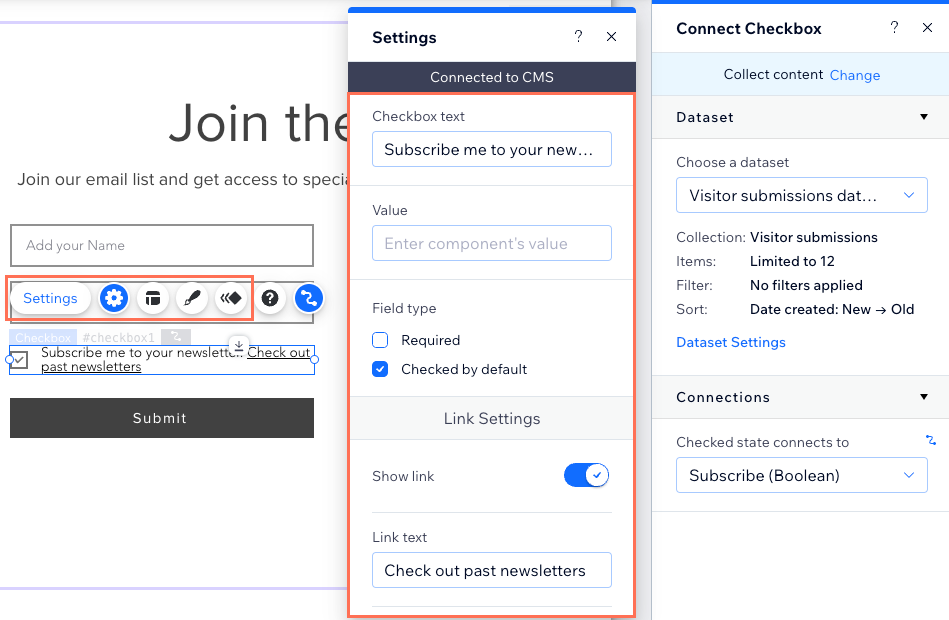
- Click the Settings icon to edit the following:
- Checkbox text: Edit the text that displays next to the checkbox and lets visitors know what the checkbox does.
- Value: (Velo only) Enter the component's value property used in JavaScript code.
- Field type: Select the relevant options:
- Required: Make it mandatory that visitors check the box before they can send their submissions.
- Checked by default: Automatically have the checkbox selected when the page loads.
- Link Settings: Enable the toggle to add linked text next to the Checkbox text. Enter the Link text (e.g. "Terms and conditions") and set the link destination.
- Click the Layout icon to set the checkbox size, spacing and alignment.
- Click the Design icon to choose a preset design and customize it further.
- Click the Animation icon to choose and customize an animation effect.
- Click the Settings icon
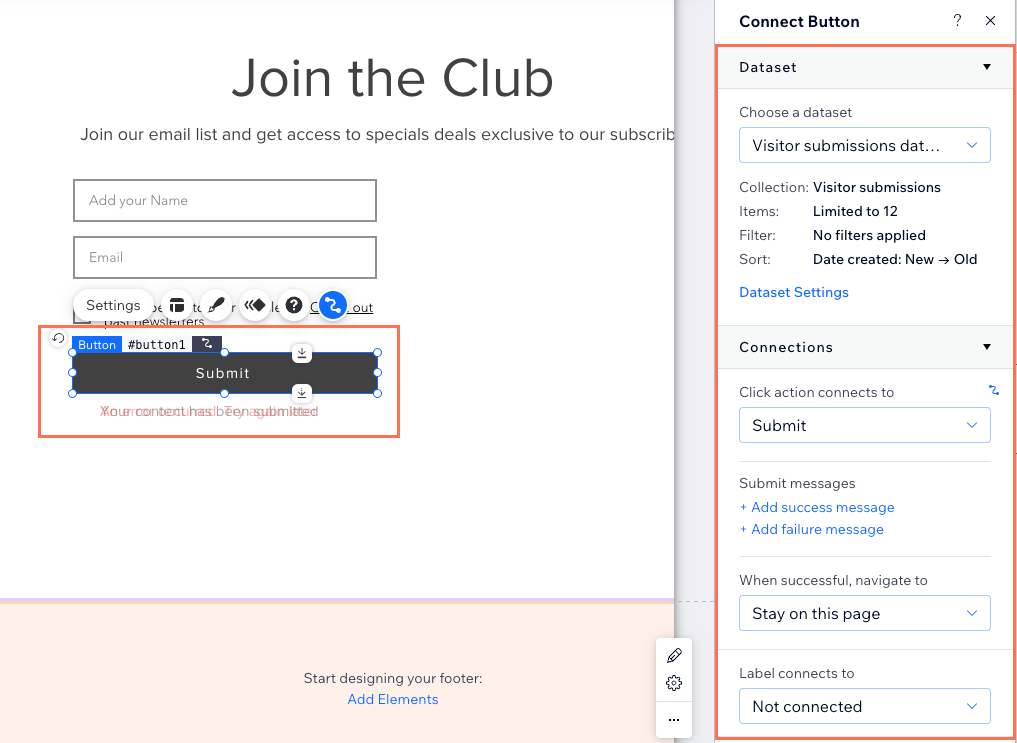
- Add a 'Submit' button for visitors to click to send their submissions.
- Click Preview to test your connections.
- Click Publish if you are ready to make the changes go live.
FAQs
Click a question below to learn more about the Checkbox input element.
Is it possible to pre-check the checkbox for visitors?
Can I collect multiple checkbox responses in one form?
