

Wix Editor: Customizing Your Site Header
5 min
In this article
- Changing your header's design
- Setting an image as the header background
- Making the header background transparent
- Resizing your header
- Adding a scroll effect to your header
- FAQs
Your header is the section at the very top of the page, showing your menu and logo. As your header gives visitors their first impression of your site, we recommend customizing it to fit your brand and aesthetic.
Choose a design and scroll effect for your header, and set the size and borders to make sure it stands out.
The elements inside your header are automatically shown on all pages that your header appears on.
Changing your header's design
You can change your header's design to suit your site. Select a design from a variety of presets, and customize the settings such as the color, spacing, and corners.
You can design your header for 2 different states – regular and scroll. The scroll state lets you design your header to look different once visitors scroll down the page. For example, you can make the header change colors or add a border so it stands out.
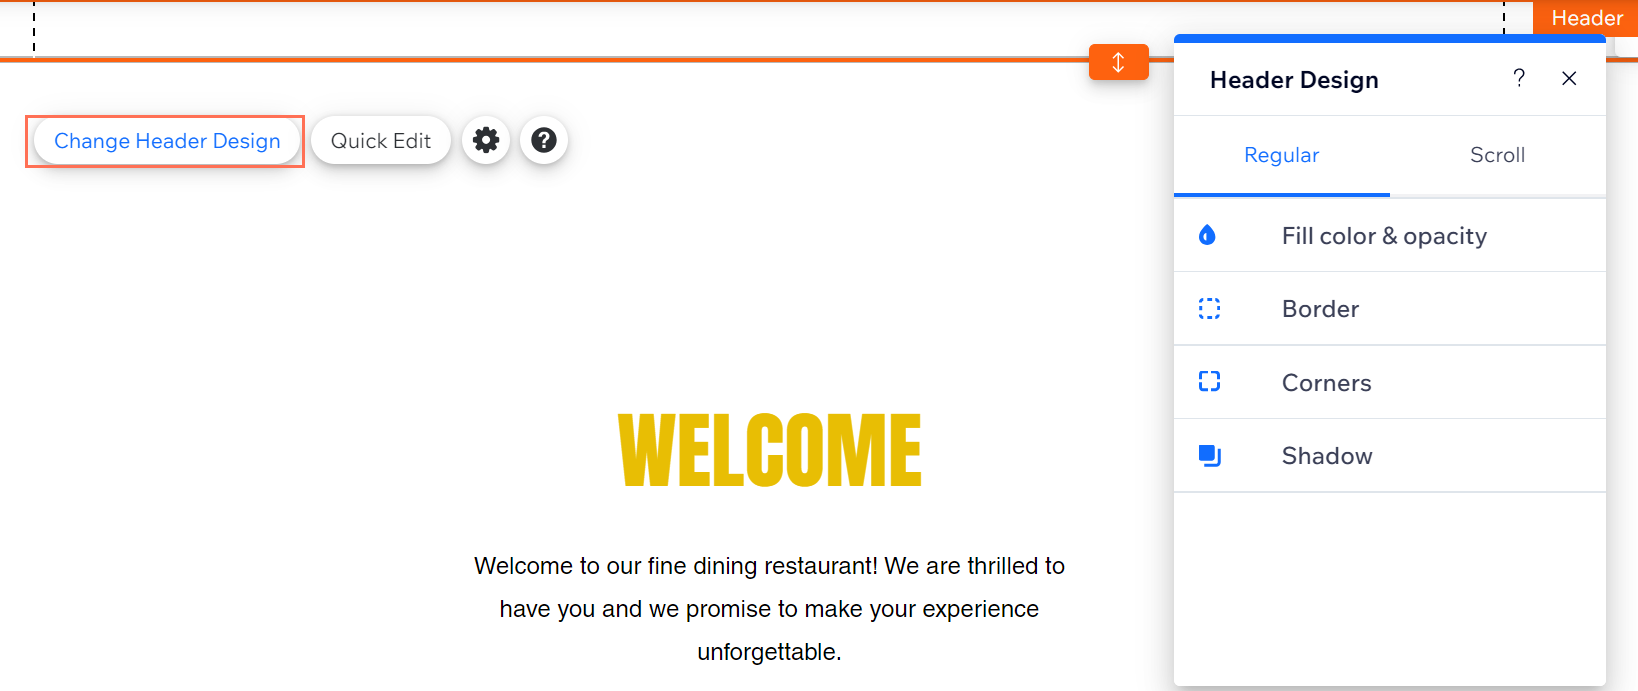
To change your header's design:
- Go to your editor.
- Click the header.
- Click Change Header Design.
- Click the Regular or Scroll state.
- Use the options to customize the header design:
- Fill Color & Opacity: Choose a background color for your header and adjust its opacity.
- Border: Drag the sliders to add top and bottom borders to your header to make it stand out. Then, adjust the opacity and color of the borders.
- Corners: Make the corners of your border rounder, or more square.
- Shadow: Add and design a shadow to give your header a cool 3D effect.
Setting an image as the header background
To further personalize your site, you can set an image as the background of your site's header. Drag the image onto the header to attach it, then use the drag handles to stretch the image across the header. You can then move the image to the back so that it does not hide your header's elements.
The image must be smaller than your header in order to fit inside it and be attached properly. We recommend using an image with a resolution and size that is compatible with the size of your header, such as a banner image.
To use an image as your header background:
- Go to your editor.
- Add a new image or select an existing one on your page.
- Drag the image to the header and drop it when you see the Attach to Header message.
- Stretch the image to cover the entire header by dragging the side handles around the image.
- Move the image to the back:
- Right-click the image.
- Hover over Arrange and click Move Backward.
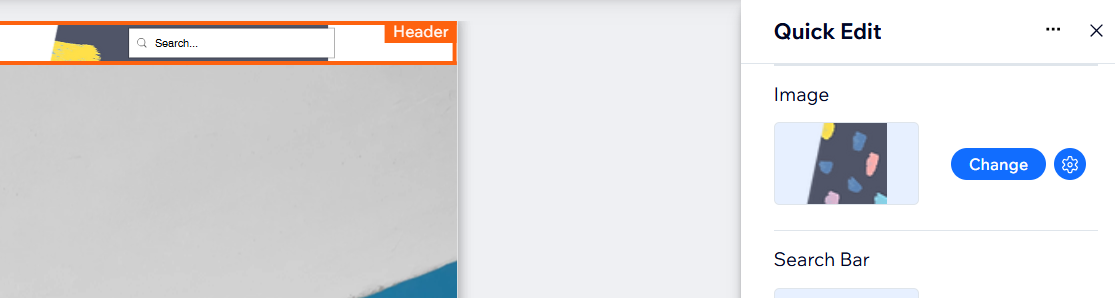
Tip:
Replace your header image anytime using the Quick Edit panel, clicking Change next to the current image.
Making the header background transparent
Set your header transparent to create a modern, sleek design while seamlessly blending it with the background of your site.
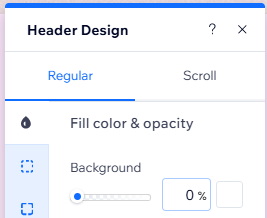
To make your header background transparent:
- Go to your editor.
- Click the header.
- Click Change Header Design.
- Click the Regular or Scroll state.
- Click Fill Color & Opacity.
- Set background opacity to 0%.
Resizing your header
You can resize your header to make it as big or as small as you want.
Big headers are useful if you have a lot of elements such as a site title, site menu, and logo. Smaller headers are great for minimal sites, or if you have most of your elements on the page.
To resize your header:
- Go to your editor.
- Click the header.
- Drag the stretch handle at the bottom of the header to make it taller or shorter.
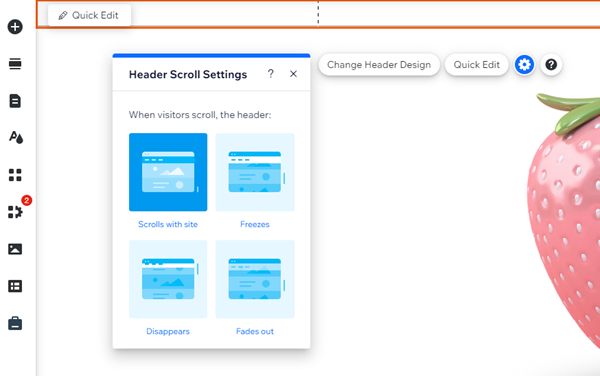
Adding a scroll effect to your header
Add a cool scroll effect to your header to choose how it behaves as visitors scroll up and down. For example, keep the header at the top as visitors scroll, or make it gradually fade away.
To choose a scroll effect for your header
- Go to your editor.
- Click the header.
- Click the Settings
 icon.
icon. - Select a scroll effect:
- Scrolls with site: No scroll effect is applied. When visitors scroll down the page, they also scroll away from the header (i.e. the top of the page).
- Freezes: Your header remains on top of the page as visitors scroll up and down, giving them easy access to your site's menu.
Tip: When choosing this effect, we recommend keeping the header rather short so it doesn't cover any content on scroll. - Disappears: When visitors scroll through your site, the header gradually disappears. For the header to reappear, your visitors need to start scrolling up.
- Fades out: The header slowly fades out when your visitors scroll through the site and reappears when they start scrolling back to the top.
FAQs
Click a question below to learn more.
I set my header's background as transparent, how can I blend it with the strip below?

Can my mobile site have a different scroll effect than my desktop?
Why am I unable to select elements within my header?
