

AI Tools: Adding Your Own Content to the AI Marketing Agent
3 min
In this article
- Creating a blog post
- FAQs
The AI Marketing Agent can use your own ideas to create blog posts, not just the topics it suggests in your content plan. This helps you add specific campaigns, promotions, and stories that matter most to your business while the AI Marketing Agent handles the writing and scheduling for you.
Creating a blog post
Turn your own ideas into ready-to-publish articles that match your marketing plan. Describe the topic you have in mind and let the AI Marketing Agent drafts an SEO-friendly post for you. From there, decide when it goes live, and you can review the post before it is published.
To create a blog post:
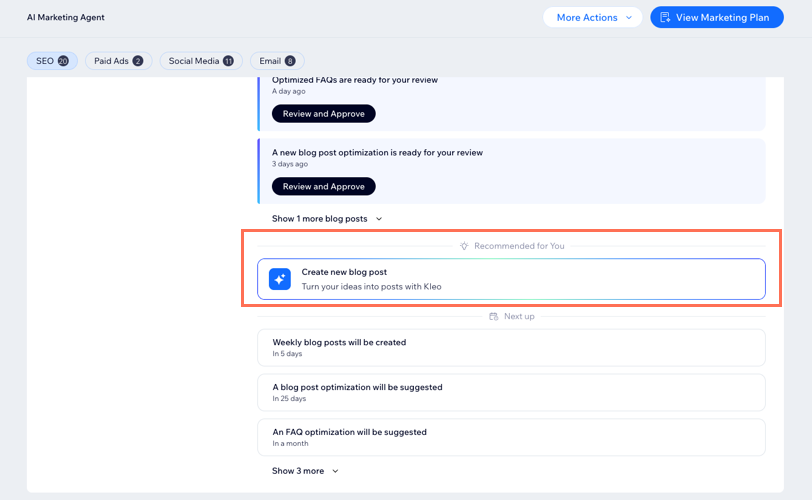
- Go to the AI Marketing Agent in your site's dashboard.
- Under the SEO section, click Create new blog post.
- Describe the blog post you want to create in the text box. Share as many details as you can, such as the main topic, audience, and key points.
Tip: Choose one of the SEO optimized suggestions if you want to start from a suggested idea, or click Regenerate to see more options. - Click Create Blog Post to let the Marketing Agent generate the content.
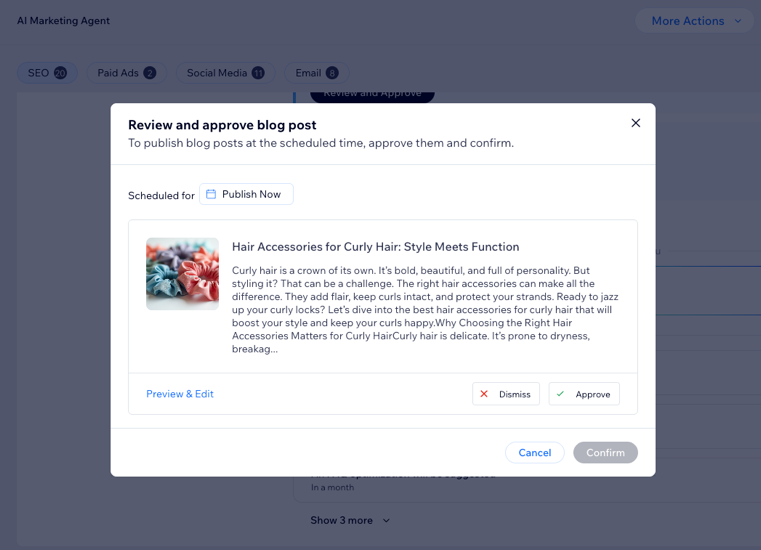
Tip: While the content is generating, you can leave the window open or close it. You'll be notified when the draft is ready. - In the Review and approve blog post window, choose what you want to do:
- Choose when to publish the blog post:
- Publish now: When the blog post is approved, it will immediately publish.
- Reschedule: Schedule the blog post to publish on a future date and time. The blog post will appear as a draft with the new scheduled date.
- Review the blog post: Click Preview & Edit to open the blog post in the blog post composer and make changes (e.g. edit or rewrite content, change images).
- Dismiss or approve the blog post:
- Dismiss: The blog post is erased and not saved in your marketing plan.
- Approve: Add the blog post to your schedule and have it published at the time you selected.
- Choose when to publish the blog post:
- Click Confirm.
FAQs
Click a question below to learn more about this.
Where can I find content after I approve it?
How is this different from creating content directly in Wix Blog?
Can I reschedule the publish date after I approve the blog post?
 and select Schedule Post.
 Can I add my own email marketing campaigns and social media marketing posts?
