


AI Phone Agent: Adding and Setting Up the Phone Agent
- Step 1 | Set up the phone agent
- Step 2 | Connect a phone number
- Step 3 | Customize your settings
- Step 4 | (Optional) Keep track of your calls
- FAQs
You must upgrade your Wix site with a plan in order to set up your AI Phone Agent.
The Phone Agent is currently only available in English to Wix users in the US. We're working on expanding access.
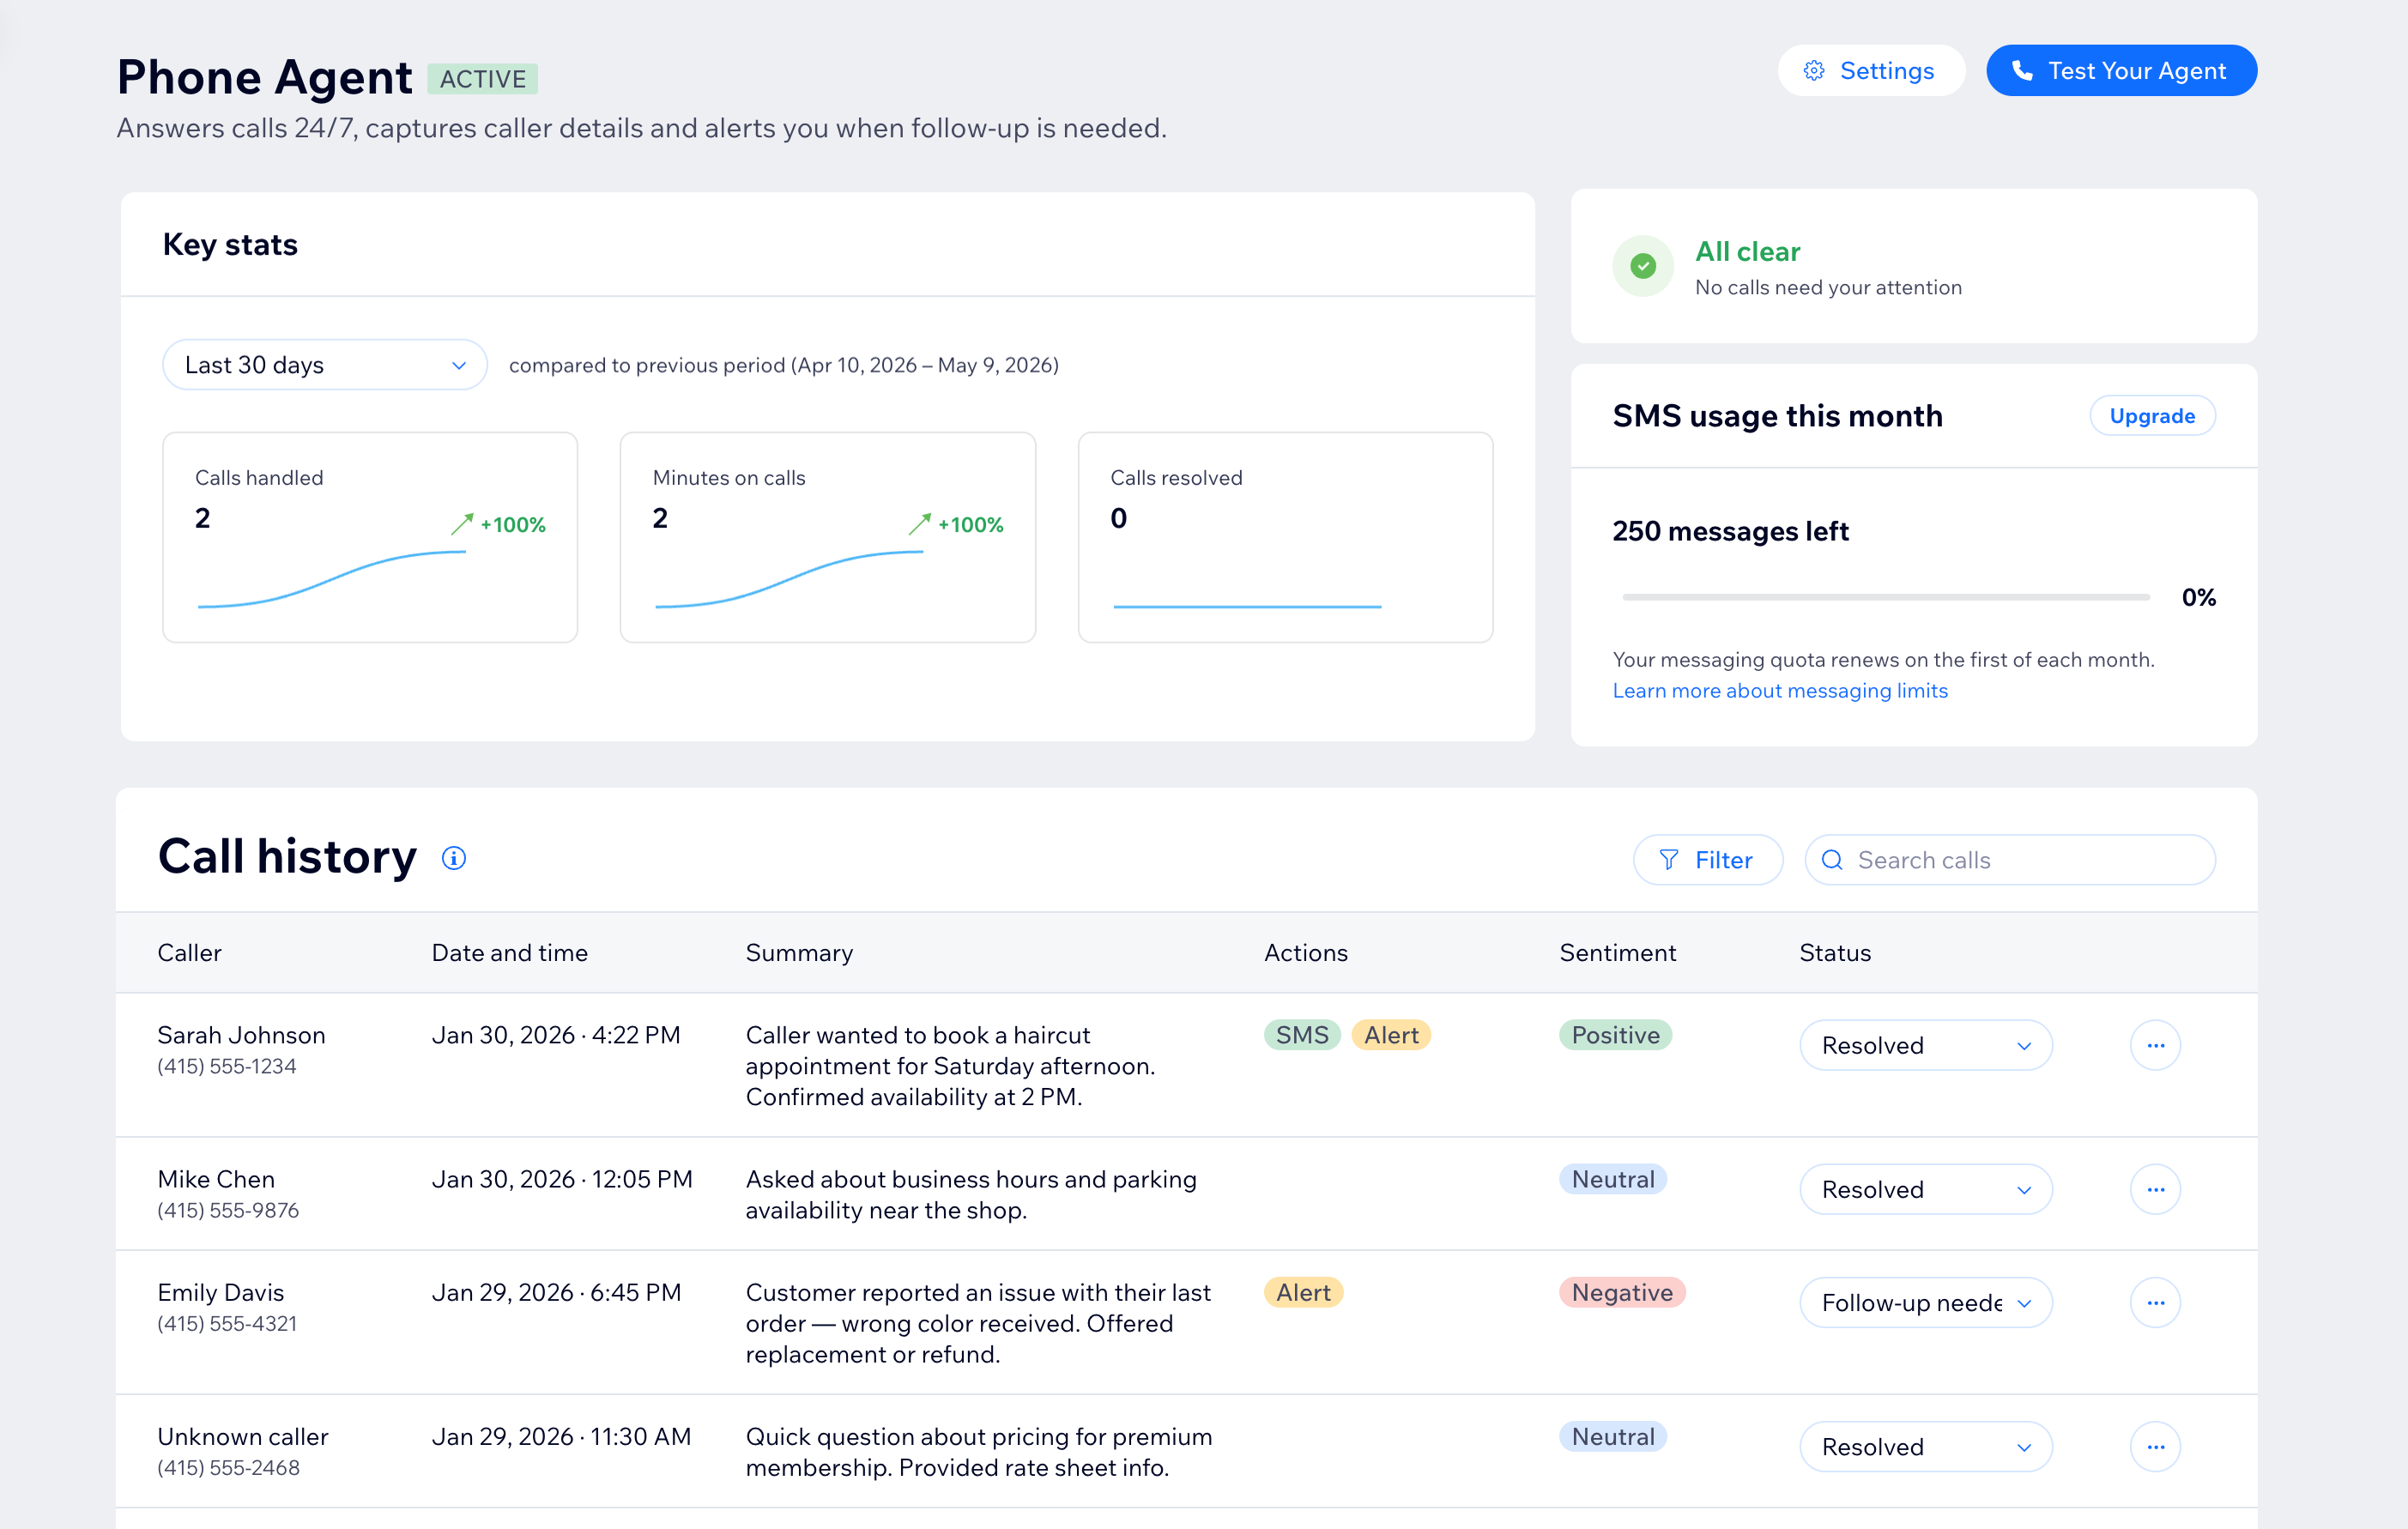
Step 1 | Set up the phone agent
To set up the phone agent:
Go to Phone Agent in your site's dashboard.
Click Let's Get Started.
Set up your agent under Voice and Tone:
Agent name: Enter the name your phone agent introduces itself with on calls.
Business name: Review the business name pulled from your site and update it if needed.
Voice: Choose Male or Female.
Tone: Choose Warm, Professional, Energetic, or Calm.
Call greeting: Edit the opening line callers hear. You can also click Generate a new greeting for an AI suggestion.
4. Click Continue to Actions.
5. Choose what your agent handles under Actions:
Send SMS links: Enable the toggle to let your phone agent send callers a link to a page on your site after each call.
Note: These messages count toward your Wix messaging quota.Alert topics: Enter topics your phone agent should alert you about when callers mention them (e.g. refund, urgent repair, a specific service).
6. Click Continue to Preview.
7. Test your phone agent in Preview:
Voice: Test how your agent responds in a simulated call.
Text: Enter a question and review the response.
8. Click Finish Setup.
Step 2 | Connect a phone number
To connect a phone number:
Go to Phone Agent in your site's dashboard.
Click Connect a number to activate at the top of the page.
Click Set up virtual number.
Follow the on-screen steps to choose and confirm your number.
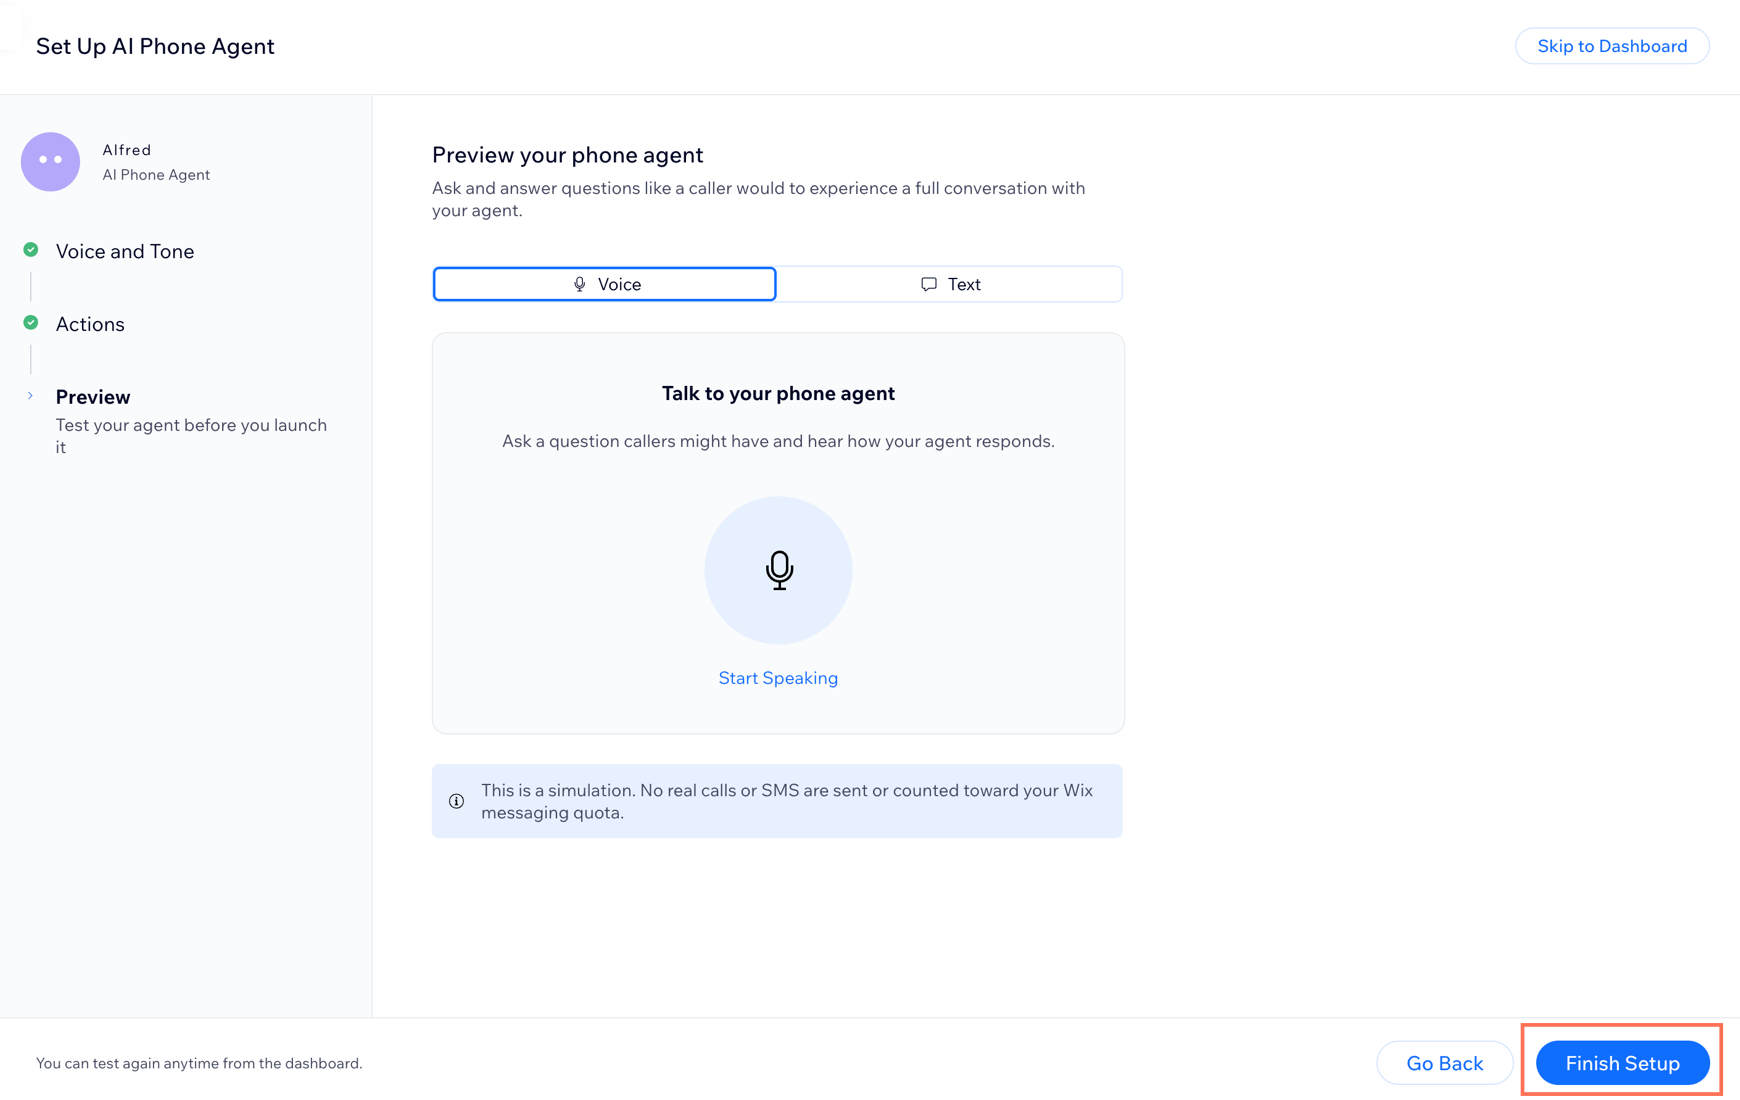
Once active, your number appears under Alfred's number. From there, you can:
Pause: Temporarily stop your Phone Agent from receiving calls on this number.
Disconnect number: Remove the virtual number from your Phone Agent.
(Optional) Set up call forwarding:
Click Open Setup Guide under Call forwarding.
Select your phone type: Mobile phone, Landline, or VoIP service.
Choose when to forward calls:
Always: Every incoming call goes to your Phone Agent.
When you're unavailable: Calls forward only when you're busy, don't answer, or have no signal.
Select your carrier or provider (e.g. AT&T, T-Mobile, or Verizon for mobile).
Follow the dialing instructions shown on screen to activate forwarding on your phone.
Test it by calling your business number.
Add your virtual number as a linked number in Google Voice settings first. Google Voice texts a code to your virtual number to verify that you own it. Click Get verification code in the Connecting a Google Voice number? section and follow the on-screen instructions to link your number and receive your verification code.
Step 3 | Customize your settings
To customize your settings:
Go to Phone Agent in your site's dashboard.
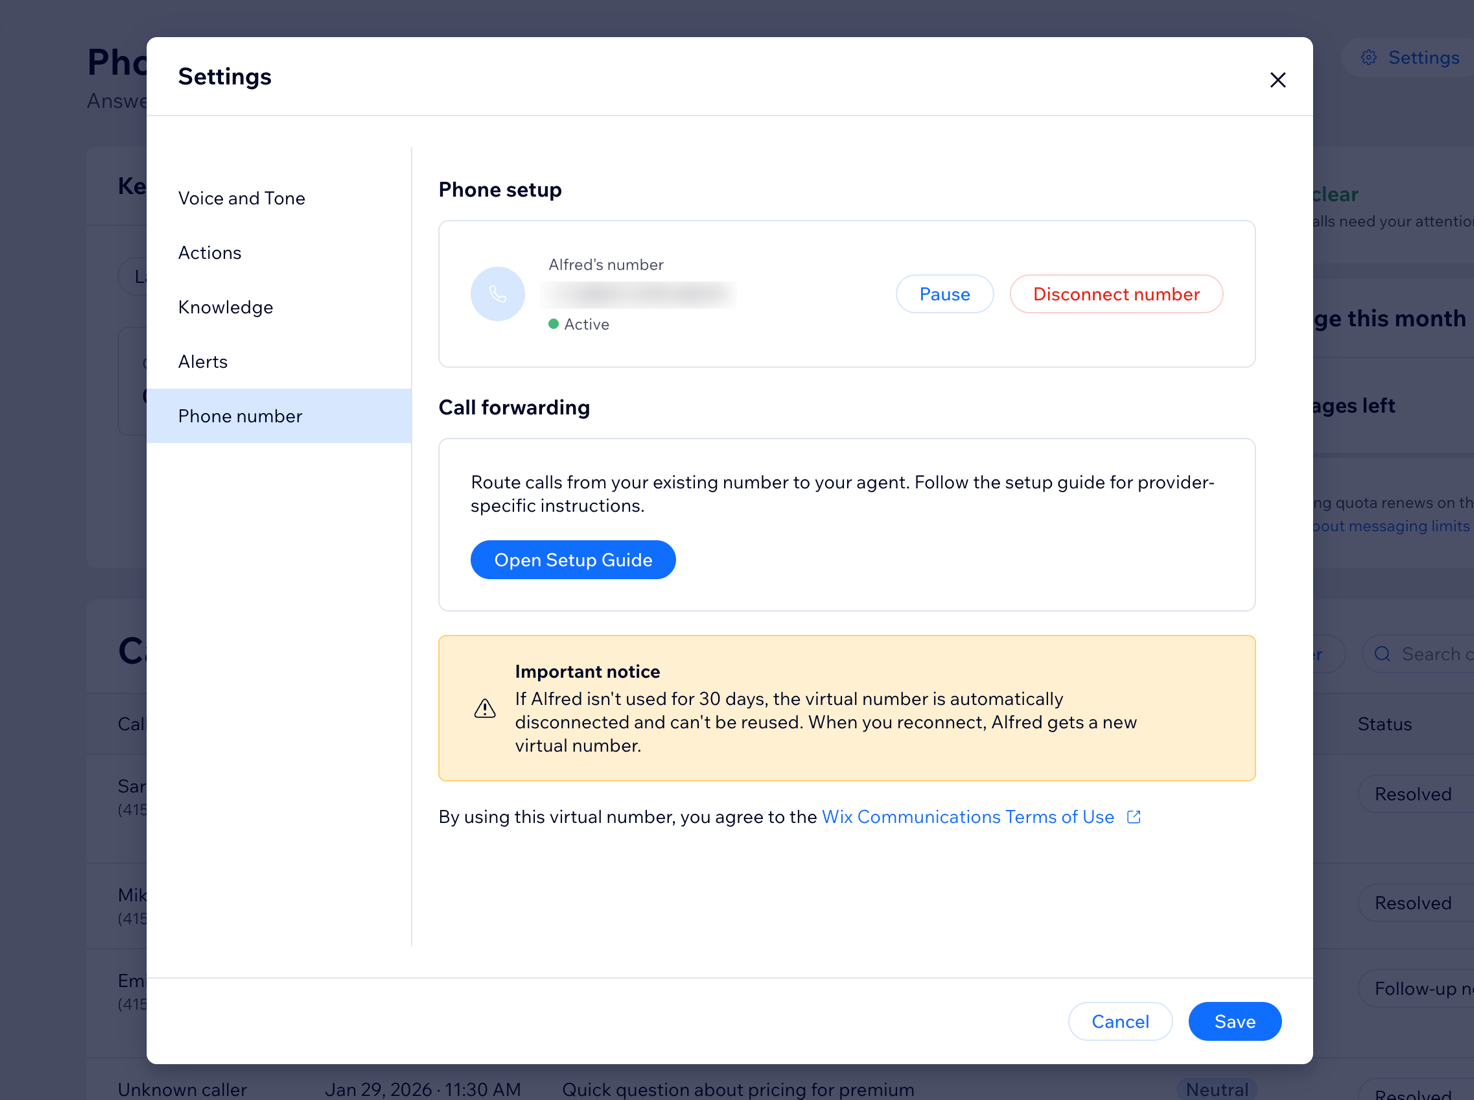
Click Settings at the top right.
Customize the settings you need:
Voice and tone: Update the agent name, business name, voice, tone, and call greeting.
Actions: Click the Send SMS links toggle to choose whether Alfred sends callers a text message link after each call.
Enabled: If relevant, it sends callers a text message with a link from your site, such as a booking page or contact page.
Disabled: It does not send a text message after calls.
Knowledge: Your Phone Agent reads your published site content automatically and updates it every 24 hours. You can also:
Click Refresh to manually update your knowledge after making changes to your site.
Add Additional knowledge: Add details that do not appear on your site, such as cancellation policies, parking instructions, or booking details.
Alerts: Choose how the agent handles caller follow-up and notifications:
Caller messages: The agent asks callers for their details, takes a message, and lets them know you can get back to them.
Alert topics: Add topics that the agent should alert you about when callers mention them (e.g. 'refund', 'complaint', or 'cancel appointment').
Alert preferences: Choose whether to receive alerts by email, push notifications or both. Both options are enabled by default.
Click Save.
Step 4 | (Optional) Keep track of your calls
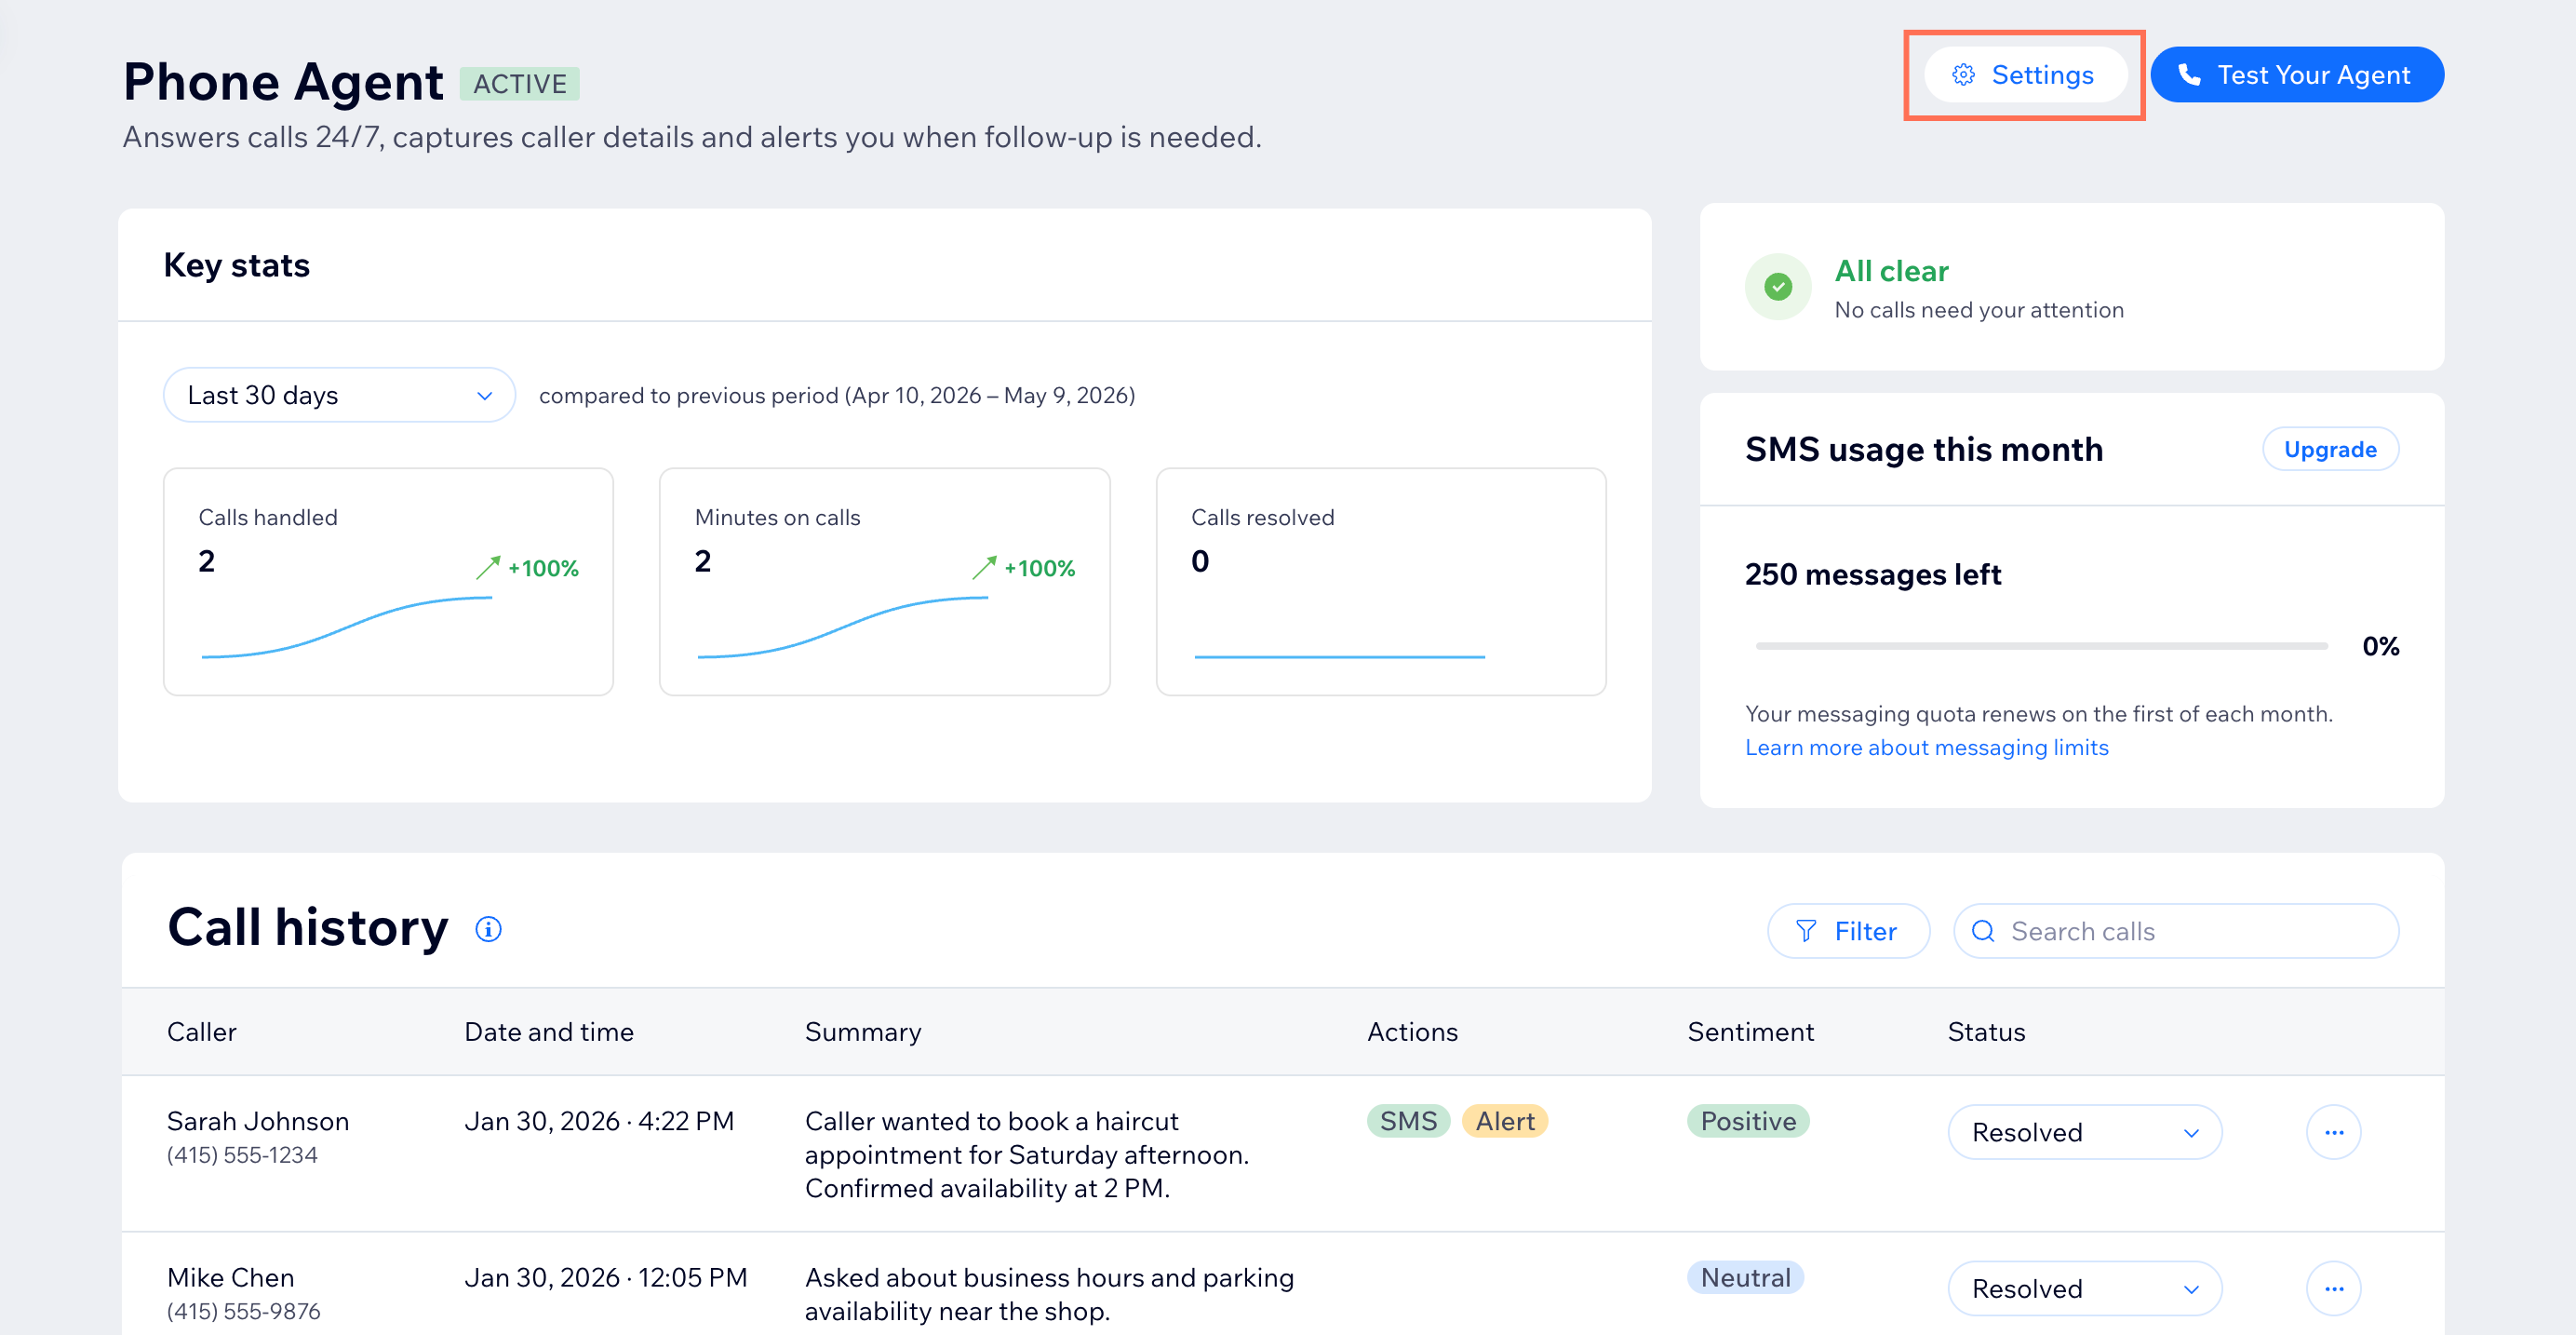
Go to Phone Agent in your site's dashboard to monitor calls, review summaries, and manage follow-up tasks.
- Monitor performance: Track calls handled, minutes on calls, and calls resolved over time.
- Review call history: Read AI-generated summaries, check caller sentiment, and update call statuses.
- Manage follow-ups: Spot calls flagged as Needs Follow-up so you can take action quickly.
- Test your agent: Click Test Your Agent at any time to run a voice or text simulation.
Tip: Learn how to manage your Phone Agent.
FAQs
