ADI: Adding and Setting Up a Wix Gift Card
4 min read
The Wix Gift Card feature is currently available only for Wix Stores.
Increase sales in your store and boost your brand by selling digital gift cards. They're a great way to get new customers and keep existing customers coming back again and again.
Step 1 | Enabling gift cards
To get started, go to the Gift Card tab in your dashboard to enable gift cards on your site. Once you have done so, the ADI Builder will open in a new tab with a new Gift Card page added for you. Don't worry - the Gift Card page is not visible to site visitors until you publish your site.
Important:
Make sure you have set the currency you want to use in your site before setting up your gift card. Learn how
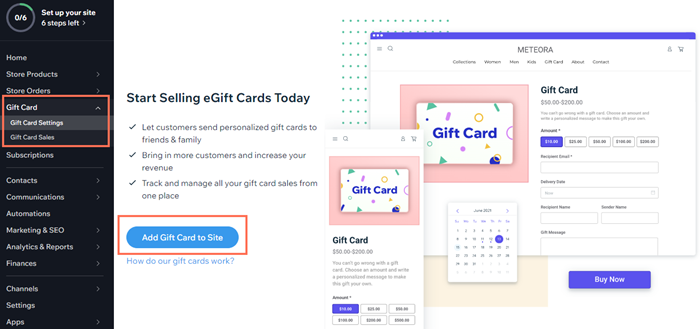
To enable gift cards:
- Go to the Gift Cards tab in your site's dashboard.
- Click Add Gift Card to Site.
Step 2 | Customize your gift card details
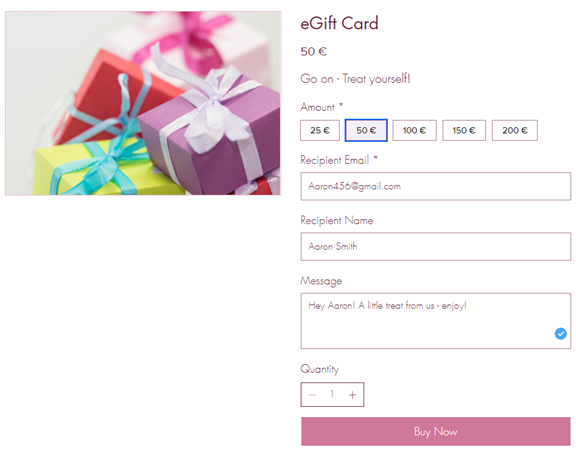
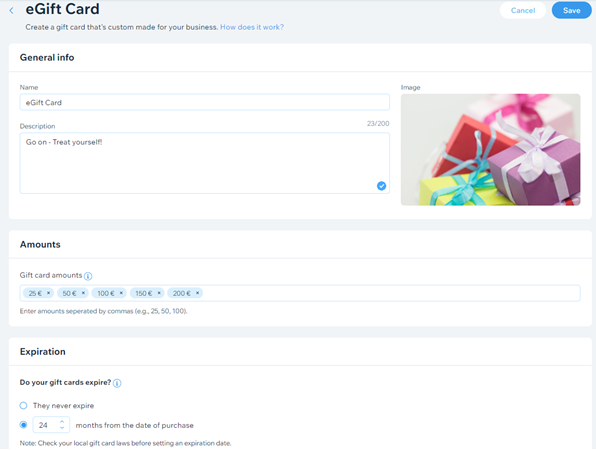
Your gift card comes already set up with a default gift card name, description, gift card amounts, a default expiration setting, and the following default gift card image:
To customize your gift card details:
- Go to the Gift Cards tab in your site's dashboard.
- Click Edit Gift Card.
- Edit the gift card name.
- Edit the description.
- Change the image:
- Hover over the gift card image and click the Show More icon
 .
. - Select Change Image.
- Upload a gift card image and click Add to Page.
Tip: Use Wix Logo Maker to help design a gift card image.
- Hover over the gift card image and click the Show More icon
- Edit the gift card amounts that customers can purchase:
- Type the amount you want to add and press Enter on your keyboard.
- Click the x next to any amount you want to remove.
- Set an expiration policy:
- They never expire: The gift card has no expiration date.
- [x] months from the date of purchase: Enter the number of months the card can be used before it expires.
Important: Laws in some regions do not permit expiration dates for gift cards. Check your local laws.
- Click Save.
Note: Once you save your gift card, your Gift Card page will automatically update to the new information you have just added.
Tip:
Click Preview in your ADI Builder to see how your Gift Card page looks before publishing.
Step 3 | Customize the email sent to gift card recipients
When a customer purchases and sends a gift card, the recipient receives an email letting them know about it. You can customize the look of this email.
Note:
If the sender or the recipient's email address is already in your site's Contact List, the name that appears in the recipient email is the one saved in the Contact List.
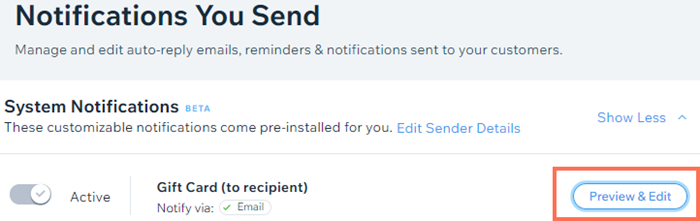
To customize the recipient's email:
- Go to the Notifications You Send settings in your site's dashboard.
- Click Preview & Edit next to Gift Card (to recipient).
- Click Edit.
- Replace the default image with your gift card image:
- Hover over the image and click the Edit icon
 .
. - Click Change Image on the left.
- Select your gift card image and click Add to Page.
- Click Apply at the bottom.
- Hover over the image and click the Edit icon
- Edit the email design (background color, button design, font and more). Learn how
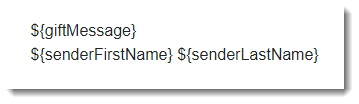
Important: The email contains dynamic fields which allow each specific sender and recipient's details to appear. Do not edit these fields.
- When you're ready, click Continue and Save.
Note:
This automation is free. It is not counted as one of your allowed number of automations.
Step 4 | Publish your site
When you're ready to start selling gift cards, publish your site so that customers can access the gift card page.
Important:
- If you decide in the future to stop selling gift cards, do not click the Enable gift card at checkout toggle to disable it. This action will prevent gift card holders from redeeming their cards and may be illegal in some regions.
- To stop selling new gift cards, hide the Gift Card page in the ADI Builder.
Did this help?
|