Wix Contacts: Adding and Managing Custom Contact Fields
3 min
In this article
- Adding custom fields to contacts
- Renaming custom contact fields
- Deleting custom contact fields
Add custom fields to store additional information about your contacts. Custom fields can be either text, number, date or URL, and can have any name you choose.
Adding custom fields to contacts
Any custom field that you add is automatically added to all contacts in your Contact List. This way, you do not have to fill in this field for every contact.
Tip:
Sync custom fields from your contacts to Wix Forms to collect this information from your visitors from a form on your site.
To add a custom field:
- Go to Contacts in your site's dashboard.
- Click the More Actions icon
 at the top and select Custom fields.
 - Click + Add New Field.
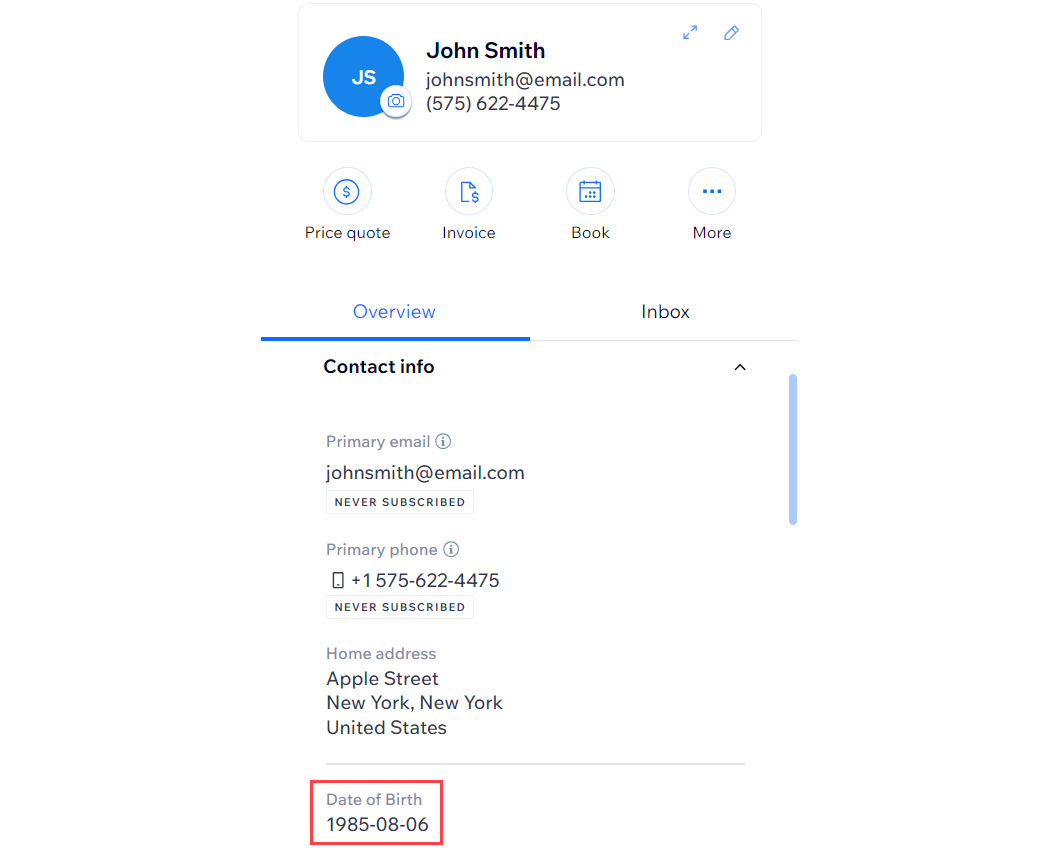
- Click the Field Type drop-down and select the type of content: Text, Number, Date, or URL
- Enter the name of the new field (e.g. "Date of Birth") in the Field Name field.
- Click Add.

- Click Done.
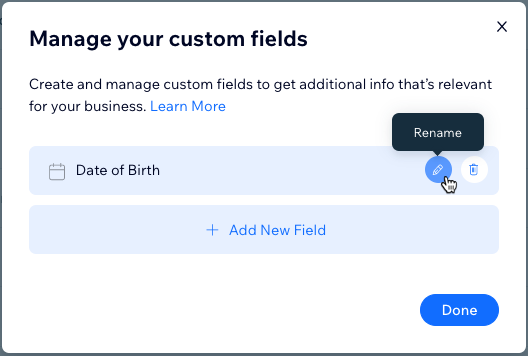
Renaming custom contact fields
You can change the name of a custom field without affecting any of the information stored in the field.
To rename a custom contact field:
- Go to Contacts in your site's dashboard.
- Click the More Actions icon at the top and select Custom fields.
- Hover over the field you want to rename and click the Rename icon
 .
. - Edit the name of the field and click the checkmark to save.
- Click Done.
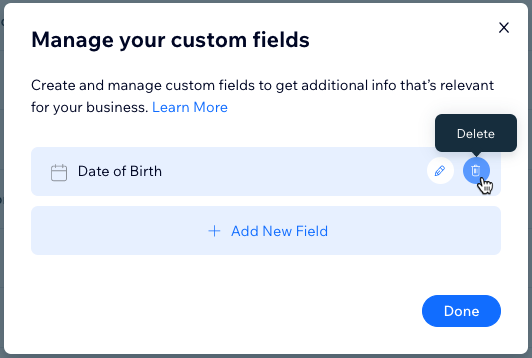
Deleting custom contact fields
Clean up your contacts by deleting custom fields that you no longer need. Deleting the custom field removes it, and the information it contains, from all your contacts.
To delete a custom field:
- Go to Contacts in your site's dashboard.
- Click the More Actions icon at the top and select Custom fields.
- Hover over the field you want to delete and click the Delete icon
 .
. - Click Delete to confirm.
- Click Done.