Wix Partners: Managing Your Workflows
5 min read
Manage workflows related to your business as a Wix Partner. Rather than connecting to individual sites, the Workflows tab in your Partner Dashboard applies to your account as a whole.
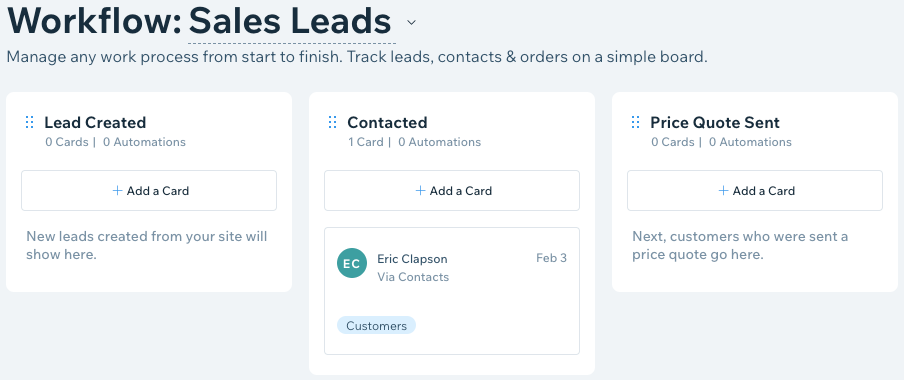
About workflows
Workflows are digital boards where you can manage processes such as sales leads, website design, to-do lists, and more. They consist of steps (columns) for completing tasks and cards representing contacts that you can move between the steps.
To manage your workflows:
- Click Partner Dashboard at the top of your Wix account.
- Click the CRM Tools tab on the left.
- Select the Workflows tab on the left.
- Click the drop-down next to the workflow name and select + Create Workflow.
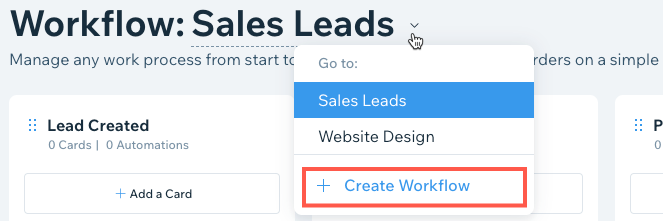
Tip:
Select another workflow in the list to go to it.
- Choose a workflow template or click Start from Scratch to begin with a blank template.
- (Optional) Rename the workflow: Click the workflow name, enter a new name and press Enter on your keyboard.
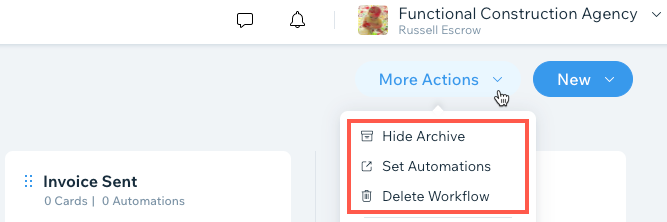
- Scroll to the right and click More Actions to choose from the following options:
- Hide Archive: Hide archived cards from the workflow. Click Show Archive to display archived cards in the workflow.
- Set Automations: Create an automation to help with your workflows.
Tip: With Automations, you can automatically move cards in a workflow when you receive a new lead. Make sure to also update the status of the lead so it doesn't expire. You can do this automatically by adding a follow-up action to your automation that sends an email. - Delete Workflow: Permanently remove the workflow and all its cards and steps.
Working with steps (columns)
Your workflows are divided into columns that represent steps in a process. Tailor workflows to your needs by creating, reordering, renaming, or removing steps. You can also add cards to steps that are linked to contacts and create automations.
To manage your steps:
- Click Partner Dashboard at the top of your Wix account.
- Click the CRM Tools tab on the left.
- Select the Workflows tab on the left.
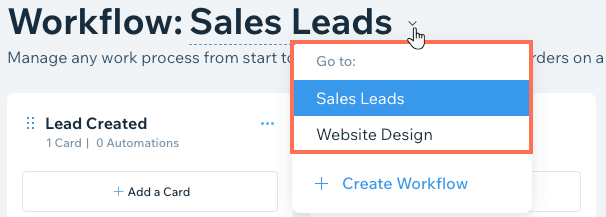
- Click the drop-down next to the Workflow name and select the relevant Workflow.
- (Optional) Add a new step:
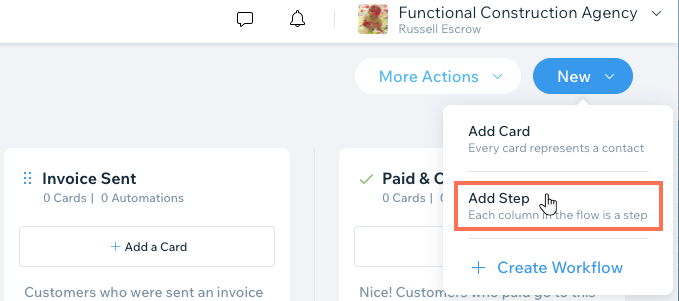
- Scroll to the right and click New, then select Add Step.
- Enter the Step Name and click Save.
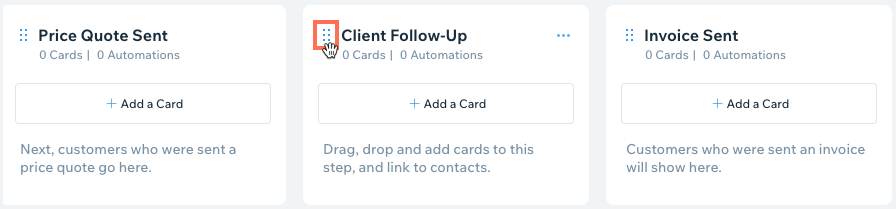
- (Optional) Click the Reorder icon
 on the relevant step and drag it to the left or right to change its order in the workflow.
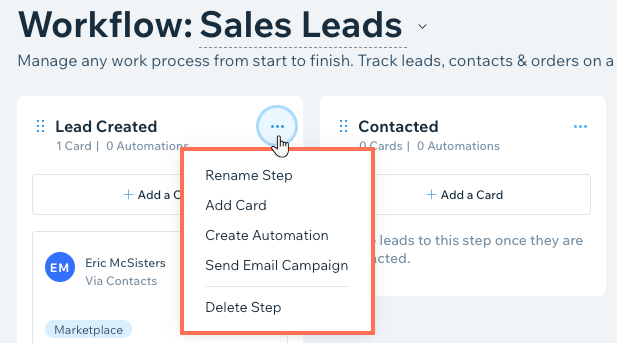
- Hover over the relevant step and click the Show More icon
 .
. - Select the relevant option:
- Rename Step: Enter a new name for the step then press Enter on your keyboard.
- Add Card: Add a card to the step. Enter a title and link the card to a contact.
- Create Automation: Set up an automation for the step.
- Send Email Campaign: Send an email campaign to all the contacts in the card.
Note: This step only appears when you've added cards to it. - Delete Step: Remove the step from your workflow.
Note: You cannot delete steps if they have cards with linked contacts. Move cards to another step or archive them to delete the step.
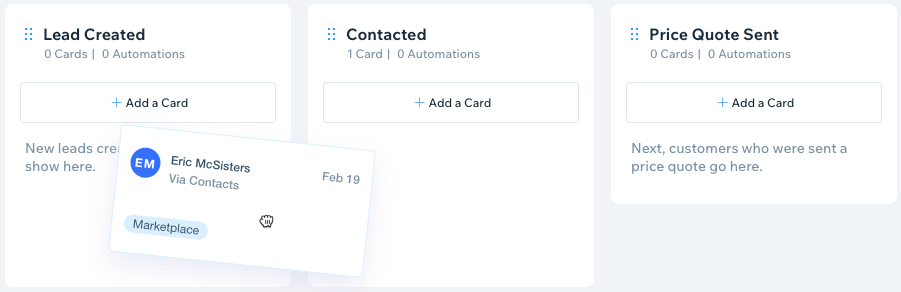
Working with cards
Use cards to keep track of where your clients are in regards to your processes. Add a card to a step then link it to one of your contacts. Move your client's card along to other steps as you work to complete your workflow.
To manage your cards:
- Click Partner Dashboard at the top of your Wix account.
- Click the CRM Tools tab on the left.
- Select the Workflows tab on the left.
- Click the drop-down next to the workflow name and select the relevant workflow.
- (Optional) Add a card to a step:
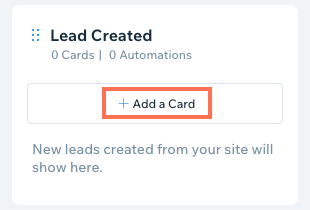
- Click + Add a Card on the relevant step.
- Enter the Card Title.
- Click the Search Contacts field, select a contact and click Save.
- (Optional) Click the relevant card and drag it to another step to move it there.
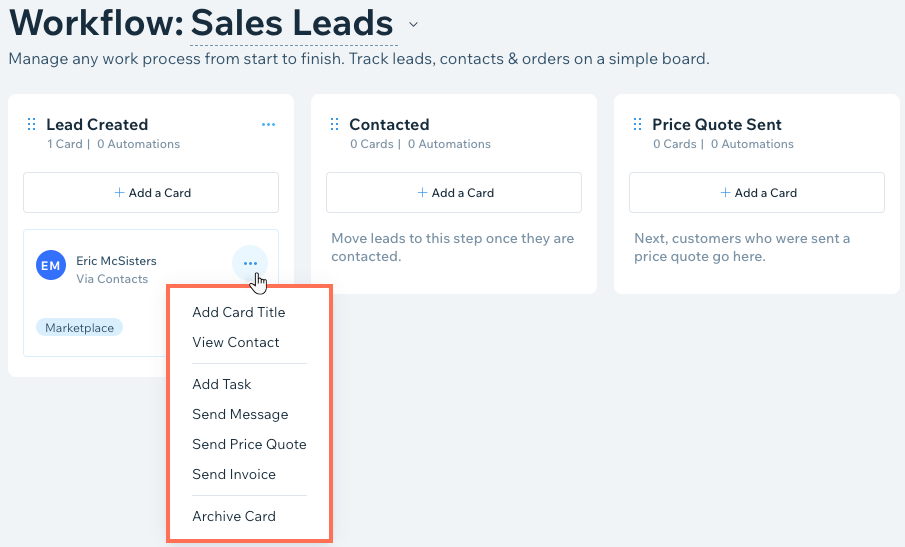
- Hover over the relevant card and click the Show More icon on the right.
- Select the relevant option:
- Add Card Title: Enter the Card Title and press Enter on your keyboard.
- View Contact: View the person's contact card on the right.
- Add Task: Add a task or reminder that will be linked to the contact.
- Send Message: Send the contact a message using Wix Inbox.
- Send Price Quote: Create and send a Price Quote to the contact.
- Send Invoice: Create and send an invoice to the contact.
- Archive Card: Move the card to the Archive step.
Did this help?
|