Wix Forms: Adding a File Upload Field
6 min
In this article
- Adding a file upload field to a site form
- Accessing uploaded files
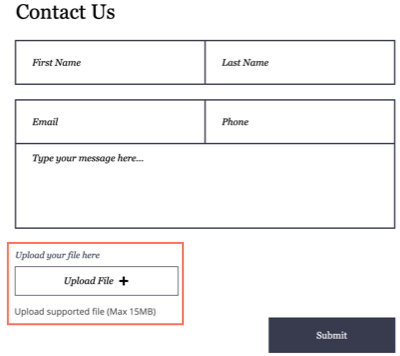
Collect information from visitors by adding a file upload field to your form. The upload file field supports videos, images, audio, documents, archive files, and 3D files. Ask visitors to upload their resume for a job application form, images for a consultation form, video explanations, 3D models, and more.
Read more about file formats and size limits
Important:
The upload file field is a premium feature for site forms. Learn more about upgrading Wix Forms.
Adding a file upload field to a site form
For site forms, you can add an upload file field directly from your editor. This field is helpful, for example, if your site form asks visitors to upload images for a project quote or their resume for a job application.
How do I know if I'm using old Wix Forms or new Wix Forms?
This article will help you understand the differences between old and new Wix Forms.
New Forms
Old Forms
- Click the relevant form in your editor.
- Click Edit Form to open the form builder.
- Click Add
 on the left side of the builder.
 - Click General.
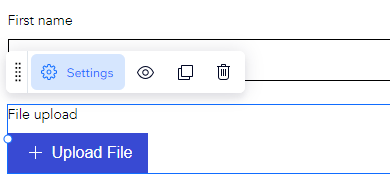
- Click File Upload and drag the form element onto the page.
- Click the newly added field on your form and click Settings.
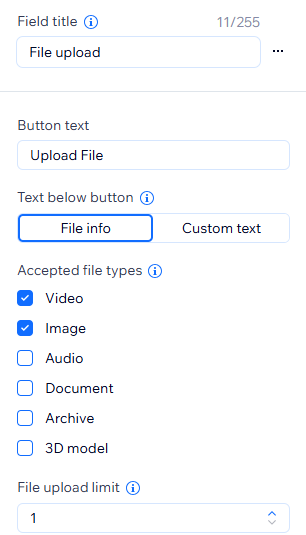
- Choose from the following customization options:
- Field title: Give a short title that tells people what you are asking for in the field.
- Button text: Edit the text that appears on the upload button in the form e.g. 'Upload file'.
- Text below button:
- File info: Only the name of the file appears beneath the button after a visitor uploads a file.
- Custom text: Custom text appears beneath the button after a visitor uploads a file e.g. 'Add up to 5 files.'
- Accepted file types: Select the type of media people can upload (video, image, audio, document, archive, 3D model).
- File upload limit: Choose the maximum number of files people can upload with a single form submission.
Note: The current maximum upload limit is 30 uploads per single form submission. - Required field: Enable the toggle to make the upload file field mandatory (visitors cannot submit the form without uploading a file).
- Field description: Enter text if your form needs additional explanation (e.g. terms and conditions or additional legal information)
- Personal information PII: Enable the toggle to protect personally identifiable information (PII) like addresses and passport info with an additional layer of protection.
Notes:
- If you add a file upload field to a payment form and use manual payments, you must update the order status to 'Paid' within 24 hours, or uploaded files will be lost. To help prevent this, we recommend connecting card payments to forms with file upload fields whenever possible.
- Accepting archive files is a feature available only in new Wix Forms.
- When you enable the Personal information (PII) toggle on a file upload field, file URLs are not sent in automation emails. This helps protect uploaded files from being shared online. Learn more about storing personally identifiable information.
Accessing uploaded files
Securely access and manage the files uploaded by your visitors and download them whenever you need.
New Forms
Old forms
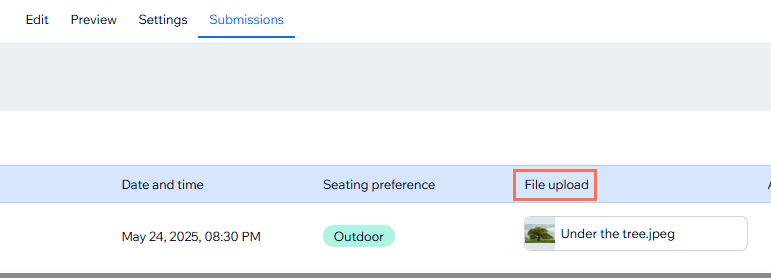
- Go to Forms & Submissions in your site's dashboard.
- Click the More Actions icon
 next to a form.
 - Select View submissions.
- (Optional) Click the file under File upload to download it.