

Facebook & Instagram Ads: Creating a Campaign
7 min
In this article
- Step 1 | Choose a campaign goal
- Step 2 | Connect your Facebook assets
- Step 3 | Choose your ad settings and targeting
- Step 4 | Create your ad content
- Step 5 | Set your ad budget and launch
- FAQs
Create a campaign with Facebook & Instagram Ads with Wix and get your business in front of thousands of people. The entire campaign setup, creation, and launch process takes place in your Wix site dashboard. Choose your ad targeting audience using Wix's AI powered targeting tool, create your content, and pick a daily budget for your campaign.
Before you create a campaign:
Make sure you've completed the following setup steps:
- Publish your site.
- Upgrade your site by purchasing a plan.
- Connect a custom domain.
To complete the setup checklist, Go to Facebook & Instagram Ads in your site's dashboard and select a campaign goal to get started.
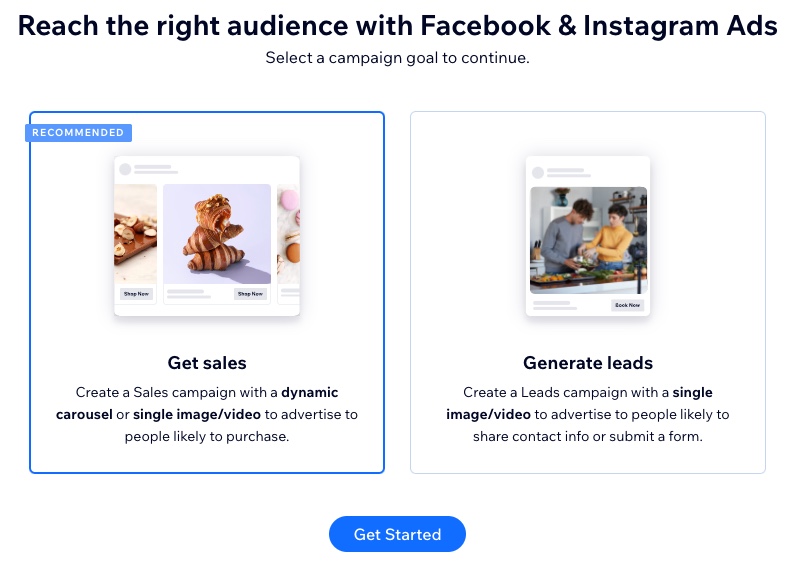
Step 1 | Choose a campaign goal
The first step in setting up a campaign is choosing a campaign goal. Depending on the Wix apps you have installed and if you have a payment method connected, you can select a Sales or Leads campaign.
Note:
To create a Sales campaign, you must connect a payment method.
To choose a campaign goal:
- Go to Facebook & Instagram Ads in your site's dashboard.
- Select a goal:
- Boost sales: Create a Sales campaign to promote your business to your audience likely to purchase your product and/or service.
- Get sales (For Wix Stores): Create a Sales campaign with a dynamic image carousel or single image/video to advertise your products.
- Generate leads: Create a Leads campaign to promote your business to your audience likely to share contact info or submit a form.
- Click Get Started.
- Sign in with your Facebook account.
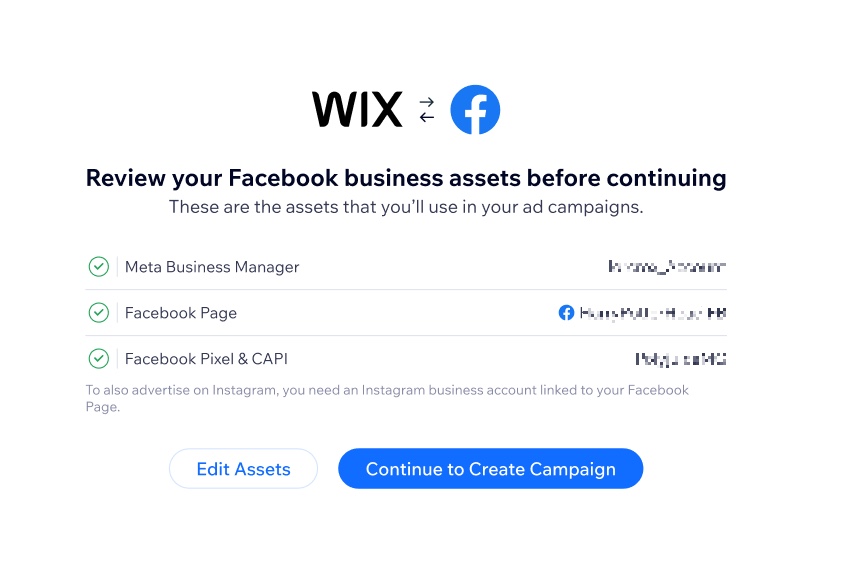
Step 2 | Connect your Facebook assets
The next step before is to connect your Facebook assets to Wix. These include:
- Your Facebook Page
- A Meta Business Account
- A Facebook Pixel & CAPI
If you have previously connected a Facebook Pixel in Marketing Integrations, your assets should already be connected to Wix.
If you want to advertise on Instagram:
Make sure your Instagram Business account is connected to the same Facebook page you're using for your Facebook assets. You can do this from Facebook. Learn more about connecting your Instagram.
To connect your Facebook assets:
- Click Add Facebook Assets.
- Go through the steps to add your assets.
- Next click Connect Assets to Wix and go through the steps to connect your accounts.
- Click Continue to Create Campaign.
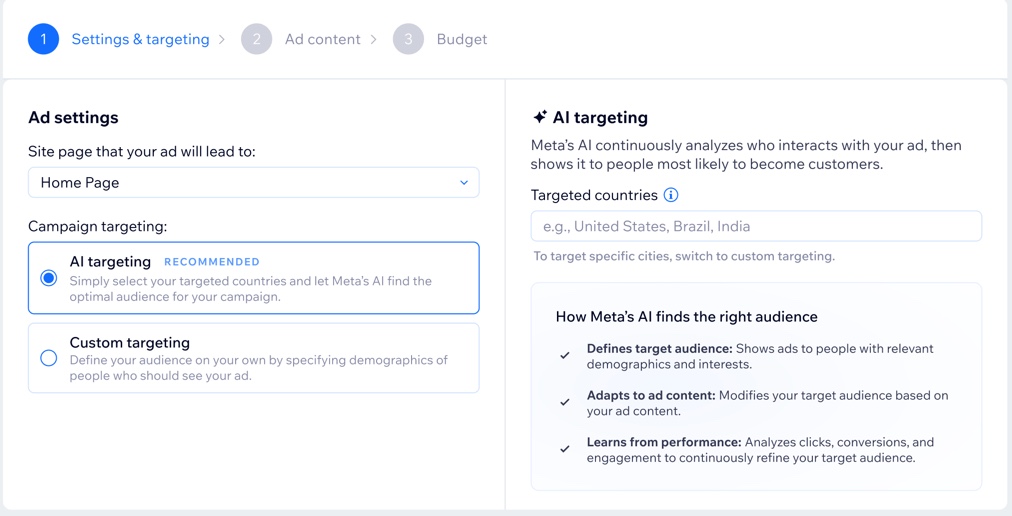
Step 3 | Choose your ad settings and targeting
Now that the initial requirements are completed and you've connected Meta assets, you are ready to start building your campaign content. First you need to decide who you want your ad to target as well as the site page your ad will lead to.
Note:
At the top of this section you can see the status of your Meta platforms. If your accounts are linked correctly the status is 'Linked.' If an account isn't linked you may have to go back and edit your Meta assets. Learn more in the FAQ section of this article.
To choose your ad settings and targeting:
- Click the Site page that your ad will lead to drop-down to select the page visitors navigate to after clicking your ad (e.g. your Wix Stores product page).
- Next select an option for campaign targeting. Targeting defines how you want to reach your audience.
- AI targeting: Allow Meta's AI find the optimal audience for your campaign. We recommend this option as the AI continuously monitors campaign performance and adapts to the data.
- Enter the countries you want to target under Targeted countries.
- Click Continue.
- Custom targeting: Define your own audience using specific demographics of people.
- Enter the places (cities, countries, zip codes) you want to target under Targeted countries.
- Continue refining your audience by selecting a gender, age range, and audience interests.
- Click Continue.
- AI targeting: Allow Meta's AI find the optimal audience for your campaign. We recommend this option as the AI continuously monitors campaign performance and adapts to the data.
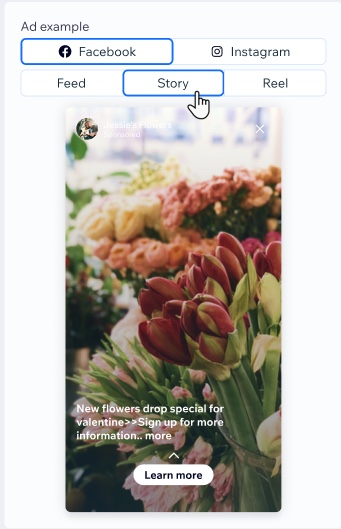
Step 4 | Create your ad content
Next create content for your ad that engages your audience and attracts attention. Your ad content consists of four main parts: primary text, media, ad headline, and a call to action button. The content is the same across both Facebook and Instagram ads.
Note:
Once you save a campaign, you can't update its ad format.
To create your ad content:
- Choose an ad format and follow the instructions to create your content. You will only see the dynamic carousel option if you are running a campaign with Wix Stores.
Dynamic carousel (Wix Stores only)

Single image or video
See how the ad appears online under Ad preview. Click between Facebook and Instagram at the top to see the ad on different platforms. You can also view how the ad appears in different formats (feed, story, reel).
Step 5 | Set your ad budget and launch
The last step before launching a campaign is to choose a campaign budget and monthly ad credits subscription. Your ad credits are applied to your total ad credits each month to be spent on campaign impressions. The higher your budget, the more your ads are shown on Meta platforms.
Once you've set a budget and purchased your ad credits, you can launch your campaign.
What's the difference between my monthly ad credits and campaign budget?
Think of your ad credits as going into one big bucket. When you set a daily budget for your campaign, you're deciding how many ad credits the campaign should take from the bucket every day. Each month when you pay your subscription, you 'top up' your bucket of ad credits. You can also make a one-time payment to get more ad credits if you want to top up the bucket before your next subscription cycle.
To set your ad budget and launch:
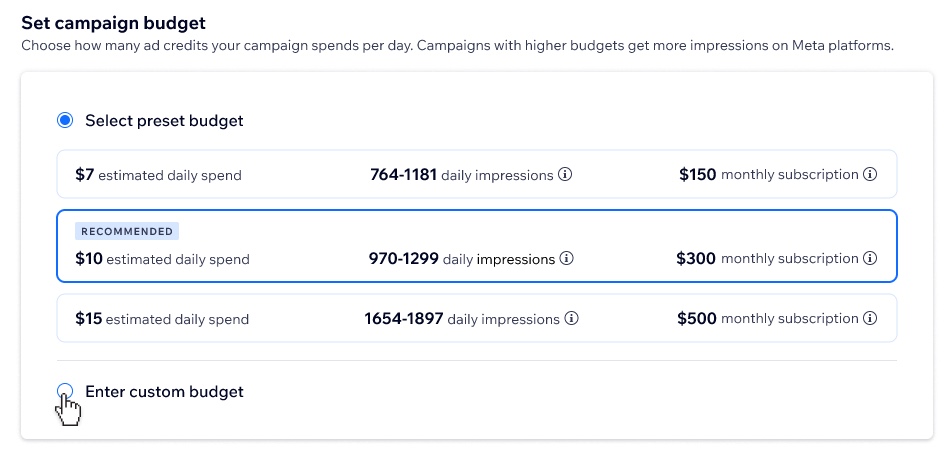
- Choose an option under Set campaign budget:
- Select preset budget: Choose a preset daily budget based on our recommendations that shows the average daily impressions you will receive as well as your total monthly subscription with this budget.
- Enter custom budget: Enter an estimated daily spend for your campaign. When you enter a daily spend, the monthly ad credit subscription changes by default.
- Click Save & Checkout to finish creating your campaign and submit your purchase.
Note: If this isn't your first campaign, you won't see the checkout step. Instead, click Save & Launch to launch the newest campaign.
Your campaign now goes into review for Wix and Meta approval. This process can take up to 72 hours. Go to Facebook & Instagram Ads in your site's dashboard to check on the approval progress.
Note:
The subscription options available to you may vary depending on your geographical location and GDPR regulations.
FAQs
Click a question below to learn more about Facebook & Instagram Ads by Wix.
How does Meta's AI targeting work?
What are Meta's media requirements for ads?
What is included in my monthly ad credits subscription?
Can I choose specific products to display in the Dynamic Carousel for my Sales campaign?
Why is my daily spend estimated?
What are impressions?
Can I connect my Facebook Page to multiple Wix sites?
